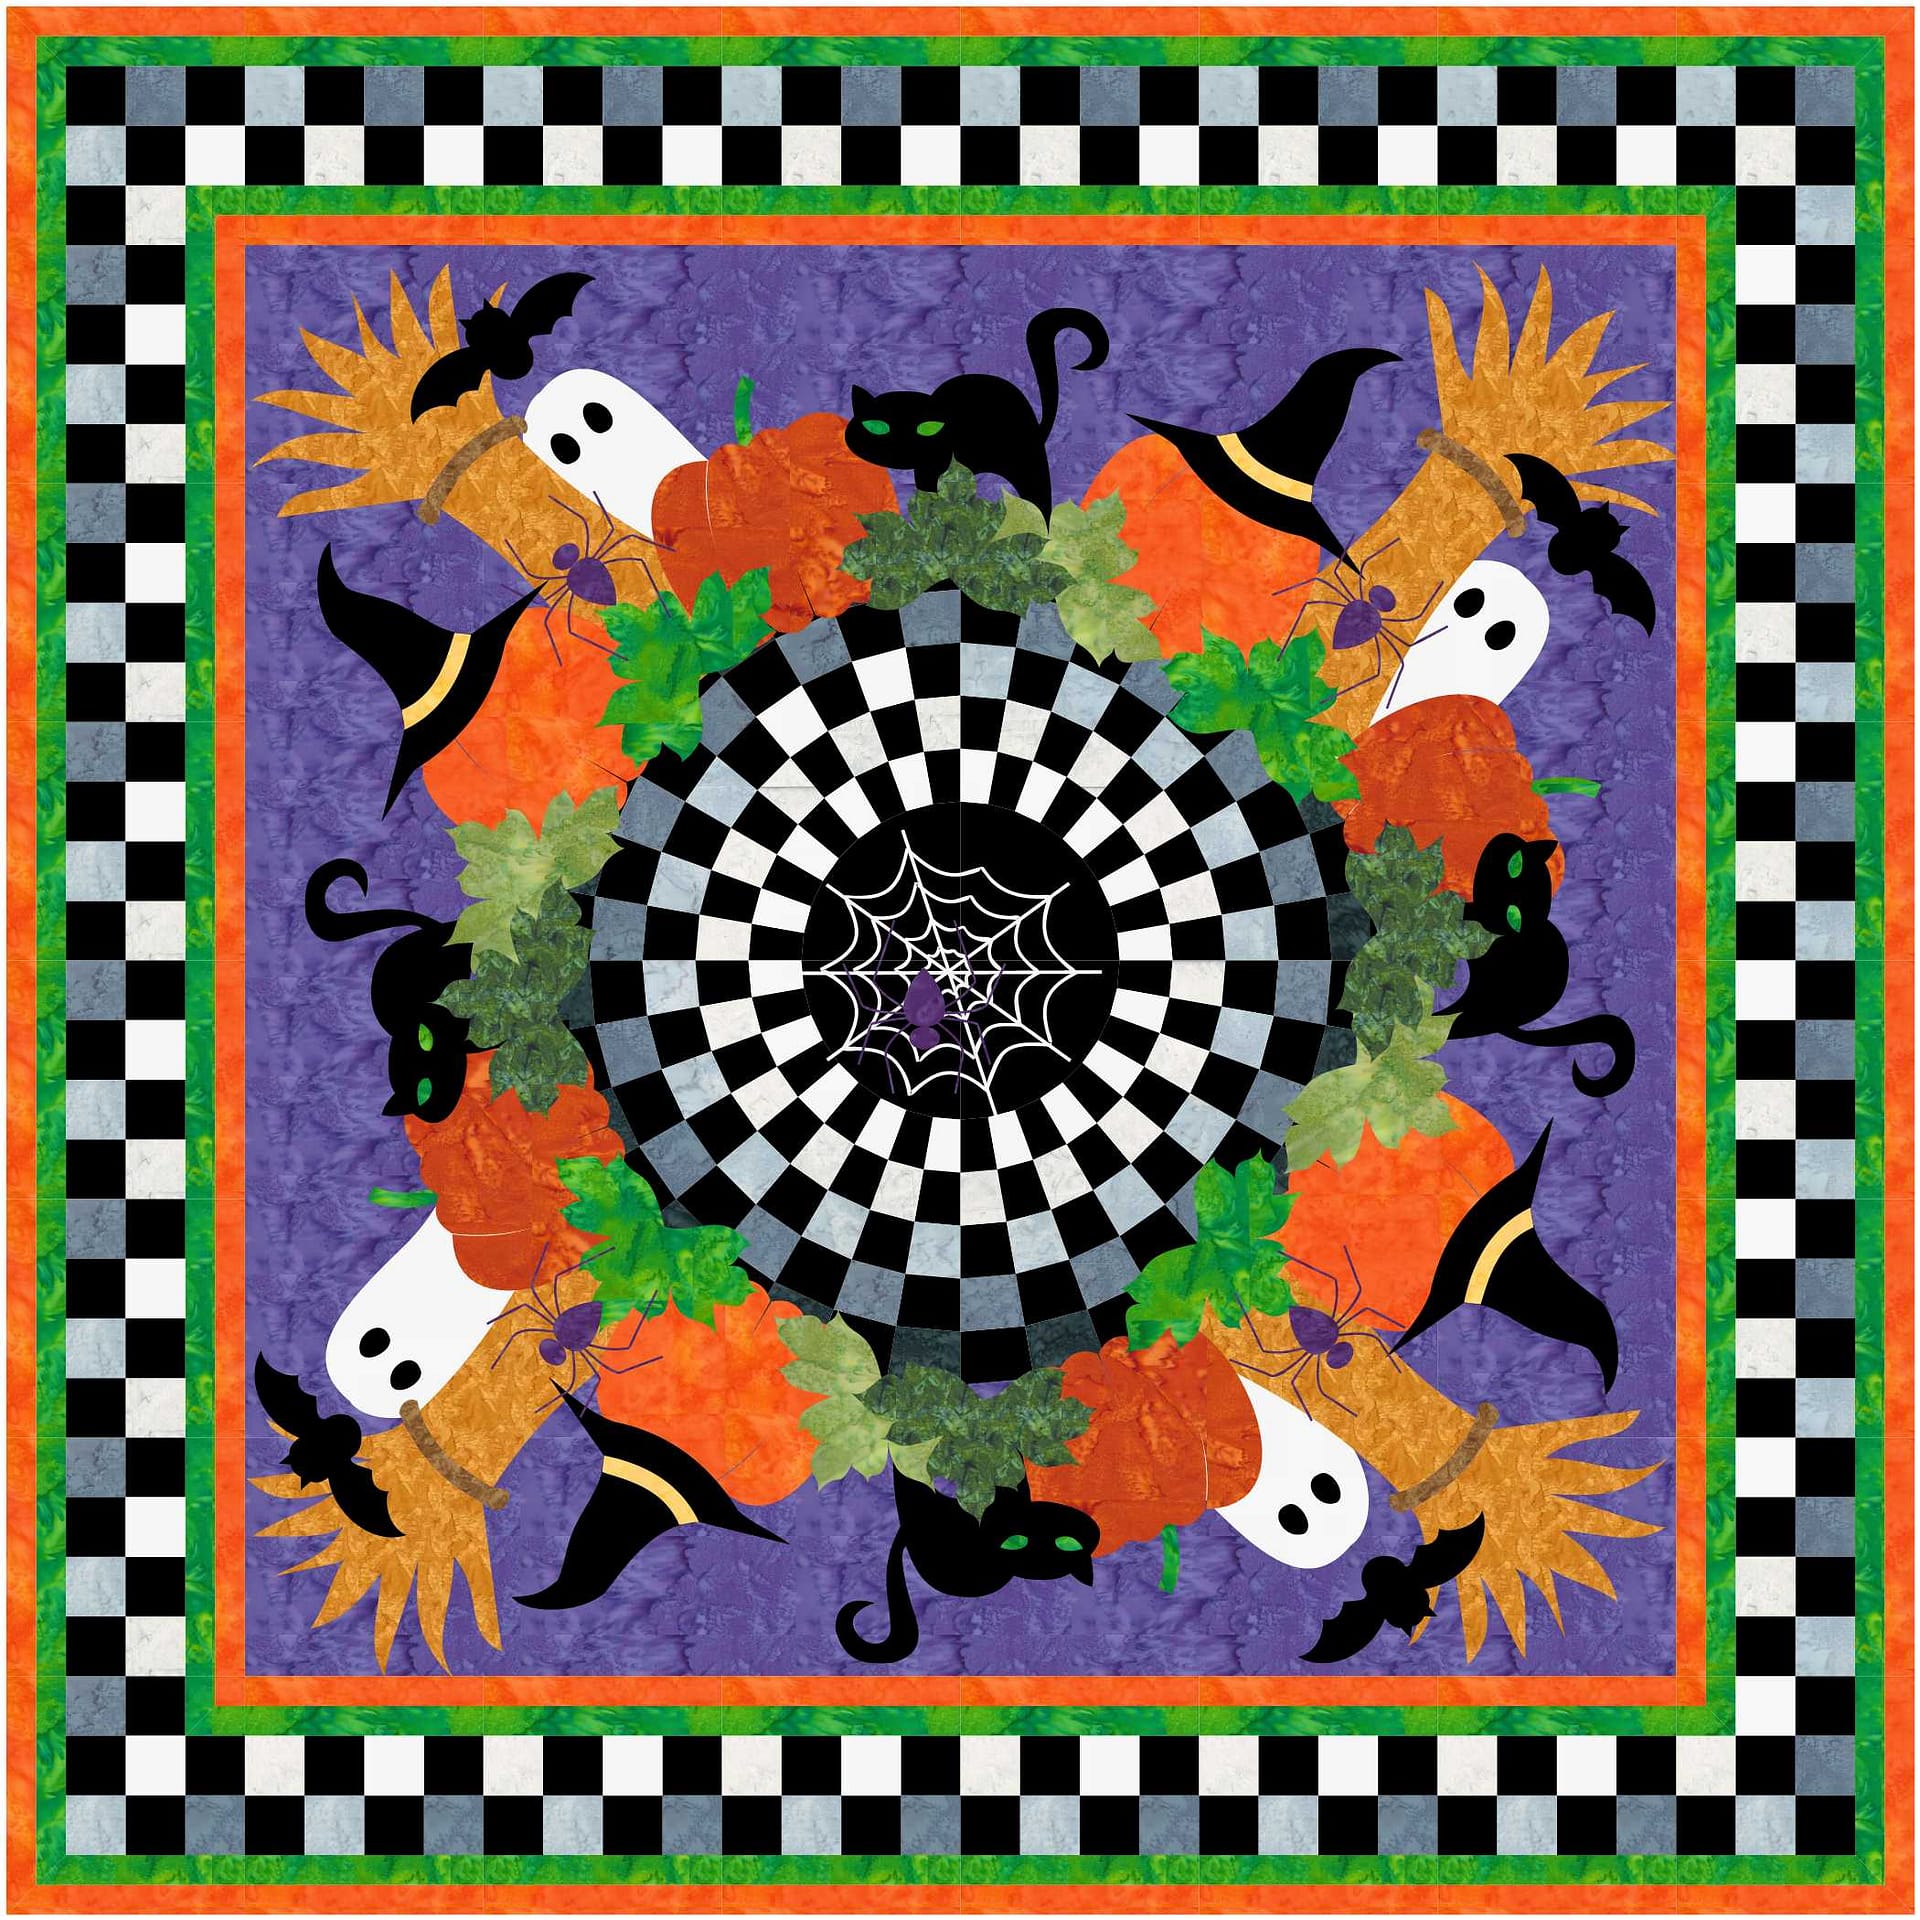
Witch’s Whimsy
What is your favorite holiday/season to decorate? My top one is Christmas and the runner up is Halloween. There is just something fun about adding spooky and discordant stuff. It doesn’t have to make sense, just have that eerie vibe to it.
I started with my Witch’s Whimsy – the checkerboard wheel and border surrounded by fusible applique. My quilting friends loved it but wanted something smaller. So, I did just that! I created Witch’s Whim.
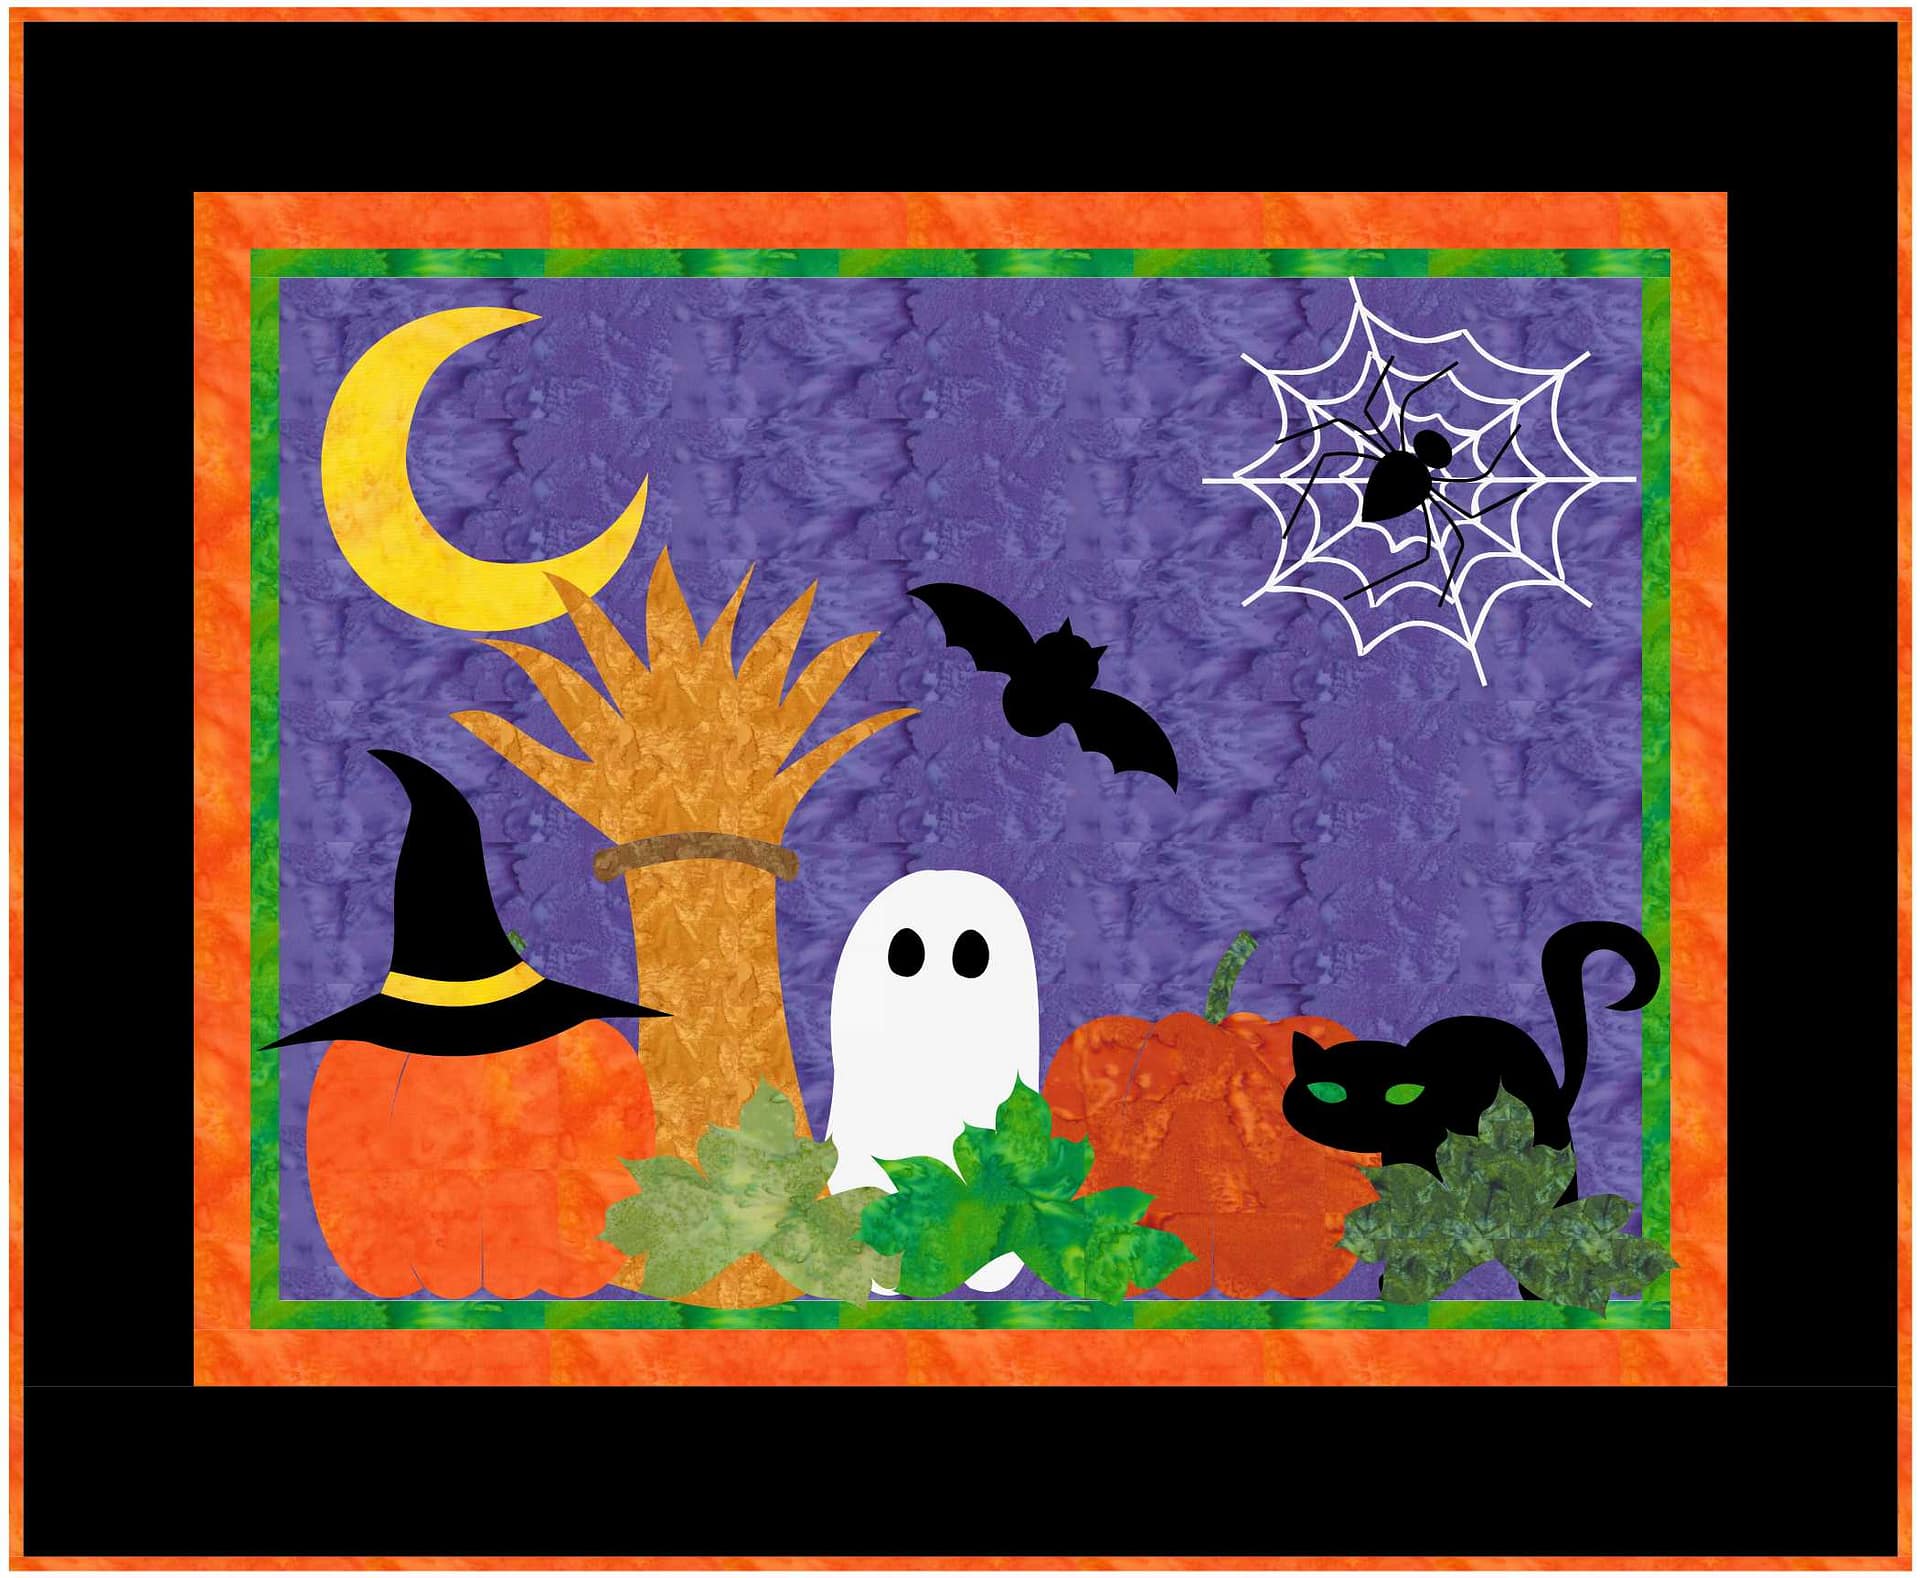
Witch’s Whim
Now that the design was simpler, I had time to play with each element – experiment with what would work! And boy did I have fun! Want to see what I did—and maybe get a little inspiration for your own quilt?
To keep it simple (I am told I don’t know what that word means), let’s explore the quilt counterclockwise starting with the moon!
A quick note before we start playing: Some of the links in this post may be affiliate links. If you purchase through one of those links, I may earn a small commission at no additional cost to you. I only share products I use, like, or think you might find useful.
As an Amazon Associate I earn from qualifying purchases.
I should warn you that all the appliques were added to the QUILT SANDWICH – not just the top.That means the stitching that secures my appliqué is also part of the quilting. One trip around the shape does two jobs! I like to do all my sewing at once – it is quicker and easier.

Moon
Moon
I kept the moon as a simple fusible applique. I use MistyFuse, (paid link) but pick the fusible you are most comfortable using. I matched the thread to the fabric and secured the applique with a blanket stitch (2.0, 2.0). See that was simple!

Pumpkin #1
Pumpkin #1
Now, is where I start to play. The pumpkin itself was added in the same way as the moon – fused and secured with matching thread and a blanket stitch…. But he looked so…. PLAIN. So, I gave him a face. A little black fabric with fusible and a few snips of the scissors. Pressed his little face on him. And again – simply used a black blanket stitch. Nothing complicated – just a little whimsy.
Then, there is his hat. The black hat was fused down. The pattern called for a little strip of fused fabric for the sash just above the brim… but that was BORING. I found a little sparkly ribbon in my notion chest. I cut two purple strips and fused them down. (FYI – I tested the ribbon beforehand to make sure it wouldn’t melt). And then took a little green sparkly, fuzzy ribbon (I don’t know what else to call it – maybe tinsel ribbon?) and couched it in between the ribbons.
Aside – couching is stitching down a thin bit of something on top of your fabric. There are special feet and attachments if you want to do a super professional job. I just want to have fun. I use my regular sewing foot (one with a wide opening – not my quilting foot) and a narrow zigzag stitch. The settings for the stitching were 1.5:1.5.
The rest of the hat was secured with a straight stitch and black thread all around the edges – including the purple ribbon. I stitched right along the edge of the ribbon. Since no one will be washing this – it should be just fine. Then, I quilted a little texture into the hat – a few wavy lines on the brim and a few crooked lines on the top.

Cornstalk

Cornstalk Top
Cornstalks
Ok – I call it a cornstalk. It may look like haystacks or a really misshapen tree. It is the thing right next to the pumpkin. There are three pieces to this – the bottom, the top and the band in between. The bottom needed a little texture – big blank gold space = blah. I did some very simple straight stitches up and down the base. I tried to make the middle wider than the edges to give the illusion of roundedness. Not sure If I succeeded, but it was fun.
The top… I really experimented here. I found a funky stitch on my sewing machine that looked a bit like a braid. I stitched along the edges, but it didn’t quite fit. Time for improvisation. I curved and overlapped the stitching. Hey – if you are going to experiment – just do it. The tops of the stitches looked a little awkward. To fix this, I added a little straight stitching to make it look like corn tassels. This is my crazy world and I am having fun.
The band. I was not going to find a little piece of fabric for this. (I know – I wrote the pattern) I found a piece of twill tape with a little sparkle in it. (This is my way of using up all those notions I bought at JoAnn’s over the years). A simple straight stitch and a little fusible tape secured it. Make sure to fold the ends of the twill under to keep it from fraying. FYI – I really like Steam-A-Seam fusible tape (paid link) for these projects.

Ghost
Ghost
The ghost is simple — right? That depends on whether you want a lilac ghost or a white ghost. White fabric on a dark background can get a little dingy looking. I know — this is Halloween. If there is one time dingy is okay… But I was being particular. I wanted a really white ghost.
To do this, I used a medium-weight, double-sided fusible interfacing – Pellon 82 Two-Sided Fusible Stabilizer or HeatnBond Medium Weight Fusible Interfacing (paid link). The interfacing prevents the color from “bleeding” through. It really masks the background. Ok – enough puns. The added bonus was that he was a little thicker and had a little smoother texture.
This appliqué was secured with a straight stitch, and I echoed the stitching along the bottom for a little extra texture.
The eyes were simple black fabric, fused, and secured with a blanket stitch.

Pumpkin #2
Pumpkin #2
First, I used a different, more traditional orange for this one. The stitching was the same as the first pumpkin. But I gave him a pretty stem and leaf.
The stem is green twill tape, attached like the twill from the cornstalk. Again, I used fusible tape to hold it in place while I stitched. This was important because of that little curve. Who would have thought a little curve could be such a stinker without it!
Now, the leaf — that is my specialty. It’s 3-D. I sandwich double-sided interfacing between two matching fabrics. Trace the appliqué shape on it. Stitch inside the drawn lines. Add a little thread painting for detail. Cut it out. Then secure it with a little stitching along that decorative vein. The leaf is attached, but the edges are free to lift away from the quilt.
I call this technique Applismith™ — appliqué smithing, a play on my name and the craft. And here is a rapid-fire demonstration.

Cat
Cat
The cat is still a work in progress. The body used regular fusible applique – not everything has to be special.
The tail uses the Applismith technique, and it was inserted UNDER the body. It is really floppy. I might tack it at the top, not sure yet.
The head also uses the Applismith technique, and was added OVER the body. The order really matters here.
I fused a black nose onto the cat’s face and secured it with a black satin stitch for a black-on-black subtle effect.
Whiskers were stitched on each side of the face with a straight stitch (3.0). Then, I wove 8 wt. black thread through the whisker stitches to make them more prominent.
And beads were sewn on for the eyes instead of fabric appliques. I used what I had on hand, but still not sure I like it. So, I ordered some flat-backed green gems to see if I like those better! When all else fails, get more notions!
Leaves
The pattern only calls for three leaves, and they are placed on the bottom. As I was making them, I wanted to add a few more and fill in some spaces that felt empty to me. That is the beauty of applique – modify at will!

Web
Web
The web has made me really happy. I could have fused this with white fabric as the pattern calls for. But I had something else in mind. I wanted sparkly – like the webs my orb weaver makes on my door each night. I purchased a skein of really soft sparkly thread. I could have used the metallic embroidery thread I already had, but it felt stiff and this needed to curve. I guess it could have worked… yet this was a good excuse to buy and try something new.
I fiddle with a few things. I tried using a stiffener to make it like a starched doily. I thought maybe I could press it into shape. And yes I just said I bought soft so it would be pliable, bear with my experiments please. The starching was an utter failure – probably due to my impatience.
Then, I thought about using fusible tape. But that would take a lot of tape, and it was wider than I needed. Fusible web or interfacing? That would again mean removing the excess with water or heat… not ideal.
So, I tried something completely new to me – I couched the yarn to the paper that was placed over the spot where I wanted the web. I knew the couching would use a small stitch. Small stitches perforate paper for foundation piecing and my previous quilting experiments, why not the web? I used a grey thread so it wouldn’t compete with the silver yarn. The zigzag stitch was set for 1.5:2.0. I added the first and third rings first. Then, the spokes. Then, the second and fourth rings. It would give a loose woven appearance for anyone looking closely. My engineering brain could not figure out how to do a true weave without glue and I just did not want to go there. I wasn’t sure the paper would remove easily with the glue.
I have a couple of really short videos that show the process:
One last detail on the web: I extended the web with quilting to finish the sandwich. I used thread that matched the background, filling those open spaces that didn’t have appliqué.

Spider
Spider
What is a web without a spider? A vacancy!!
This little spider could have used regular fusible, but he would have looked so FLAT against everything I did so far. Therefore, he got an upgrade to 3-D.
The body uses the double-sided, medium-weight fusible. Not because it would be free-floating. Because I actually needed the interfacing portion, I heavily stitched a satin stitch around him (FYI – I combined the head and body as one piece). Then, I cut that super stitched piece out and fused it to the quilt and secured it with a simple straight stitch, but not before I made the LEGS!
The legs were going to be a challenge no matter what because they were so spindly. I fixed that and made them 3-D. To make them 3-D I used the same double-sided, medium-weight fusible sandwich with black fabric on both sides. I used a fabric pencil and traced one side of the leg template onto the sandwich. It was basically a crooked line. Then, I couched a sparkly purple yarn onto the drawn line, using the same purple thread from the body. I cut out the legs.
See how I made them in this video.
Then, inserted them UNDER the body before I secured it. Voila – creepy spider.

Bat
Bat
At last, the bat. This is one piece. I was inspired by the spider to use purple thread to make the stitching show… Maybe I should have used the purple on the cat’s whiskers? I can still change it….
At any rate, simple straight stitching highlighted the wings. Another simple straight stitch around the body and ears. Then, I used a fun specialty stitch from my machine to both sides of the body for some interest.
I stitched the body to the background while leaving the wings free to flap!

Witch’s Whim – mostly done
And that is how Witch’s Whim became mine.
None of these additions were part of some grand plan when I started. I just kept looking at the quilt and asking, What else could I do here? A little yarn became a spider web. The web needed a spider. Flat appliqué started popping off the surface. And before long, I was digging through thread, beads and embellishments to see what else wanted to play.
That’s the fun part. A pattern doesn’t have to be the end of the idea—it can be the beginning. Use what you have. Try something weird. Change your mind. And if an experiment is an utter failure? Well… now you know one more thing that doesn’t work.
Go make it yours.
Happy Quilting!

Wonderful finished product. So cute!! 🧡 Love your ideas.
Thank you, Susan! 🧡 I had so much fun playing with this one. Once I started adding little details, I just kept finding more things I wanted to try! I hope it inspires you to play a little too! 😊
I like the beads for the cat’s eyes.
Thank you!!! Am may still experiment with gems 😊🐱