by lsmith | Jul 17, 2026 | Patterns, Quilting Tips
July is here and I am hiding in the air conditioning! If you are too, there’s something new waiting for you this...
by lsmith | Jun 18, 2026 | Quilting Tips
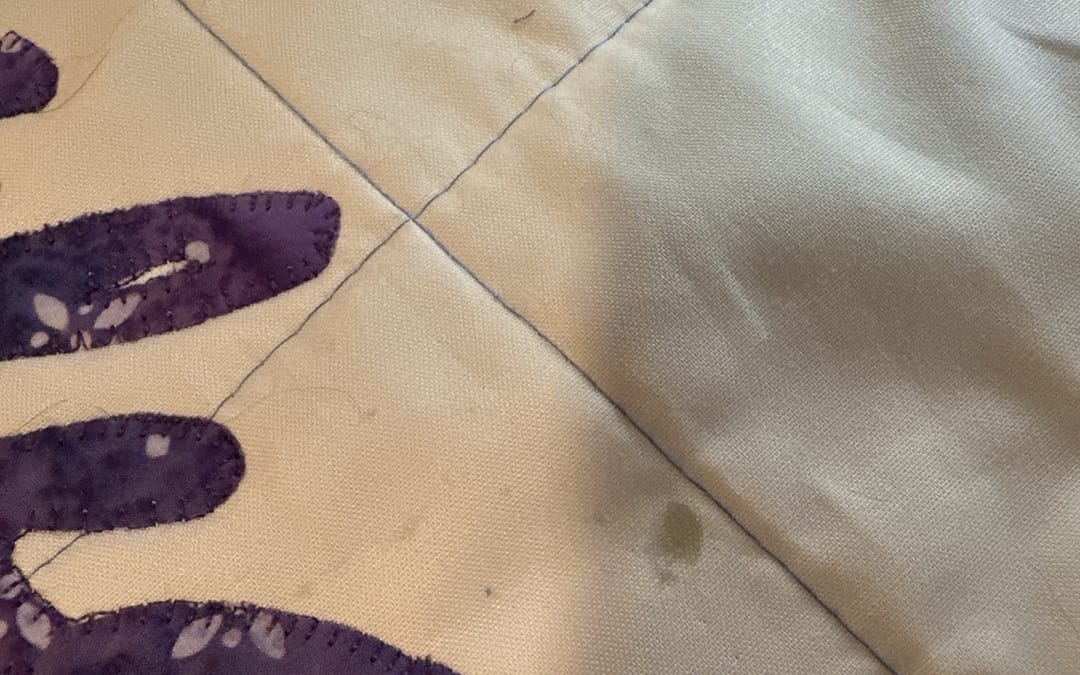
Quilt Projects and Home Repairs Have More in Common Than You Think Why is it that we learn our best lessons the hard way? A week ago, I shared a little progress on the Quilting… You Say? Quilt Along — proudly showing off my first word, “Appliqué.” Before I...

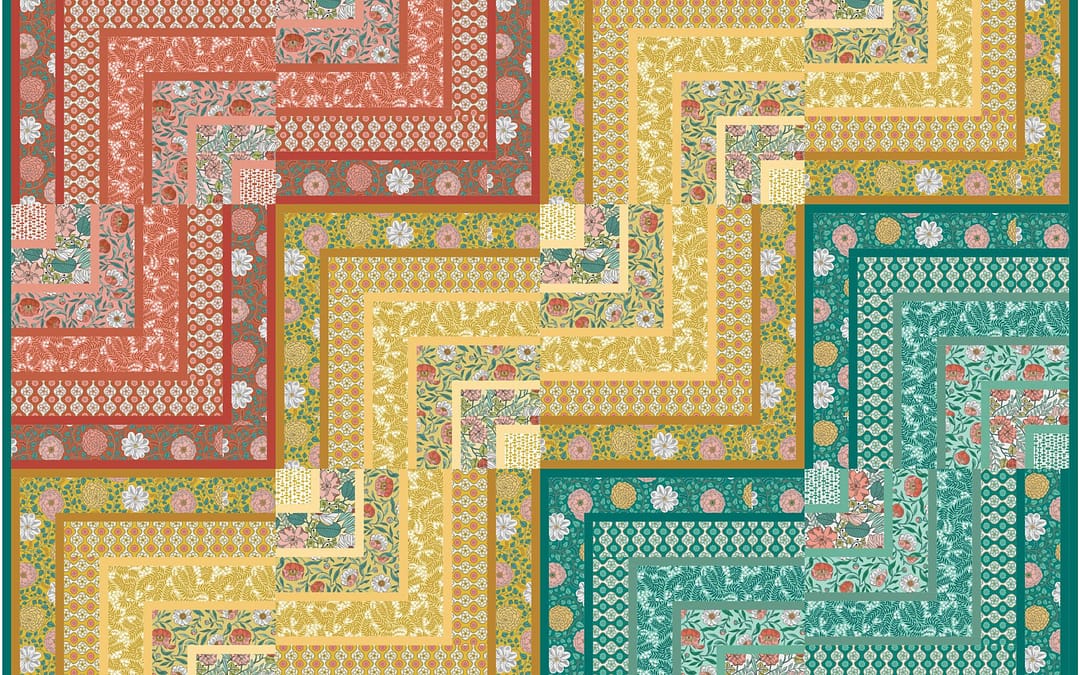
by lsmith | Jun 18, 2026 | Patterns
How many of you have heard the phrase Keep Calm and Carry On? It started as a British morale poster in World War II — Churchill’s era, soldier on, make the best of things. Quilters, being the resourceful souls they are, have made it their own: Quilt On. I love...
by lsmith | Jun 7, 2026 | Quilting Tips
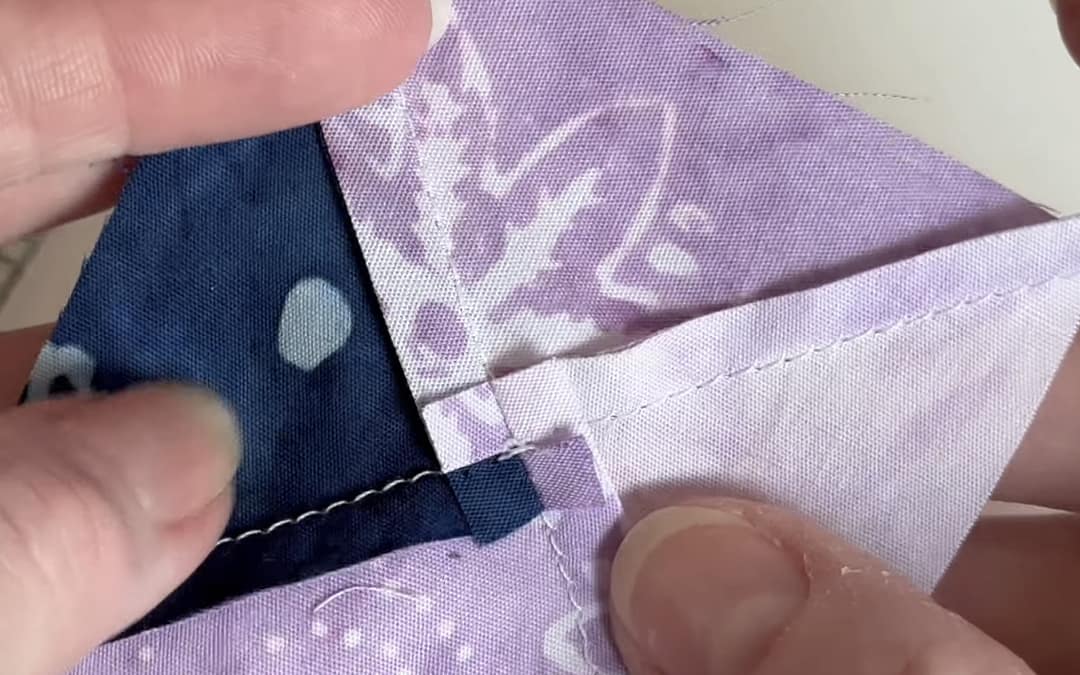
Press open, press toward one side or the other, spin the seams… is there a rhyme or reason to any of these directions?? Seam allowances are just as important in quilting as the cutting and the quilting. Most of us know that the 1/4″ seam allowance is just...

by lsmith | Jun 1, 2026 | Patterns
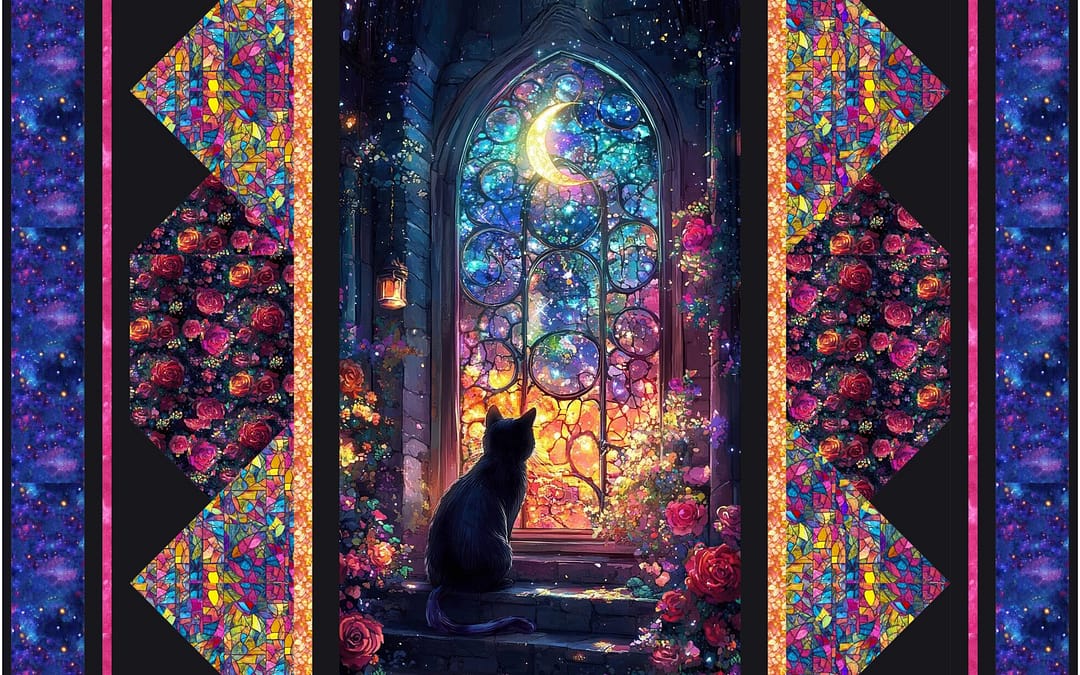
June is here, and so is a fresh batch of patterns. Whether you’re planning your next big project or just browsing for inspiration, there’s something new waiting for you this...

by lsmith | May 30, 2026 | Quilting Tips
Basting in cooking helps keep the food moist while cooking. On the other hand, basting in quilting and sewing keeps the fabrics from moving before they are stitched in detail. I am sure you have your favorite basting method, just like I have mine. I will share what...
by lsmith | May 30, 2026 | Quilting Tips
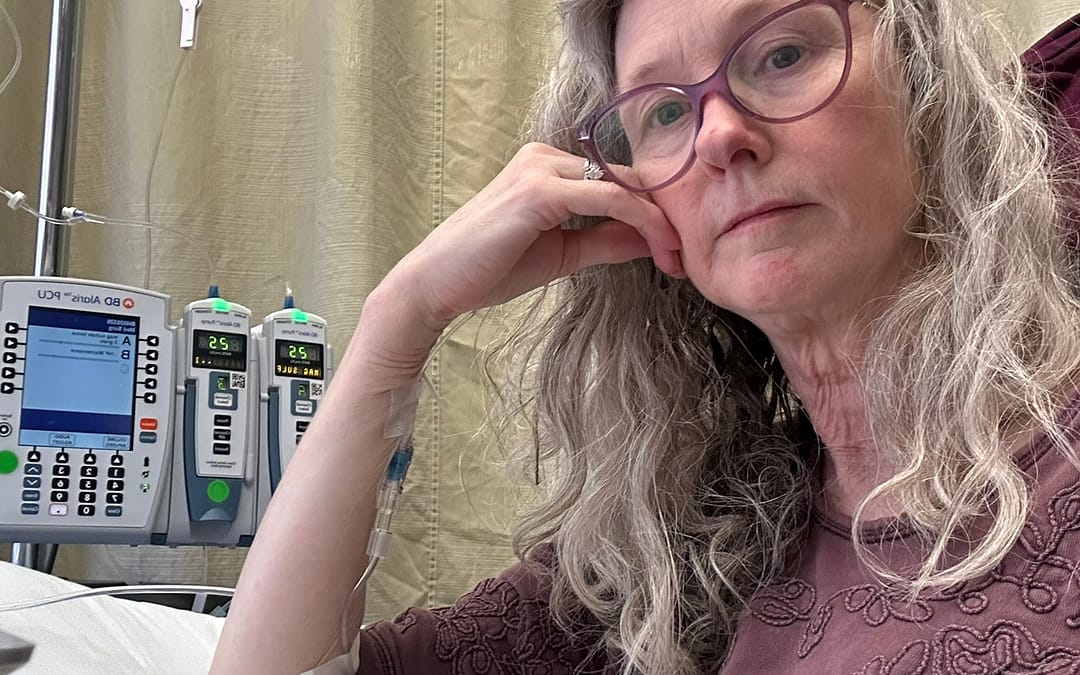
When I was 16, I couldn’t stay awake… the doctors thought it was mono – the kissing disease. But after weeks of testing and me progressively getting worse, they discovered that I had Hashimoto’s Thyroiditis. It is a common autoimmune condition, especially for women....

by lsmith | May 19, 2026 | Patterns
Even quilters have their fan girl moments. For some it would be meeting Mary Ellen Fons, Alex Anderson, Ricky Tims, or Tula Pink. One of mine was for Andrew Lee. If you don’t know Andrew, let me introduce you. He is a three-time US Army combat veteran with 23...

by lsmith | May 14, 2026 | Patterns
Do you want to add names, words, or phrases to your quilts but aren’t confident in your handwriting? Or maybe the simple stencils at the local office store are just too boring? I am right there with you. Full disclosure — when I learned how to use Canva fonts to...
by lsmith | May 11, 2026 | Patterns
May is here and so are some fresh additions to the pattern catalog! Whether you’re a fan of panel quilts, prism designs, dimensional appliqué, foundation piecing, or traditional piecing, there is something new waiting for you this month. Click any image below to...
