
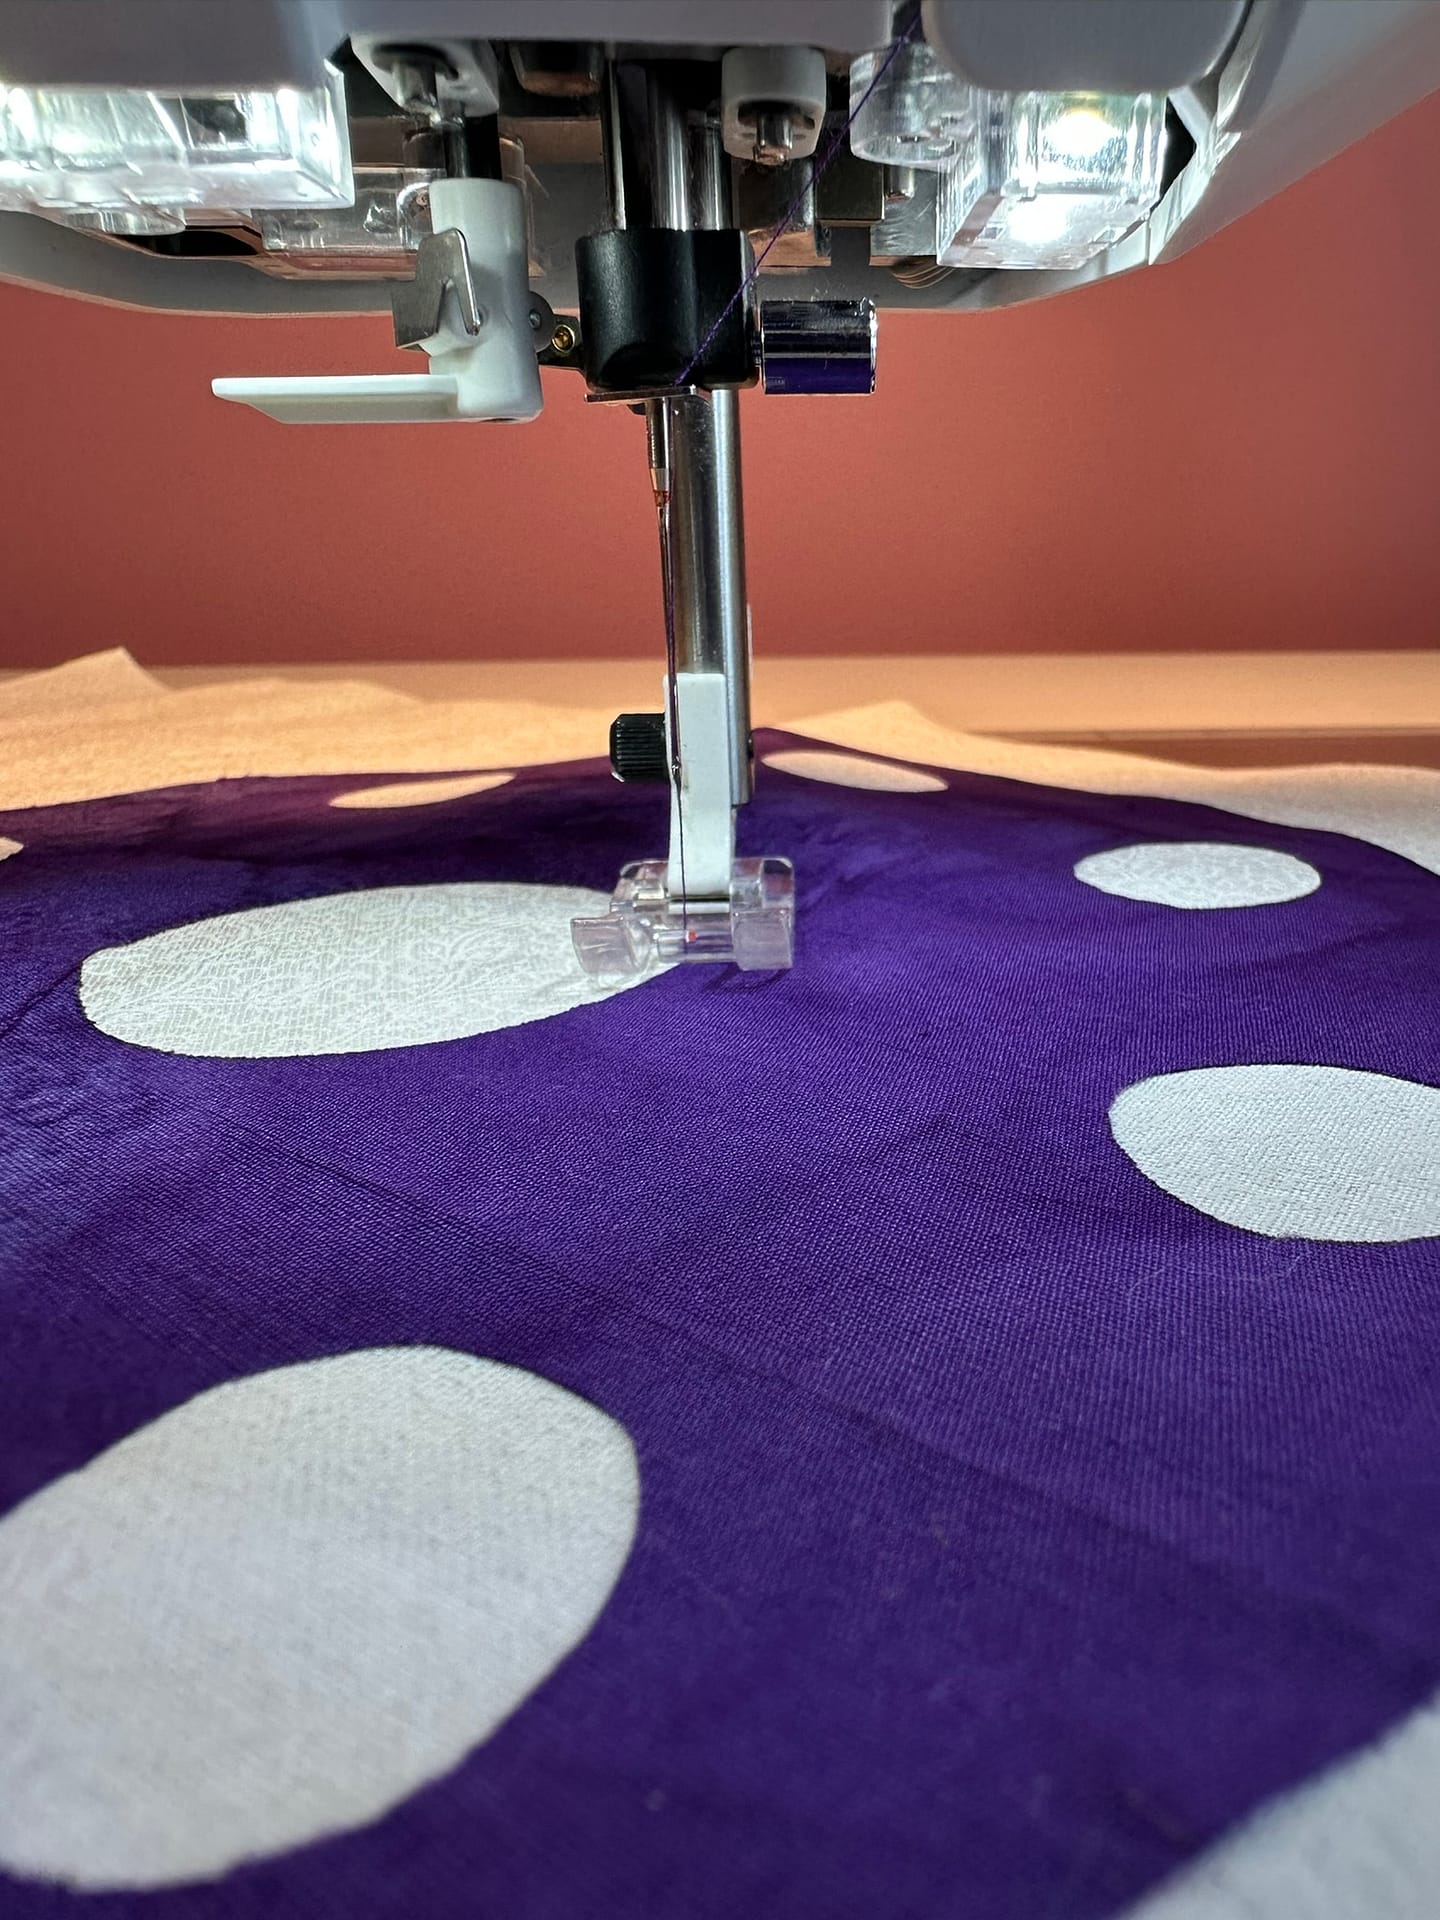
 We like to experiment with specialty stitches or different threads and hope that everything is going to go swimmingly.
Well, I’ve recently been working on a few projects that did not go quite as swimmingly as I had hoped! So, I want to share some of the lessons from those experiences. If you’re having similar issues, maybe I can help you figure out how to fix them.
And I’m giving you the why behind each one, so you can think through the problems on your own projects rather than just guessing at solutions.
1. Your Bobbin Thread Is Showing Through
The easiest way to notice this is when you’re using different colors for your top and bobbin threads. Which I do, because I’m lazy and don’t normally change my bobbin thread unless I absolutely have to! So, when I’m using different colors, I notice the problem more readily.
Why: If your bobbin thread is showing up on top of your work, that’s usually a tension issue. More specifically, your upper-thread tension is too high relative to your bobbin tension.
Here’s an easy way to remember it:
If your bobbin is up, your tension is up too!
Fix: Dial your upper-thread tension down. That will help keep your bobbin thread where it belongs, on the bottom.
Many new machines automatically adjust the tension for the type of fabric. But they may need a little help when quilting through multiple layers, attaching notions, or using special threads.
And here’s something worth remembering: You rarely need to adjust your bobbin tension. Most tension adjustments can be made using the upper-thread tension dial. Unless you have a specific reason to adjust the bobbin tension, leave it alone.
2. Tunneling and Puckering
Tunneling and puckering are related problems, but they’re not quite the same thing.
Tunneling happens when your stitches, particularly dense decorative stitches like satin stitches, pull the fabric up into a raised ridge or tunnel underneath the stitching.
Puckering is when the fabric gathers or wrinkles around your stitching instead of lying flat.
Neither is particularly attractive when you’re trying to create beautiful decorative stitches!
Why: Sometimes your upper-thread tension is too tight. But more often than not, your fabric simply needs more stability.
Fix: There are a couple of ways to tackle this.
Add stability with interfacing or stabilizer.
Tear-away, wash-away, or permanent stabilizers can all help. It doesn’t really matter which one you use, provided it works for your project. Test them and figure out what gives you the best results.
When I’m quilting through batting, the batting itself provides some additional support and cushioning. It isn’t exactly the same as interfacing, but it can help. So, think outside the box!
Use a hoop.
An embroidery hoop can help keep your fabric taut and evenly supported, preventing it from bunching or puckering as you stitch. Just make sure you’re using a hoop that’s appropriate for your machine and the technique you’re using. Your owner’s manual and YouTube may help you pick the right one.
Test Your Tension.
You can also try dialing down your upper-thread tension, particularly if the stitches are pulling too tightly.
So, if you’re having tunneling or puckering problems, think stabilizers, hoops, and tension.
3. Stacking
Stacking is when your stitches, especially something like a satin stitch, pile up too many in one place. Instead of forming a nice, even line, you end up with a knot of thread, and the fabric may stop moving.
Why: When stacking happens, think sticking! Something is stuck, and usually it’s underneath where you can’t see it.
There are several possibilities:
- Your thread tails got caught underneath because you didn’t trim them or pull them to the top.
- You’re doing a lot of turning and caught the fabric on a loose thread. Sometimes you’ll notice your bobbin threads nesting underneath.
- Your fabric is getting caught on something. If you’re working with a large piece, make sure the entire piece is supported on your table instead of hanging over the edge.
- Your fabric isn’t advancing properly. Feed dogs, presser-foot pressure, and even very dense stitching can interfere with how smoothly the fabric moves through the machine.
Fix: Check for loose threads and take care of them. Pull your thread tails to the top when appropriate, and support your entire project so it moves freely.
If everything looks clear, check that your feed dogs are engaged and your presser-foot pressure is appropriate for your fabric.
Remember, if the machine keeps stitching but the fabric isn’t moving, those stitches have nowhere to go except on top of one another!
4. Irregular Stitches
Your stitches, especially satin stitches, just aren’t even. Some are longer, some are shorter, and the beautiful, consistent stitching you were expecting looks a little wonky.
Why: Often, your fabric isn’t feeding consistently.
And sometimes we’re the problem! We have a tendency to push or pull our fabric through the machine without even realizing it. We think we’re helping.
But your sewing machine is designed to advance the fabric at a particular rate. When we decide to help it along, we can interfere with that process. And the result? Irregular stitches.
The same thing can happen when your project catches on the edge of the table or something else prevents the fabric from moving smoothly.
Fix: Hands off! Well, not completely. You still need to guide your fabric.
But guide, don’t push or pull. Let the machine do the feeding. And make sure the rest of your project isn’t fighting against you.
5. Skipped Stitches
I just did a quick video on this because my machine was skipping stitches, and it was irritating!
Why: Skipped stitches happen when the machine’s hook fails to catch the loop of upper thread needed to form a stitch.
This is where that little indentation on the back of your sewing machine needle, called the scarf, comes into play. The scarf provides clearance so the hook can pass close enough to the needle to catch the thread loop. When that loop doesn’t form properly or the hook misses it, you get a skipped stitch.
There are several things to check.
First, check your threading.
Is your machine threaded properly? That’s always the first thing I check.
Sometimes your thread gets loose or slips out of place, especially when you’re changing needles or making other adjustments.
Rethread the machine completely, and check your bobbin thread too. Don’t just assume the top thread is the problem.
Second, change your needle.
This is one we don’t think about often enough.
Just like your rotary cutter doesn’t cut cleanly when the blade is dull, your sewing machine needle doesn’t perform as well when it’s damaged or worn. A dull or bent needle can cause skipped stitches.
So can using the wrong needle type or size for your fabric and thread.
And sometimes the needle simply needs replacing, even if it looks perfectly fine.
That was my problem this week!
Third, check your tension.
We love to mention tension issues, but they’re real. That’s why there’s so much tension over tension!
Although tension isn’t usually the first cause of skipped stitches, incorrect tension can interfere with proper stitch formation. If rethreading and changing your needle haven’t solved the problem, it’s worth checking your tension settings.
Bonus: Thread Breaking
If your thread keeps breaking, there are a few things to consider.
Your upper-thread tension may be too high, but another common culprit is your needle. Specifically, the eye of your needle may be too small for the thread you’re using. As the thread passes repeatedly through the needle eye, excessive friction can weaken it until it breaks.
A damaged needle, burrs on the needle plate or other thread-contact surfaces, or incorrect threading can also cause problems.
Fix: Start by rethreading your machine and changing your needle. Make sure the needle type and size are appropriate for your thread. Then, check your tension.
And if your thread keeps breaking in the same place, inspect the thread path for anything that might be catching or damaging it.
When All Else Fails
These are fix-it-at-home tips, and most of the time, a little troubleshooting will get you back to stitching happily. But sometimes the problem isn’t something you can fix with a new needle, a little stabilizer, or a turn of the tension dial.
When everything’s going haywire, it might just be time for your sewing machine to take a trip to your local shop for some maintenance. After all, even our hardworking sewing machines need a little TLC now and then!
Happy Quilting!

