You found a quilt pattern you adore, but it is the wrong size. Is it too small or too big? Is it traditional or foundation pieced? Does it have appliques? Is it a medallion? Does it have a few different blocks or one block? Does it have borders? Does it include fussy cut fabric? All of these things matter when you want to resize a quilt. All of these things can complicate or simplify resizing. This is why most quilt designers will provide different sizes up front or charge for a redesign. These things take time and energy. That is why I am going to teach you to fish, I mean resize.
Simple Block Quilt
A simple block quilt has one or two quilt blocks that are repeated to make the quilt. This is the easiest type of quilt to resize. Simply add or subtract blocks to make the quilt the “right size”. Keep in mind that you calculate the quilt size based upon the finished size of the blocks. You make each block with and extra 1/2″ larger for a 1/4″ seam allowance on each side.
Example: The original quilt has twelve 10″ square blocks (finished) arranged 3 x 4. This means the quilt is 30″ x 40″, a nice crib quilt. You want to make it a throw for an older child. You would like the quilt to be 40″ x 60″, which doubles the size. You will need twenty-four 10″ blocks.
When adding or subtracting blocks, you also need to consider the border and binding. The simplest method is to keep the border width consistent with the original pattern. In this case, you would simply need more or less fabric to make those borders. There are side borders and end borders which will be different lengths. (Unless you decide to miter the borders, in which case all four will be the same size). The side borders are equal to the length of the quilt center. The end borders are equal to the width of the quilt center + (2 x border width). Whenever you add or subtract blocks, the border lengths need to be recalculated.
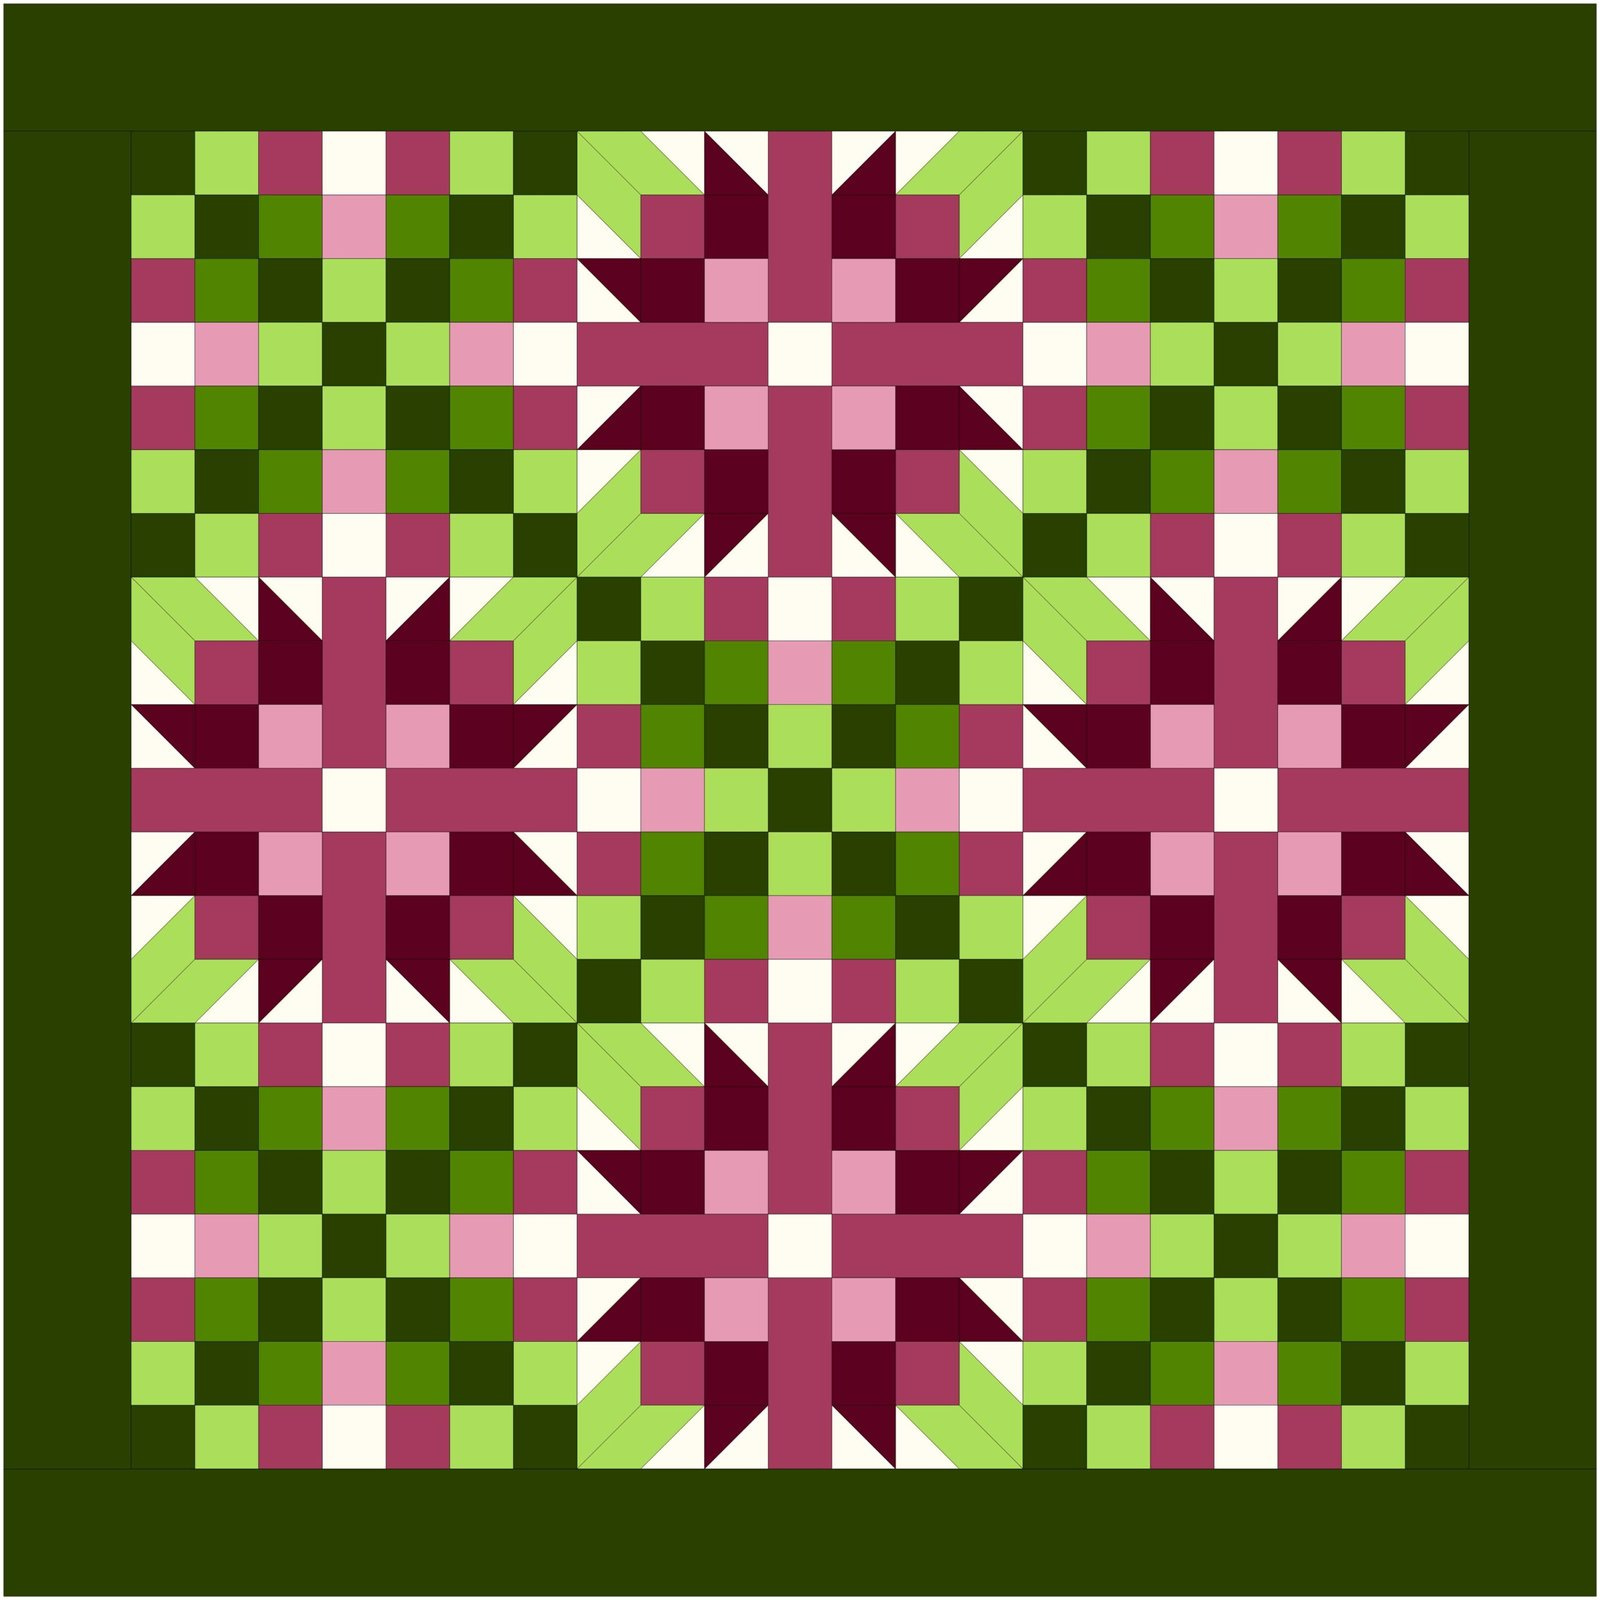
For the Wild Irish Rose example below, the crib size has nine 14″ squares. Therefore, the quilt center is 42″ x 42″. The border is 2″ wide. Therefore, the side borders are cut to 2 1/2″ x 421/2″, while the end borders are cut to 2 1/2″ x (42 1/2″ + 2 x 2″) or 2 1/2″ x 46 1/2″.

Simple Quilt with Distinct Pattern
What happens if you really want to keep the visual pattern the same. In other words, you don’t want to add or subtract blocks. You just want to make the blocks bigger? That is also relatively easy to do. You multiply the cutting instructions by a certain amount to increase or decrease the size. I recommend sticking to multiples of 25% to keep the quilt math simple. Doubling the size is 200%. Making is half the size is 50%.
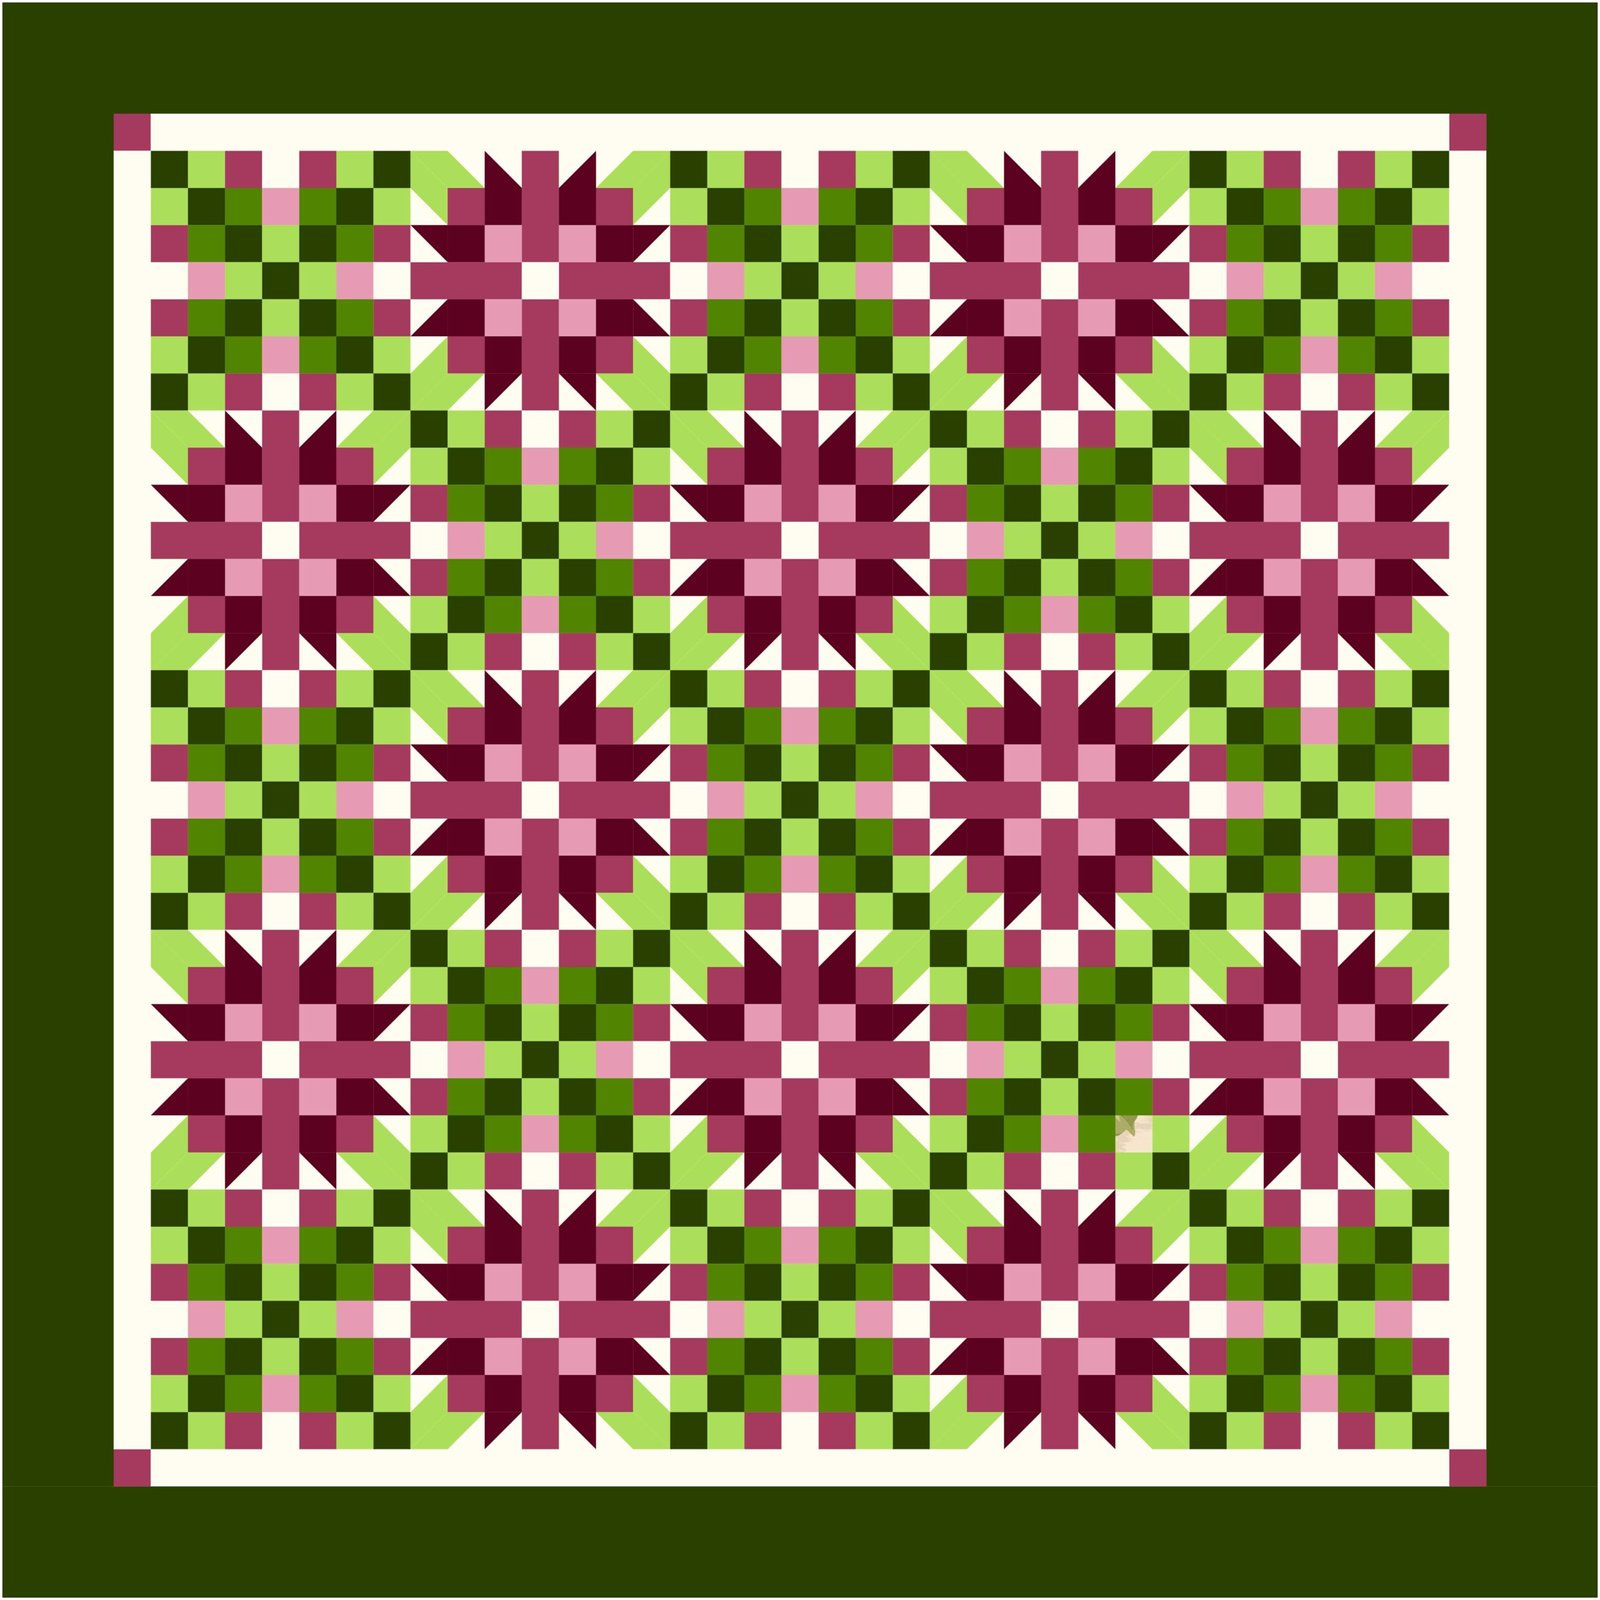
For example, you want the Wild Irish Rose crib quilt 46″ square quilt to be a 96″ square quilt. Let’s start with the quilt center, which is 42″ square. Each block is 14″ square. to make the queen size version, each block should be multiplied by 2 or 200%. The finished blocks should be 28″ square, which leads to a quilt center of 84″ (3 x 28″). Then, the border is calculated as (Finished Size – Quilt Center)/2 = (96 – 84)/2 = 6″ width borders. Don’t forget to add the seam allowances!
That is the easy part. The hard part is the math for the pieces. If you keep to multiples of 25%, it is much easier. For Wild Irish Rose, the individual pieces would change from 2″ square to 4″ square finished. Then, you need to add the seam allowances. You add 1/2″ for square or rectangular pieces. You add 1″ for Triangular pieces (technically it is 7/8″, but it is easier to trim later). So the cutting instructions would be modified from cut X pieces at 2 1/2″ square to X pieces at 4 1/2″ square.
Always use the finished size for calculations and then add the seam allowance. Do NOT use the cutting instructions for calculations.
Quilt with Borders
Another option is to keep the Quilt Center consistent and change the borders. This is the easiest way to resize a panel or medallion style quilt. Borders can be simple solid borders or pieced borders. Some quilts are perfect for borders. One example is Explosion of Poppies. The panel is surrounded by one pieced border. It is made larger with a fussy cut border print. If using border prints, it is recommended to miter them or add corner blocks.


Medallion or Foundation Pieced Quilts
More complex quilts with a center medallion, multiple pieced blocks. templates. or foundation pieced quilts may not lend themselves to more or less blocks. Nor is it easy to add or subtract borders.
In these cases, it is time for some copier/printer magic and a little measuring. Like enlarging blocks above, it is recommended to stick to multiples of 25%. You will take your finished block size and multiply it by the percent increase or decrease. This is adjustment to make to the copier or printer. Keep in mind that making larger pieces may be easier at a print shop if the pieces are large. When printing the pieces smaller or larger, the seam allowance will also shrink or grow.
First make sure the line for the finished pieces is BOLD. That will make it easier to pick out. Then, you will need to redraw the seam allowances at 1/4″ from the finished line. This may be easy for straight pieces, but a little more difficult for curves.
Examples of the shrinking are provided in Hearts of a Glacier. The large version is 92″ square, while the small version is 41″ square. For the smaller version, the templates were shrunk for the smaller version.


In either case, I recommend using a freezer paper technique for these resizing efforts. The freezer paper templates or foundations are made for the finished size and make it easy to determine the seam allowance, rather than trying to draw it. Stayed tuned for more info on that later!
Summary
As you can see, there are multiple ways to resize a quilt, if you know the tricks. If you are interested in having a class about quilt resizing, please drop me a line! I am planning one for 2024.
If you missed the first part of this article – click here.
Happy Quilting!
Laureen
