Curves can be daunting, but they can be mastered with practice and following a few tips. Once you master them, you open a whole new world of quilting possibilities.
- When learning to make curves, start with large gentle curves and work your way to smaller ones. The large curves are easier to manage.
- Aligning the edges and the midpoint are essential when sewing curves together. Therefore, it is a good practice to pin, clip or tack those three points together and ease the rest together as you sew.
- Some people find it helpful to have a sewing line drawn on the back of the pieces. That helps, especially on tighter curves, since your presser foot will not help much as a guide for 1/4-inch seams.
- Others find it useful to press 1/4-inch seam allowance using templates prior to sewing. When you press that seam allowance, your stitching follows the crease, much like the drawn line suggested above.
- Gluing the seams together prior to sewing is another trick. In this case, you may need to have several clips to hold the pieces together, while the glue dries. Pressing the glued seams may speed up the drying process. Make sure to use water soluble glue, which can be wetted to pull pieces apart if necessary. It also makes cleaning your iron easier. If you have tight curves, try using an applique iron rather than a standard iron to dry the glued seams. If you can’t use an iron, wait a few hours for the glue to dry. You can chain piece once they are dried. I use Elmers Glue (blue label) for my curved piecing. Purple Daisies Quilting has a wonderful video demonstrating this technique.
- Whether you draw the seam allowance, press it, or free hand it, sew slowly, taking a few stitches at a time. Pivot the fabric after a few stitches and realign the edges.
- Clip the seam allowances after sewing. The tighter the curve, the more often you should clip the seam allowance. Clipping the seam allowance enables the seam to lie flat when pressed. When clipping the seam allowance, make sure you clip it close to the seam, but don’t clip the seam itself.
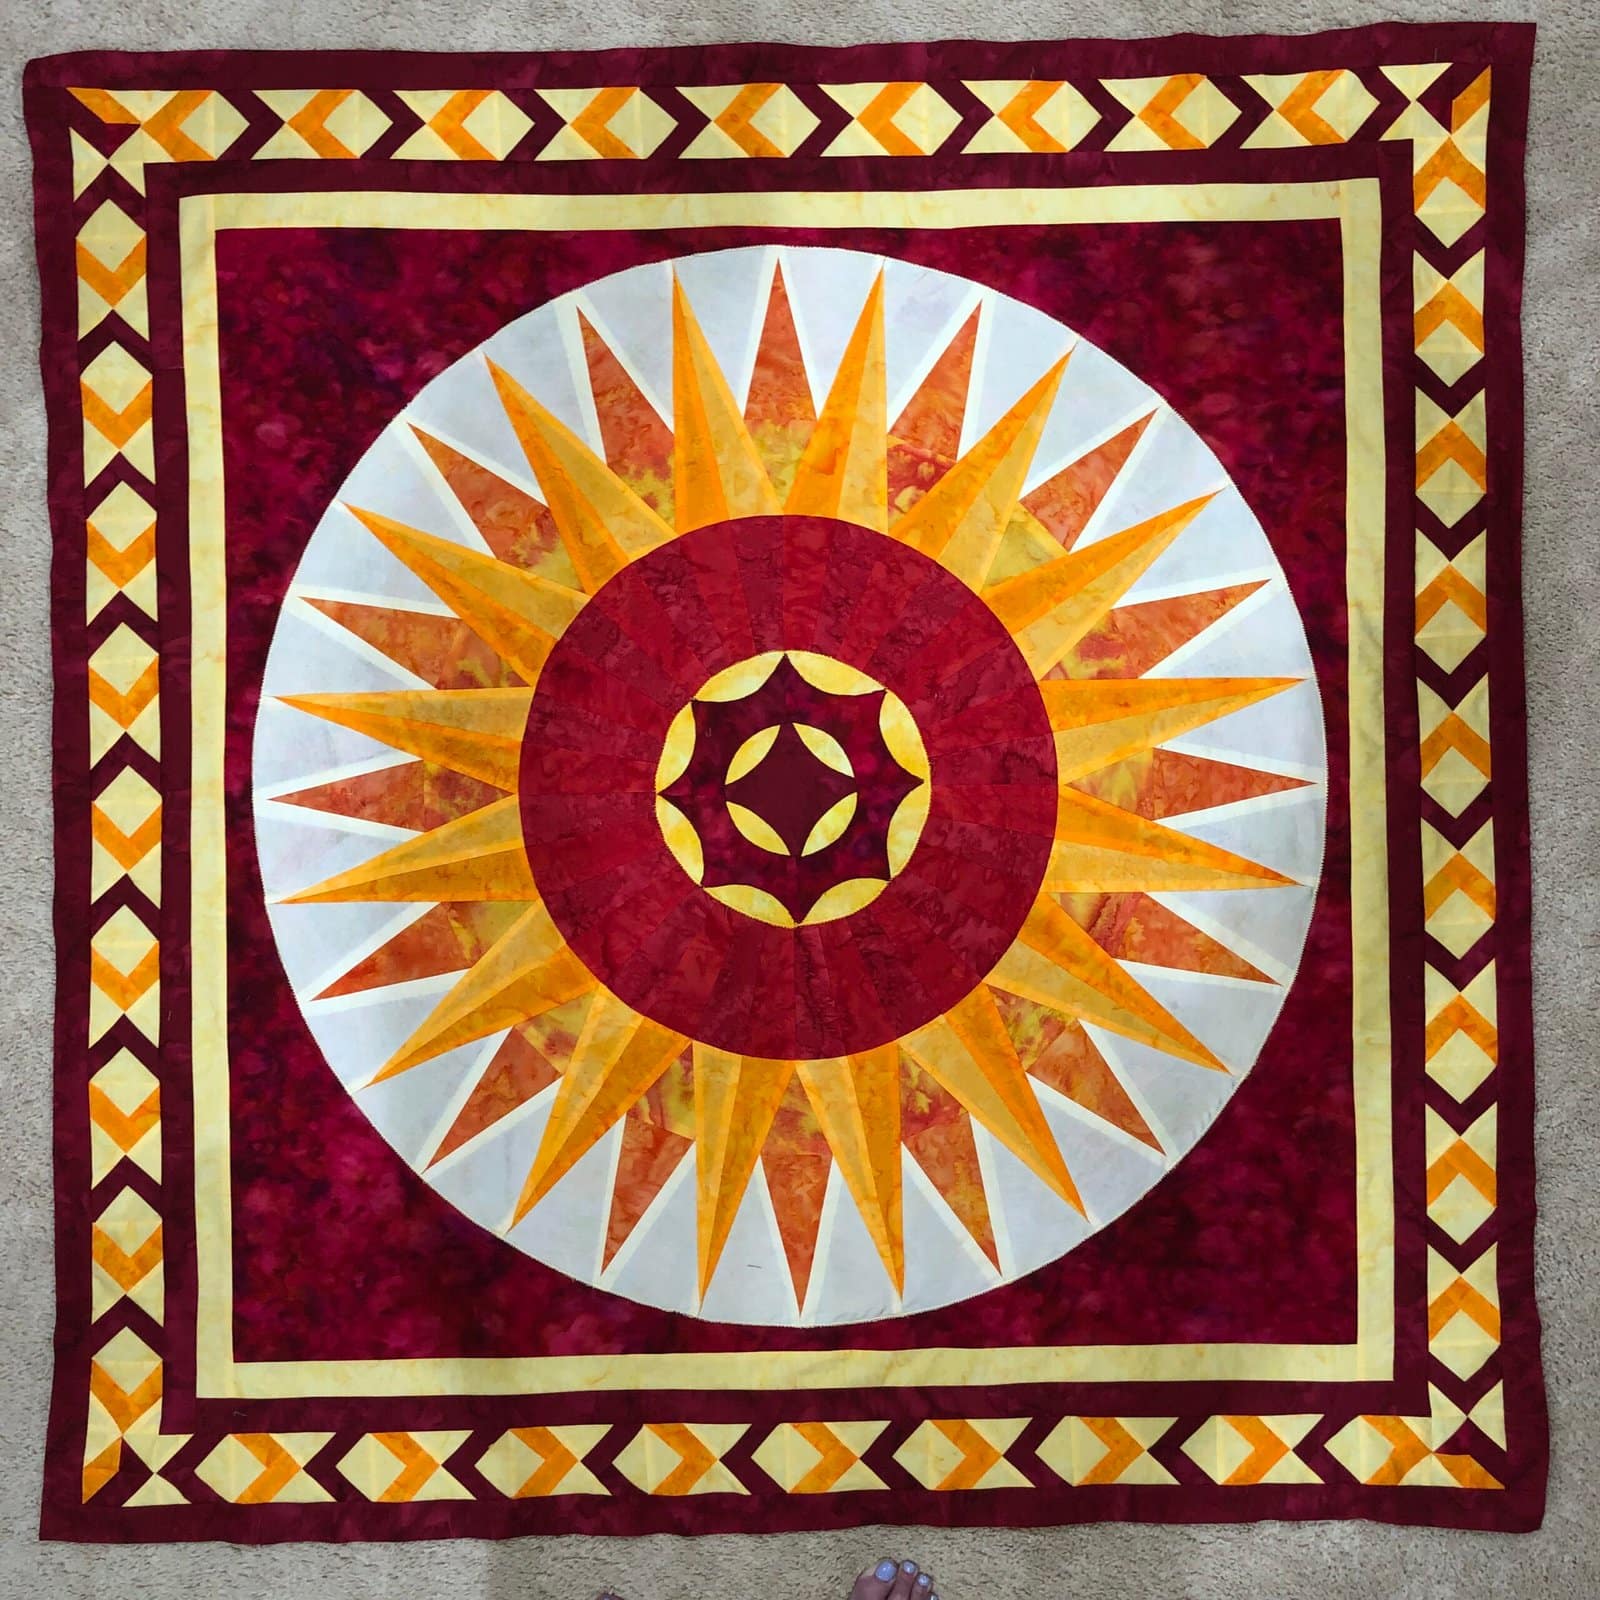
Sun King is a pattern with gentle curved piecing for the rays and tight piecing for the for the center. If you aren’t comfortable with the tight curves in the center, it can also be fused!
Stay tuned for more information on sewing curved seams.
Happy Quilting!
Laureen
