Disclosure: This post contains affiliate links. If you purchase through them, I may earn a small commission at no extra cost to you.
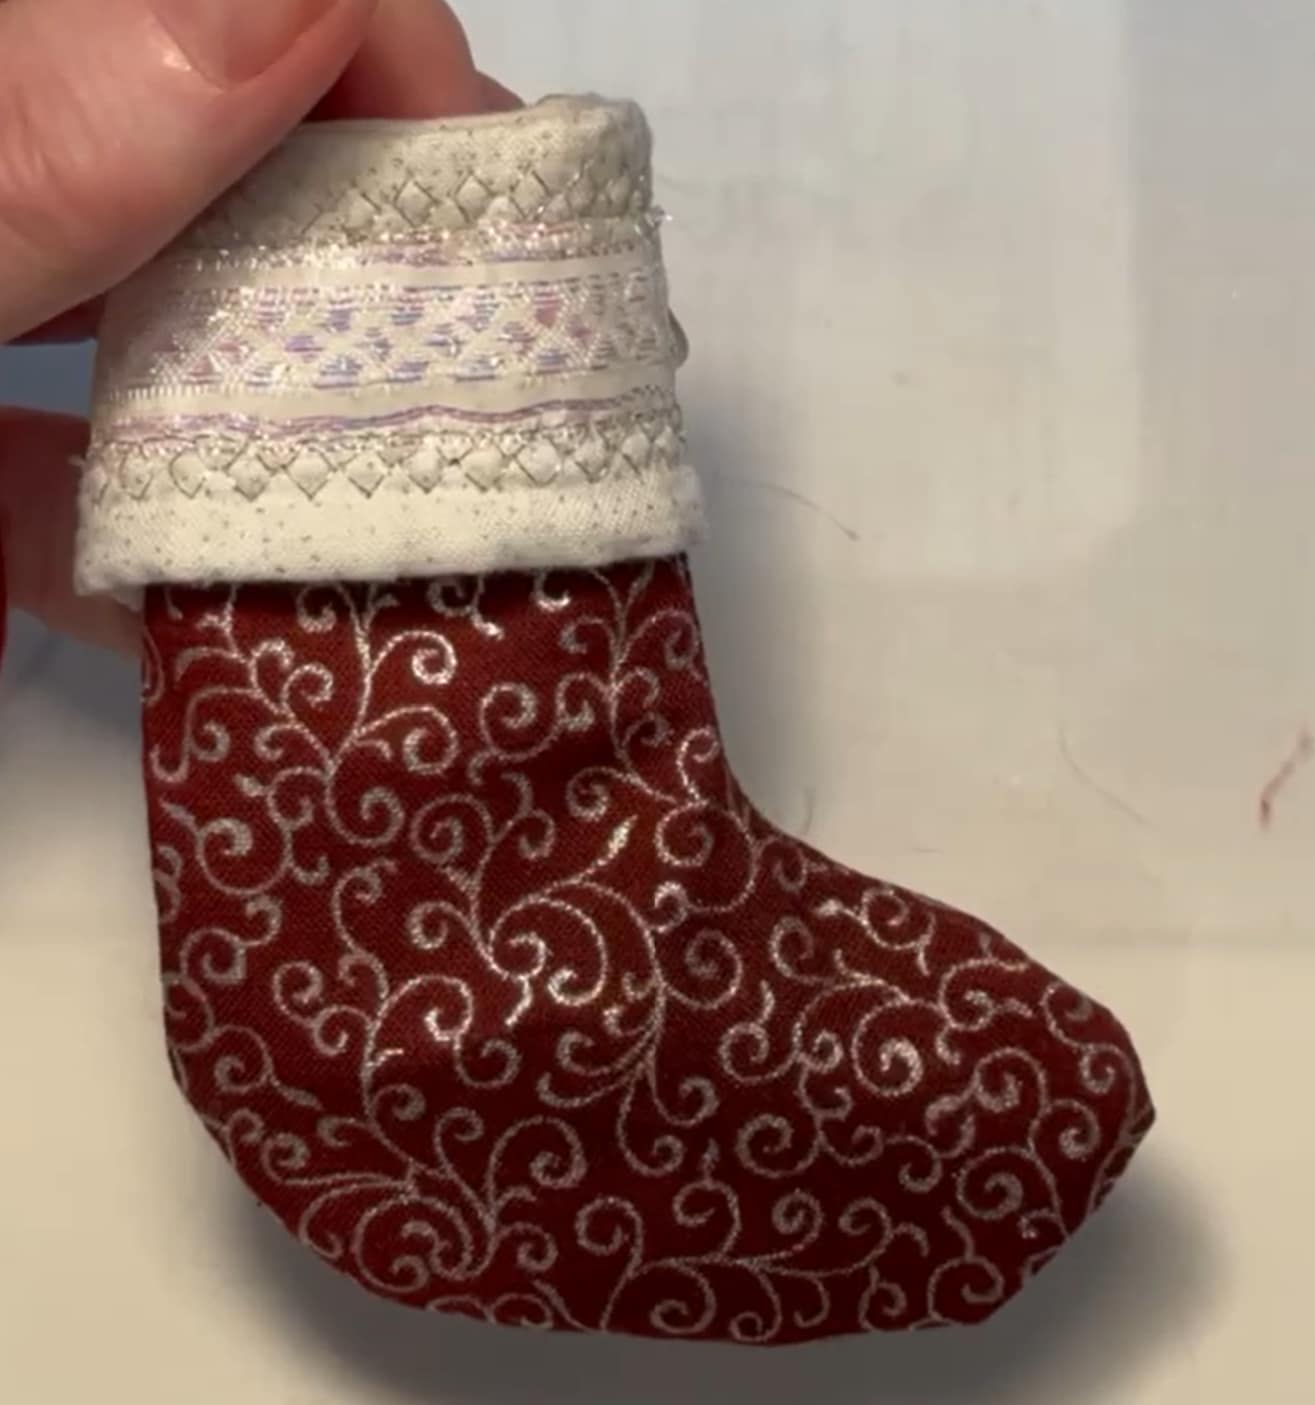 Ribbon is one of my favorite ways to level up a project. A little metallic shimmer along a seam, a woven trim tucked into a border — it adds richness you just can’t get from fabric alone, and it pairs beautifully with decorative machine stitches. But before you reach for a spool and start stitching it down, there are a few things worth knowing.
Types of ribbon
Ribbon comes in a huge range — anywhere from 1/8″ to 8″ wide, and generally speaking, the wider it gets, the more it costs. Material matters too: polyester ribbon tends to be the most budget-friendly, while woven jacquard and real silk ribbons run noticeably more expensive.
Beyond the basics, there’s a lot to play with:
- Satin ribbon — smooth and shiny on one or both sides, the most common type for quilting embellishment. Berwick Offray is a grosgrain/satin source I’ve used and trust.
- Grosgrain ribbon — ribbed texture, more structured, holds its shape well
- Jacquard/woven ribbon — patterned designs woven into the ribbon itself, often with metallic accents
- Wire-edged ribbon — has thin wire along both edges, great for dimensional bows and flowers. It’s a favorite for craft projects, but not the best choice for quilting — the wire can poke holes in your fabric, so save it for décor rather than anything that’ll be handled, washed, or sewn through repeatedly.
- Metallic ribbon — adds sparkle but tends to be more heat-sensitive and prone to fraying
- Velvet ribbon — beautiful for tree skirts and table runners, adds warmth and texture
- Burlap ribbon — perfect for rustic or farmhouse-style projects
- Organza ribbon — sheer and delicate, gorgeous, but fine enough that you may need a stabilizer behind it when stitching. I tend to avoid stabilizers altogether by quilting as I go — the batting itself does the stabilizing work for me.
- Silk ribbon — luxurious and a step up in price. ThreadArt is where I go for silk ribbon.
You’ll also find themed ribbons — Halloween, Christmas, Easter, and beyond. One caution here: craft-store ribbon isn’t always made for sewing. It’s often designed for gift wrap or décor, not for holding up to a sewing machine needle or repeated handling, so check before you commit a project to it.
If you want to browse a wide selection in one place, Morex is a US-based company with a huge range for craft and sewing. If you prefer buying in bulk, Ribbli is a good wholesale source. And if sustainability matters to you, Vitalizart is a more eco-conscious brand worth a look.
When in doubt, check the end of the spool — most ribbon includes fiber content on the label, which tells you upfront how it will behave with heat, water, and washing.
Test before you commit
A few quick tests can save you from a ruined block later:
- Colorfastness — some ribbons can bleed color when wet, especially darker or more saturated dyes. Test a scrap before washing anything with ribbon attached.
- Shrinkage — this one’s a fiber-mismatch issue more than a ribbon issue. Most polyester ribbon won’t shrink much on its own, but the cotton fabric around it will — so if your project will be washed, prewash your cotton first to avoid puckering once the two are stitched together.
- Heat tolerance — ribbons, especially synthetic or metallic ones, often have a low melt point. Test a scrap with your iron before pressing directly on ribbon — you may need a pressing cloth, a lower heat setting, or to avoid direct heat altogether.
Attaching ribbon to your project
You can stitch ribbon on with a regular sewing foot, or with a specialty ribbon foot if your machine has one — it’s designed to guide the ribbon and keep it centered as you sew.
 If you’re not using a ribbon foot, keeping the ribbon from shifting while you stitch is the real challenge. A few options:
- Pins or clips — simple, but both edges can warp or shift during stitching if you’re not careful. Stitch evenly along both sides of the ribbon rather than sewing one edge all the way down first — that keeps it from puckering or pulling off-grain.
- Fabric glue — works, but some glues can discolor certain ribbons over time, so test on a scrap first.
- Fusible tape (I like Steam-A-Seam 1/4″) — my go-to. Just know it needs enough heat from your iron to activate, so this circles back to testing your ribbon’s heat tolerance first. If you use a different fusible, make sure it’s compatible with your ribbon’s fiber content.
A note on needles
Needle size depends on your thread, but the point type makes a real difference with ribbon. I typically use a universal needle — just make sure it’s sharp, since a dull point can snag or pull threads out of the ribbon as you stitch.
Finishing raw edges

RIbbons and beads
Polyester ribbon frays at the cut edge, so it’s worth planning ahead:
- Bury the edge in a seam — my preferred method. No special tools, no risk of discoloration, just clean construction.
- Sew the edges together — folding and stitching closed works well for ends that will show.
- Fray Check — a common fix, but it can discolor some ribbons (especially light or metallic ones), so test on a scrap first.
- Heat-sealing — a match will melt and seal a polyester edge almost instantly, but I’d skip trying this with a clothes iron. Sustained direct contact risks melting ribbon residue onto your soleplate rather than cleanly sealing the edge. If you want a heat-sealed edge, a craft tool made for that purpose is a safer bet than repurposing your iron.
My own approach is to avoid the whole question when I can — burying the edge in a seam or sewing it closed sidesteps fraying entirely.
Why bother with ribbon at all?
Because it’s an easy way to add texture and dimension without touching free-motion quilting. Combine ribbon with your machine’s decorative stitches — a simple zigzag, a blanket stitch, a scallop — and you get a finished, embellished look with skills you probably already have.
 Combine your trims
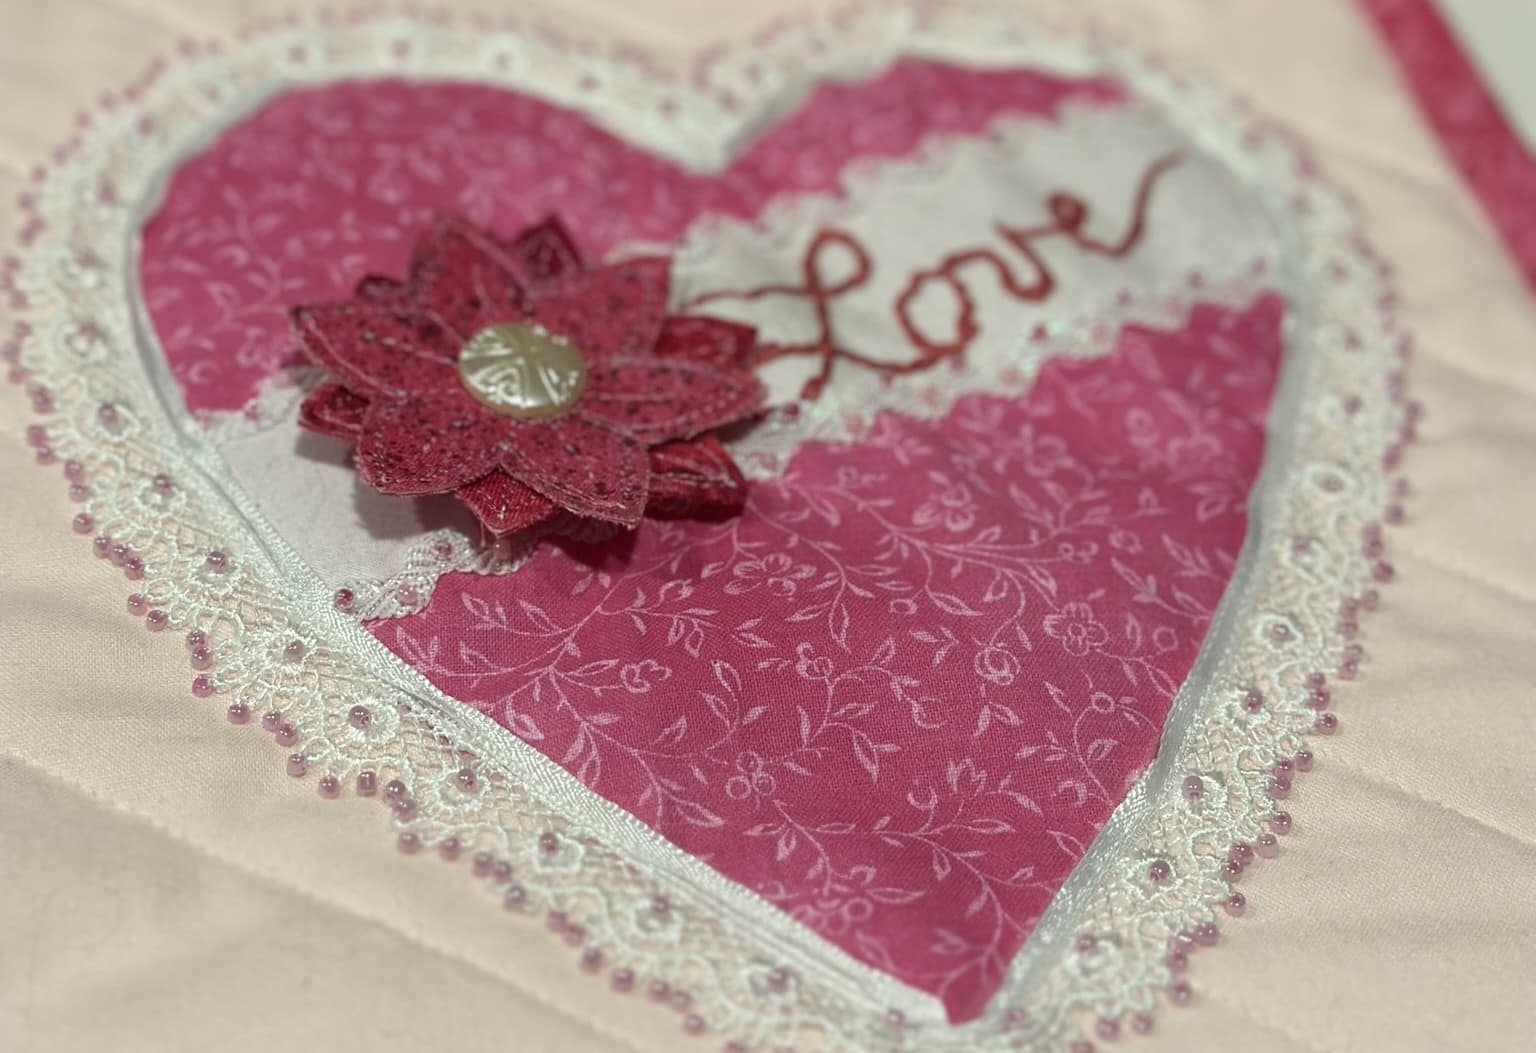
Ribbon doesn’t have to work alone. Layering it with other trims — rick rack, lace, beading — adds even more texture and interest to a project.
I’m planning a few more posts on exactly this — rick rack, lace, and beading — so if embellishment is your thing, stay tuned.
Would you like to learn how to use elements like these in your own quilting? Hit reply and let me know, or drop a comment below. I’m always looking for what to teach next.
Thanks for this article. I recently finished a quilt where I used embellishments for the first time and really enjoyed the results. I would be interested in reading anything more you have to say about this topic.
I plan on a whole series about embellishment! I am so glad you like this.
I would love to see the quilt you finished 😊