Stitch and flip is a great technique to use for triangular pieces. With stitch and flip, you sew on the diagonal and then trim the excess. The benefit of this technique is it minimizes potential for stretching and warping. The downside is that the procedure is not the best use of fabric. It will generate lots of tails.
 The process is relatively simple.
- For each piece, add 1/2-inch to the desired finished size. This is different from the usual 7/8-inch added for triangular piecing.
- Draw a line on the back of one pieced, generally the smaller one, if they are not the same size.
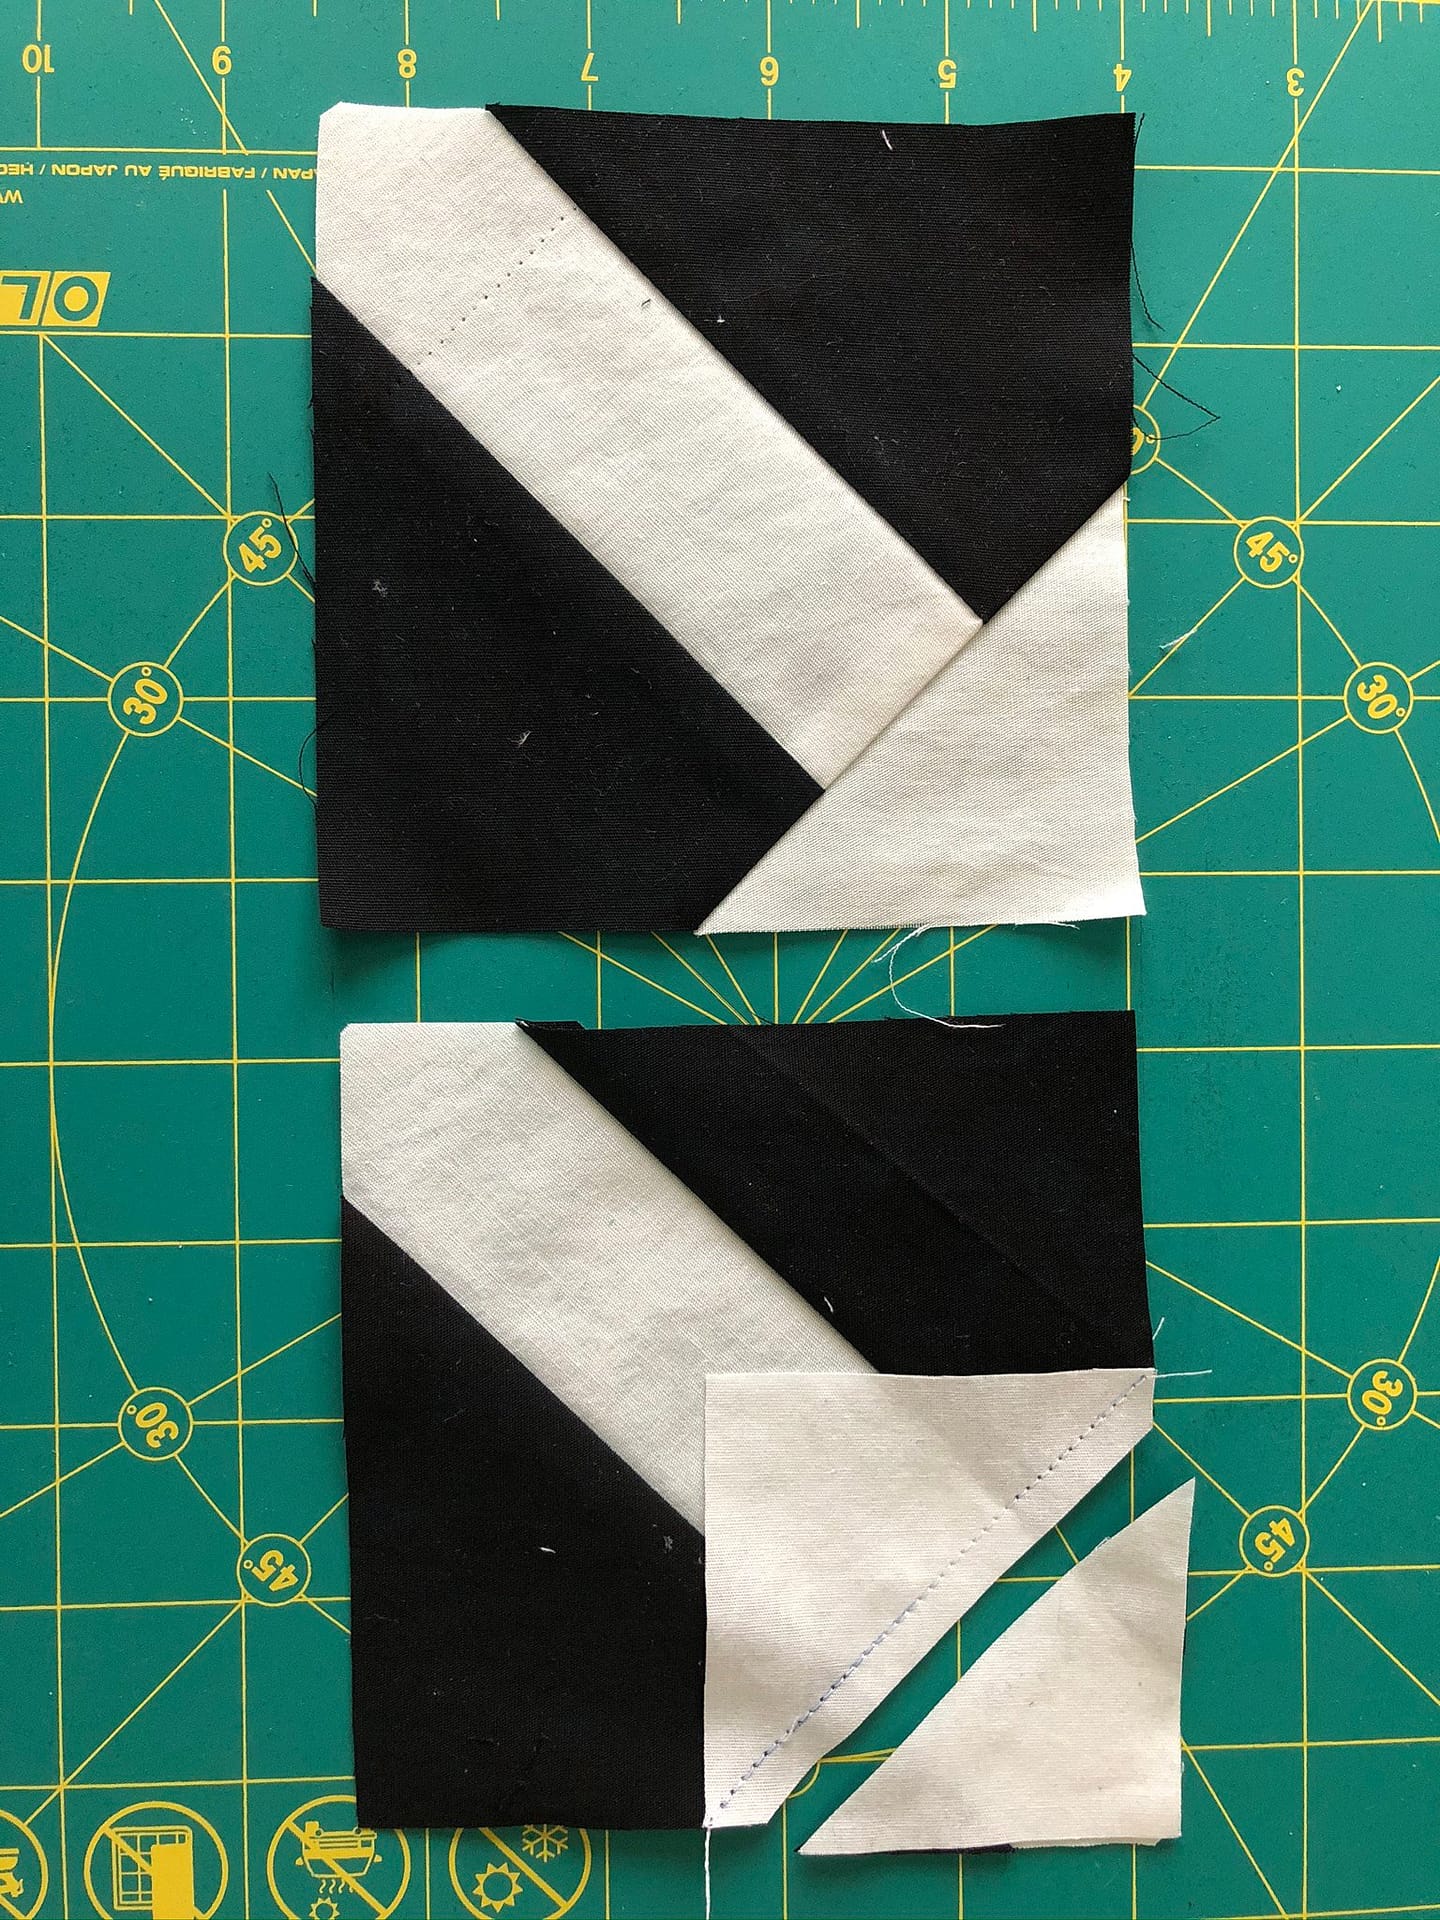
- Place the pieces right sides together, aligning the corners.
- Sew just to the outside (corner side) of the drawn line. That provides a thread or two for the fold.
- Do a “Fold Test” by folding the piece back toward the corners to ensure they still align.
- If they do, go to the next step.
- If the folded piece is just short of the corner, sew a second seam just outside the first seam. Then, remove the first seam and check again by folding back the piece. By sewing the second seam before removing the first, you ensure you don’t put it back in exactly the same spot.
- If the folded piece is a little over, you have two choices, trim to even them up or make a second seam just inside the first seam. You will not have to remove this first seam in this case.
- Once you are sure the piece is correct by the Fold Test, trim 1/4-inch outside the seam. This step is optional. Trimming removes bulk at the corners. However, some quilters like to leave it to keep the piece more stable. Personally, I like to remove the bulk. It makes quilting easier.
- Finally, fold the added piece back and press into shape. Remember to press, not iron.
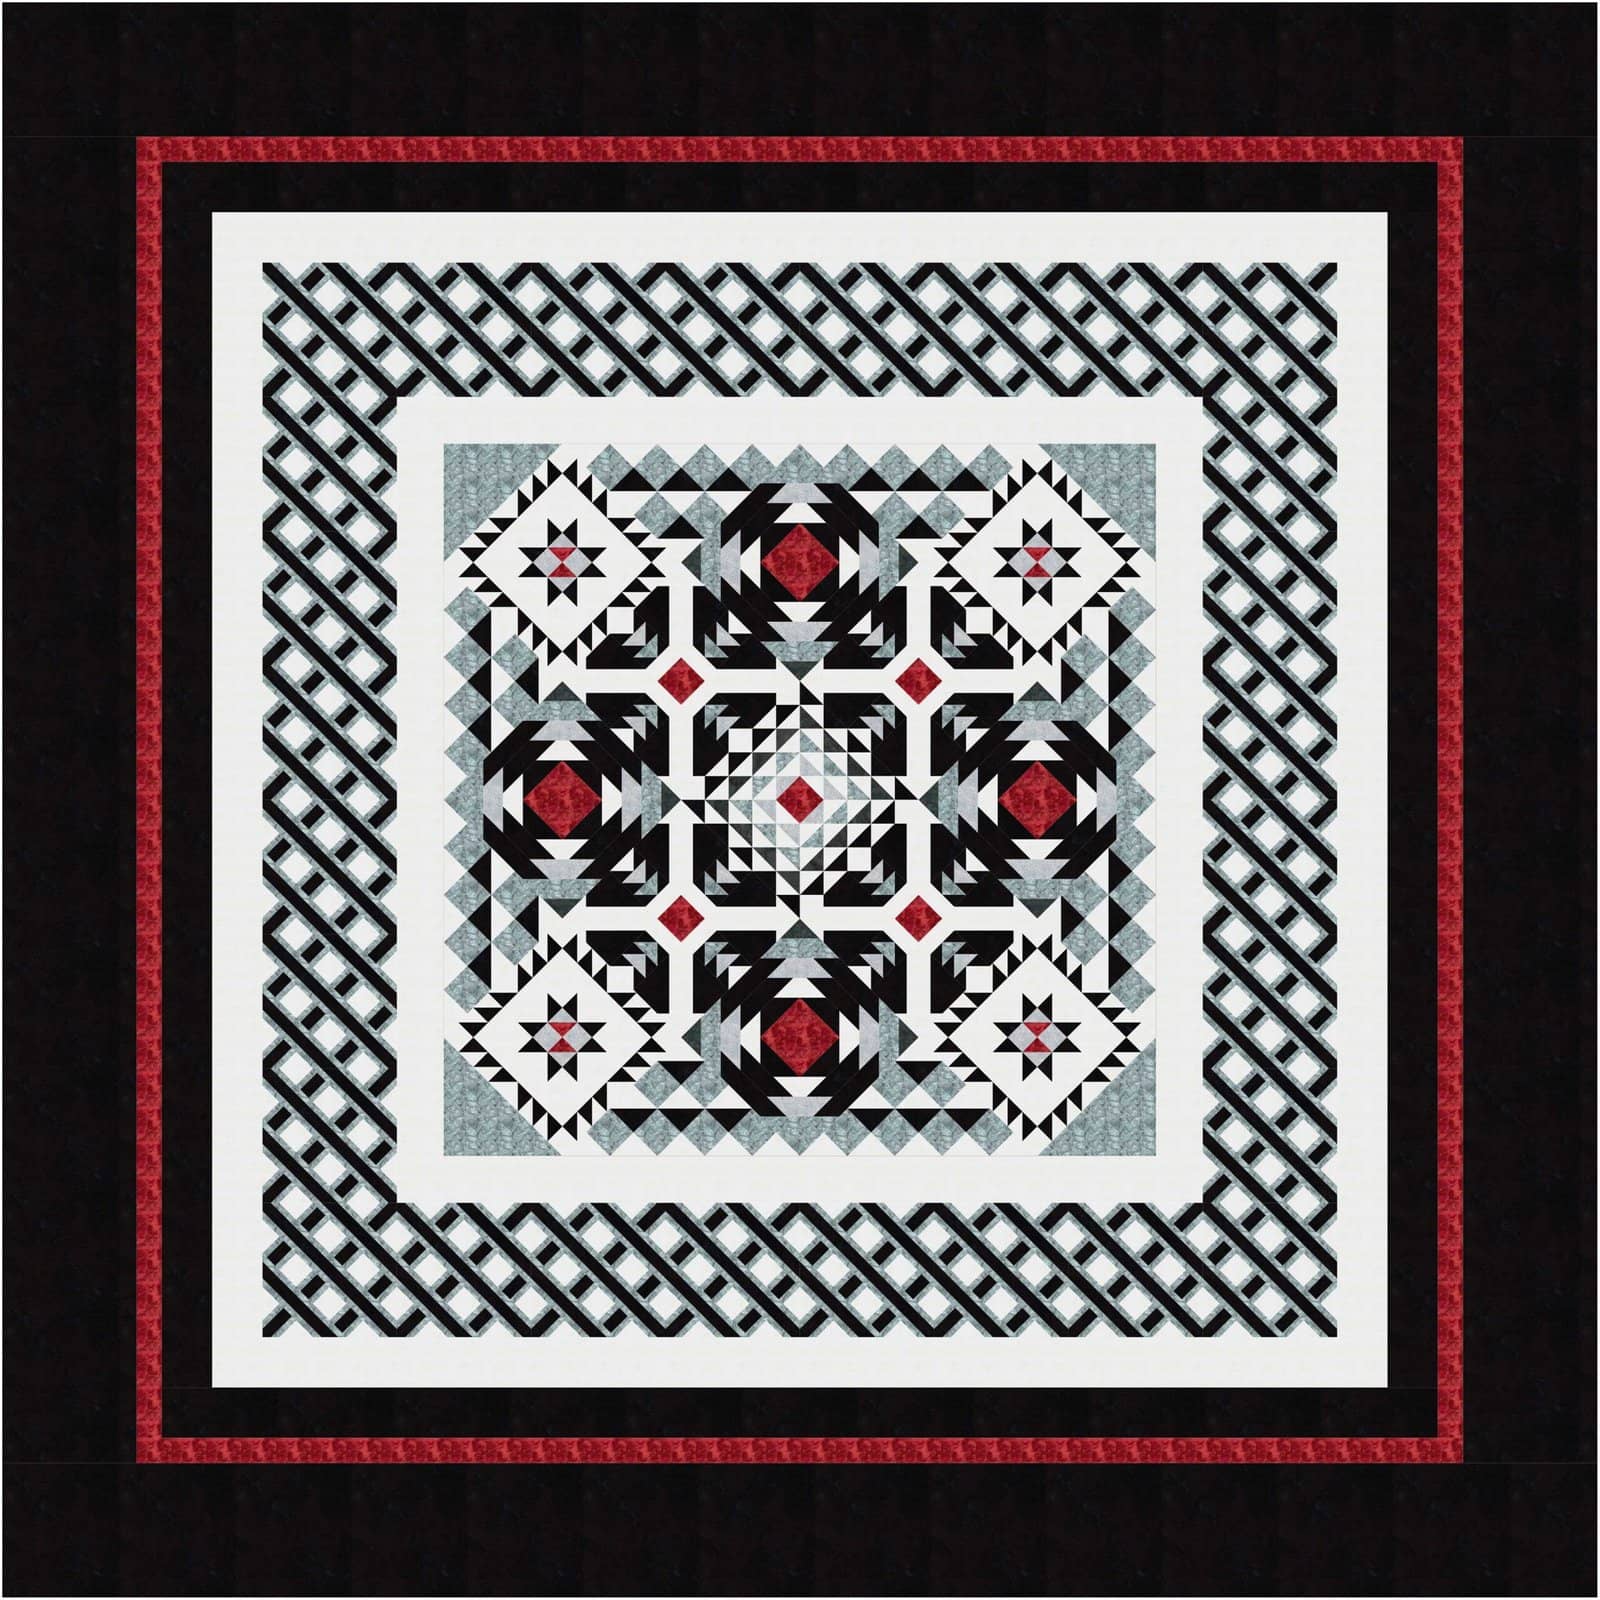
Justice uses this technique for the Broken Heart Block.
Hopefully, this technique will be useful in a few of your projects.
Happy Quilting!
Laureen
