
Most children remember being told: no running in the house, no running with scissors, and for goodness sake, stop fooling around. Well — now that we are all grown up, we can spool around all we want!
I still wouldn’t recommend running with scissors though. And I really should stop holding pins in my mouth — it’s on my to-do list. Right below finishing this block. 😄
 Spooling Around is the next in my series of free fusible appliqué lettering blocks, and I am so happy to share it with you! Like its companions So Sew and Quilt On, I will be quilting the sandwich first. In fact, I am going to try quilting right through the paper this time and skip the tracing step entirely. I may regret that when I am picking paper out of my stitches — but it will save time. Just like fusing and then quilting.
We’ll see how that goes. 😄
👉 Download Spooling Around here: https://tourmalinethymequilts.com/product/spooling-around/
Missed the earlier blocks in the series? Grab them here:
- 👉 So Sew — $2
- 👉 Quilt On — $2
- 👉 Spooling Around — $2
With this block, I decided to actually follow through on that plan — I stitched right through the paper pattern and skipped tracing altogether. Here’s how it went.
As an Amazon Associate, I earn from qualifying purchases — this post contains affiliate links, and if you shop through them, I may earn a small commission at no extra cost to you.
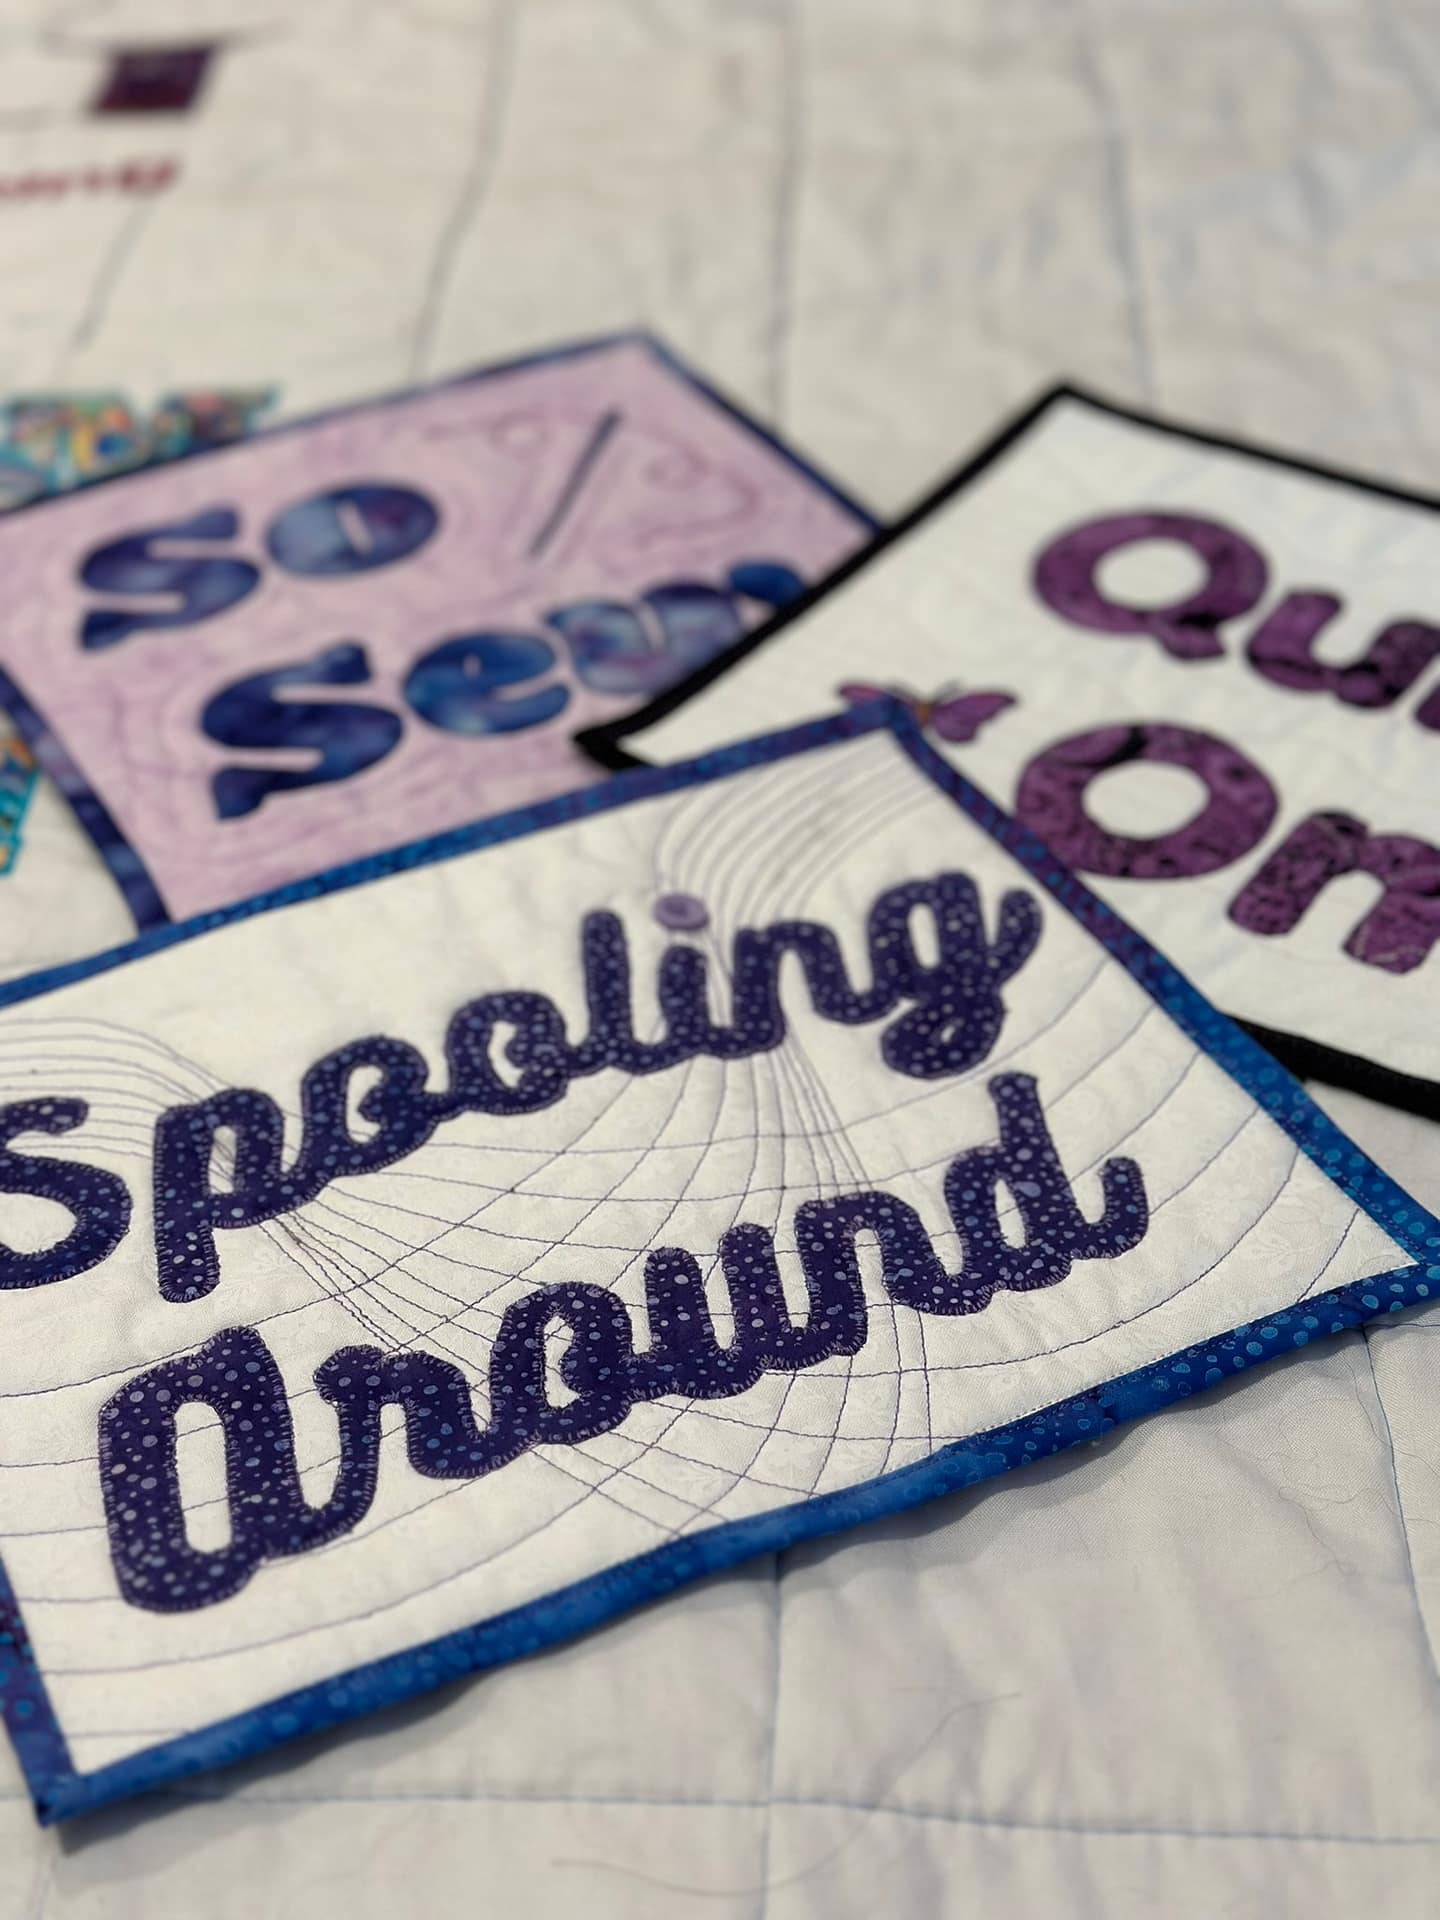 First, thread. I usually reach for my Aurifil stash, but every purple I tried was too red against this background. I dug through my stash and found an old Gütermann multi-pack I’d forgotten I owned and landed on a blue-violet instead of the red-violet — the middle shade turned out to be perfect. Since we were about to do a lot of stitching on this one, I wanted something quieter, and this one read exactly right.
The paper trick worked. I anchored the pattern over my quilt sandwich with magnets, stitched straight through it, and pulled it off after — it comes apart almost exactly like foundation piecing paper. The small, tight spots were the only holdup, and my friend Carolina Moore’s foundation-piecing water pen saved me more than once when a stubborn bit wouldn’t let go of the stitches.
For the letters themselves, I used my usual freezer paper template method — just one layer, since these letters are single use. One trick that’s made cutting easier for me: slide your scissors in from underneath instead of turning them on top, especially around tight curves like the G and O. I did manage to nick one of the O’s while cutting — to fix it, find matching fabric, tuck a little piece under the missing area, and fuse it in place along with the rest of the letter. You’d never know. Then a blanket stitch in matching thread to secure everything, going slow and lifting the presser foot through every sharp turn to keep it smooth.
Last step was my favorite: a button, stitched on in a crisscross so it reads like a little box, thread pulled tight so it doesn’t bubble on the front. Bury the threads, and the little guy was done.
Want to see it all come together? 👉 Watch the full stitch-along here
Let’s see what you create!
Happy Quilting!
