Three items that are often overlooked when you think about your dream studio are sizing, flooring, and lighting. Don’t worry, this doesn’t mean you need to move or do a complete renovation!
Size and Layout
Size matters. You may only have the corner of a room, part-time confiscation of a kitchen table, or an entire basement. Regardless of what space you can obtain, size does matter. You need enough room to work.
There are four “size” needs to keep in mind for your space: sewing, cutting, pressing, and storage. These spaces can serve multiple purposes to minimize your spatial requirements.
The most obvious of these is sewing space. You may have a dedicated table, desk or chair for this purpose. Or you may borrow the space as needed. Either way, make sure there is enough room to hold your work. If you work only on small projects, you can probably fit on a desk or small table. If you make large projects like king sized quilts, you will want a sewing space large enough to hold your project, so it doesn’t fall off the work surface. Right now, I use my dining room table. I situate my machine in the right corner of the table. This provides almost the entire table surface to hold the king size quilt I just finished piecing. If you don’t have a large enough table, consider temporary horizontal help, like an ironing board, or chair backs to help support the quilt weight. The best solution is a quilt table or gate-leg dining room table, which has a leaf that can drop when not in use.
For those of you with a longarm or midarm machine, you will need at least 24″ around the machine for loading and unloading quilts. When talking to my realtor about my space needs, I compared the space for the longarm to a pool table – something most realtors understand.
Cutting space is the next consideration. I use my dining room table for both sewing and cutting. The mat is placed at the end. This allows me to walk around three sides of my cutting mat. Ideally, I would have like a space the size of a small kitchen island, where I could walk around all four sides. With four side access to your fabric, you can cut all the dimensions without moving the fabric, which can mess with the success of your cuts. It also means less ergonomic issues for your wrists when cutting. There are rotating mats which help with the four-side access, but these are often 12-inches across so not ideal for larger pieces. For me the ideal cutting space will fit my 24″ x 36″ mat with another 24″ x 12″ space for a bolt of fabric and a little edge around it to hold rulers and cutters. This adds up to a 28″ x 52″ island at waist height. That is my goal for my new studio!
Pressing space is a little different. You may have two very different needs for pressing. The first is large pressing for freshly cut or laundered fabric and finished quilts. For this, I like a full-size rectangular ironing board. You need at least 12″ x 36″ for this purpose. Bigger is better here, if you can fit it. This can be combined with the cutting space. If you decide to combine these spaces, which is a smart plan, add the cutting layer on top of the pressing layer. First, cutting mats are generally easier to move than wool pressing mats or other ironing surfaces. Second, you really don’t want the heat of your iron on your precious cutting mat, no matter how insulating the ironing surface. Yes, it is part of my plan.
Sewing Triangle
The second pressing space is for your piece work. If I am working on a quilt with lots of piecing, I like to have a small pressing surface right next to my machine to minimize my movements. Of course, moving around is better for my back and waistline. I typically will set up a tray table with a small ironing mat and iron next to my machine for this purpose.
When planning your spaces for cutting and pressing, make sure to allow walking space around each of them. A good rule of thumb is 24″ clearance around the tables, so you have room to maneuver with fabric.
These three working spaces should be arranged, if possible, in a triangle, with easy access to each. This triangular access is similar to the one in your kitchen for the stove, refrigerator and sink. The triangular arrangement helps you work efficiently. I will be sharing my new space with you in a few weeks!
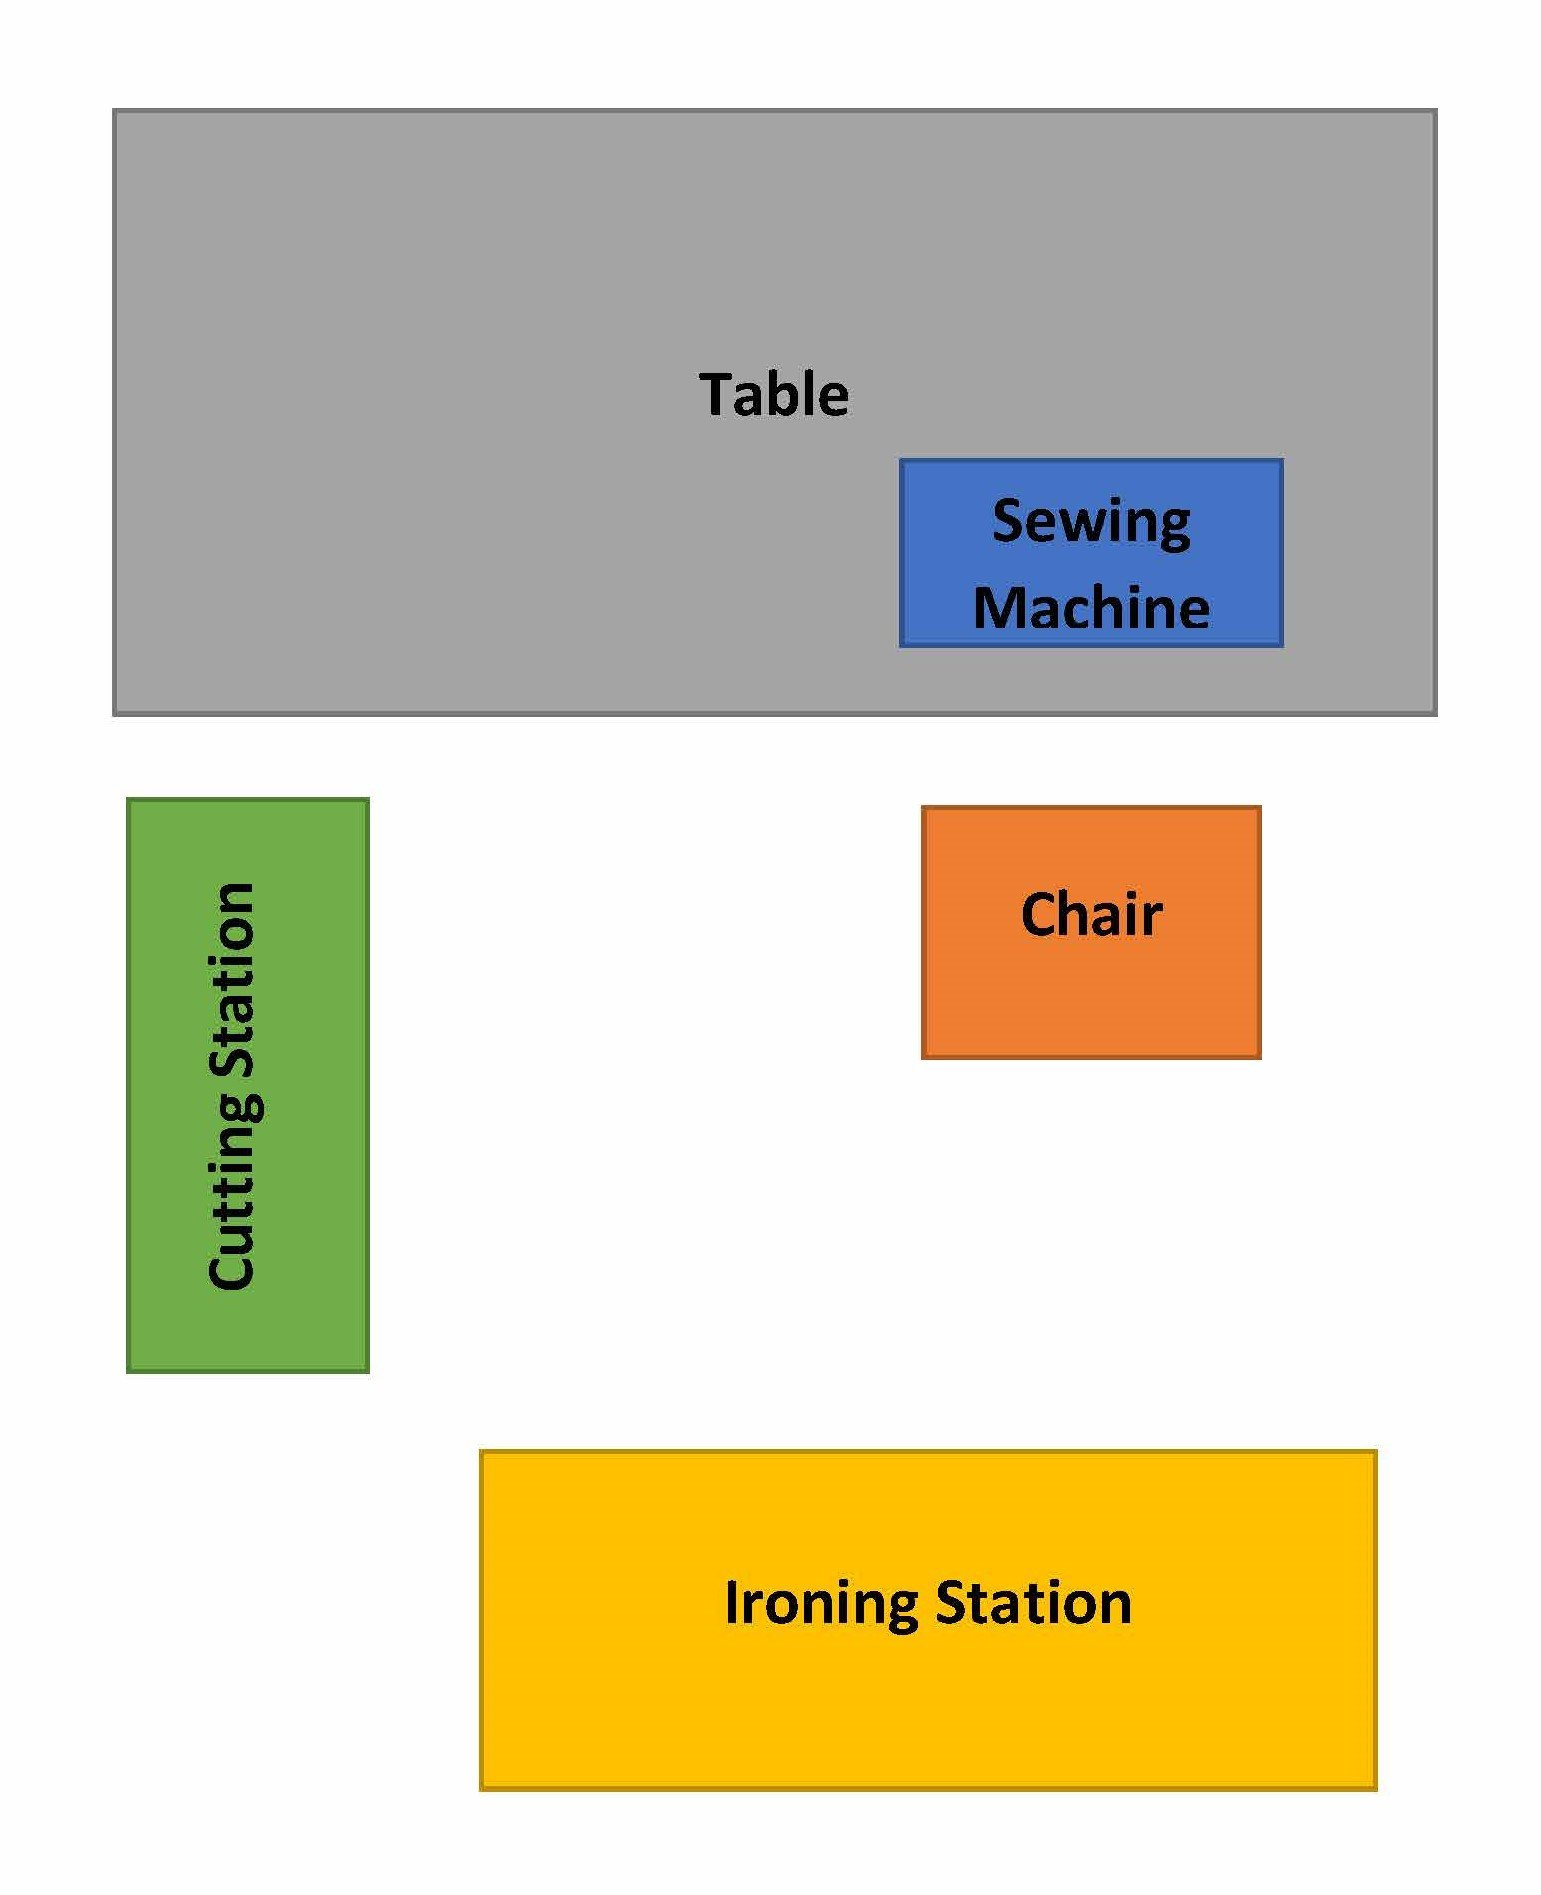
As we pondered buying this house, I measured the room. Then, I made a little map of the room on a piece of paper. I cut out the pieces of paper for my space needs: sewing machine, longarm, cutting station, ironing station, and a comfy couch for designing. Each space included the walking space I needed around it. Then, I moved the pieces around in the space to ensure it would all fit. That sealed the deal for me!
The final space consideration is storage, which could be its own blog. Infact, that is what I will do as soon as my new studio is set up. Just remember that a quilter’s stash is like a goldfish, it will grow to the space provided! If you want to keep your stash small, don’t have a large storage space. I am a bit of a packrat and have a separate room for my quilting storage. 🙂
Floors
I have worked in areas with both carpeting and solid flooring. There are benefits and detriments to both, but this isn’t a polar situation. There are plenty of ways to meet in the middle. So, let’s look at the pros of each and then the cons to see where the compromises lie.
Carpeting is wonderful because it is warm and soft, so it makes our studios feel comfortable. It also deadens the noise of our sewing machines and longarms. Another bonus is that it provides cushion if you are standing for long periods of time quilting, pressing or cutting. Finally, it provides a bit of a slip-resistant surface, so our pedals and other things don’t slide away from us.
Solid surfaces are preferred to for cleanliness. Let’s face it, threads stick to rugs like porcupine quills. It is much easier to get those sneaky treads up from a solid surface than it is to vacuum them from a rug or carpet. I have a pet rated vacuum and it struggles with all that thread daily. Solid surfaces are easier to scrub for that occasional overspray of starch or other products… like the tea I have been known to bump on accident. Finally, finding pins and needles is a snap with solid surfaces compared with rugs. I don’t know about you, but I am not a fan of finding pins with my barefeet.
So how do we get the best of both worlds? There are two ways. If you have a carpet/rug already, you can place a mat on the rug to catch the threads and pins. These clear plastic mats are often sold to help chairs move more easily over rugs. Another option is a painted canvas floor cloth, which is a prettier option for covering a carpet. If you have a solid surface but need the cushioning, think about anti-fatigue mats. They come in a variety of sizes and styles to fit your taste and comfort level. If you are trying to prevent your pedal from scooting away, use a piece of non-slip drawer liner to keep it stationary.
My new studio has luxury vinyl plank (LVP) flooring, which I will warm up with a throw rug and keep comfy with an anti-fatigue mat.
Lights

Studio with LED recessed lighting and LVP flooring (covered in kraft paper).
Lighting is one of the more crucial items to consider in your studio. Natural lighting is best for your work. As we all know that is fleeting depending upon where you live and what time of day you get to quilt. That is why so many of us rely upon artificial lighting. There is nothing worse than sewing in the dark. You can’t see your stitches, read the pattern, or find the grid lines on your ruler. Poor lighting is a recipe for a quilting disaster.
Planning ahead for lighting became abundantly clear when planning my new studio. I walked into the space (I am not sure you would call it a room yet as the drywall was not hung) and saw a light switch and an electrical box in the ceiling, near the door. I thought it was an odd place for an overhead light so asked the builder about it. He immediately corrected me. The electrical box was for the smoke detector. The switches on the wall were for lamps, which we could plug into the wall sockets. That prompted an immediate change order! I couldn’t stand the idea of lamps for my dream studio. Now, was the time to install lights, before the drywall was hung. We decided upon three LED recessed lights based upon the size of the room.
Let’s talk a bit about the type of lighting and where you can use it. There are three types of lighting fixtures – recessed (in the ceiling), surface mount (think ceiling fans and lights that protrude from the ceiling), and lamps. Recessed lighting is my favorite as it doesn’t get in the way and stays pretty clean. Surface mount lights are out of the way, for the most part. They can be diffuse if the shade is under the bulb or direct if the shade is over the bulb. Both of these ceiling lights have one disadvantage, they are stationary and not great for tasks. That is where lamps are excellent supplements to the ceiling lights. Think of the light on your sewing machine. It brightens that sewing space. In fact, some of us add even more light there with clip-on or stick-on (adhesive or magnetic) lights. Some of these even have magnifying lenses to make task work even easier.
There are also three types of bulbs: traditional incandescent bulbs, fluorescent bulbs or my favorite, LED lights. Fluorescents have a longer life span than incandescent and use less electricity, but they often throw a blueish light. Incandescent bulbs come in varying wattages (strengths), which must be compatible with the fixture), and can be soft (yellow) or daylight (blue). LED lights last the longest, are the brightest, and use the least amount of electricity. Thus, why I chose them.
If you can, have good overhead lighting to make the room bright. Then, add task lighting where you need it most. LEDs can be blue or yellow, some can even be adjusted in brightness. LED bulbs come with bases that fit many incandescent lamps. These brightness, longevity, and energy savings are worth the cost.
I hope you are enjoying this walk through my creation as it comes together.
Happy Quilting!
Laureen