
Working on a diamond background for a wall hanging, I discovered a few tricks that make these diamonds a bit easier to cut and piece so the points match beautifully.
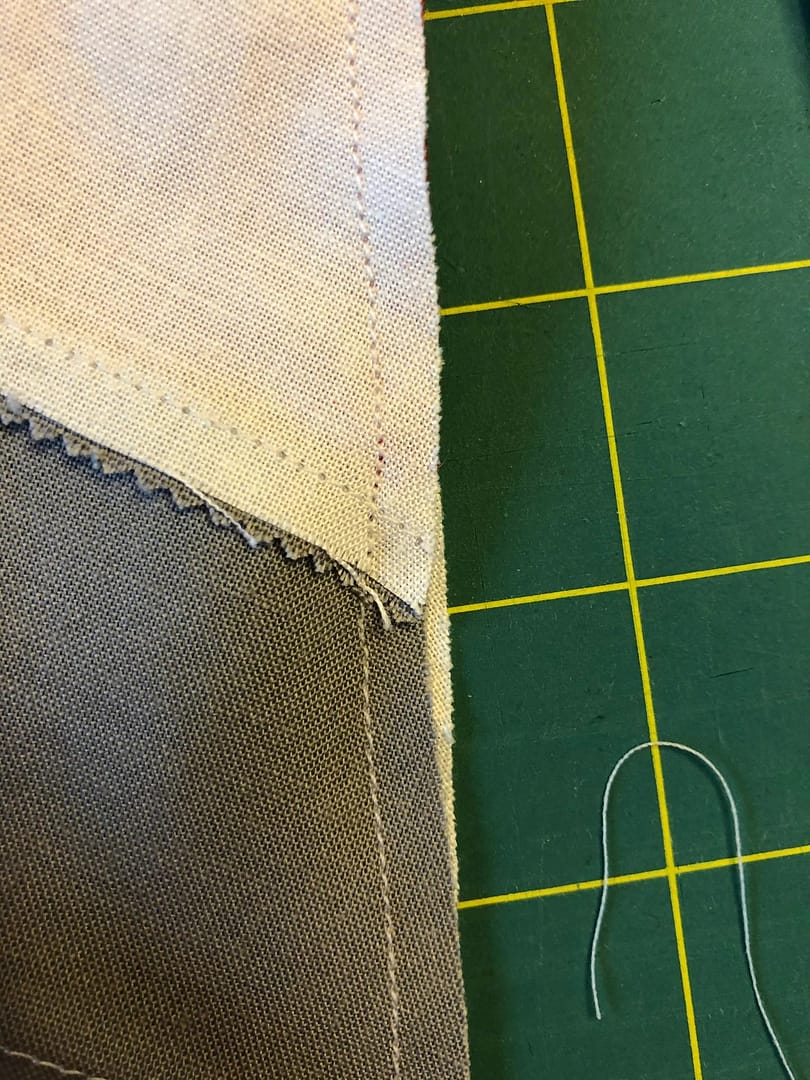
First, I sewed either two or four strips together in the order needed. When sewing them together, I offset each strip by about an inch to reduce waste as I went. When strip piecing, it is very important to align the edges, keep a consistent seam allowance, and press along the seam to minimize warping.

When cutting the diagonal strips, I used the Creative Grids 60 Degree Triangle Ruler and a straight ruler. The straight ruler measured the proper distance from edge to edge and is more accurate than the cutting mat dimensions. Not to mention, the cutting mat markings were hidden under the fabric, so not very useful! The 60 Degree Triangle ensure I had the proper angle. Notice the lines on the ruler match up closely with my seams? This helps later on to ensure the diamonds are the same size. Once I had the triangle ruler in the right spot, I removed the straight ruler and cut the fabric.
Once the diagonal strips were cut, it was time to sew them together. This is where is gets a little tricky. First, you cannot really nest seams like you would for straight piecing. Instead, the seams should come together about 1/4-inch from the fabric edge. I try to maintain this with pins or clips as I sew the pieces together.

No matter how careful I am, sometimes the points are a little off. Rather than ripping out the whole seam, I have found a few cheats that help make perfect points. This technique may save you a little time and reduce your anxiety. Believe it or not, the calmer you are, the better your piecing will be!
The technique is pretty simple. Pin or clip your pieces together and sew a 1/4-inch seam as steadily as you can. When you have finished that seam, check your points. If they are off, pinch the fabric at the seam a little bit to see if taking a slightly wider seam allowance – no more than 3/8-inch – will improve your points. If it does, starting about 1/2 a block before that point, resew the seam gradually widening the seam allowance until you reach the point. Then, decrease the seam allowance gradually until you reach halfway through that block. There is no need to tear out seams. It generally works because your seam allowance was not quite accurate in the first place.
If pinching does not correct your point, it means that your seam allowance was probably a bit to wide. In this case, you can rip out the seam 1/2 a block above and 1/2 a block below the point. Repin the seam and try sewing the seam again with a slightly narrower or straighter seam. The images below are an example of where the seam was skewed to be too wide. This would benefit from a localized rip and redo approach.
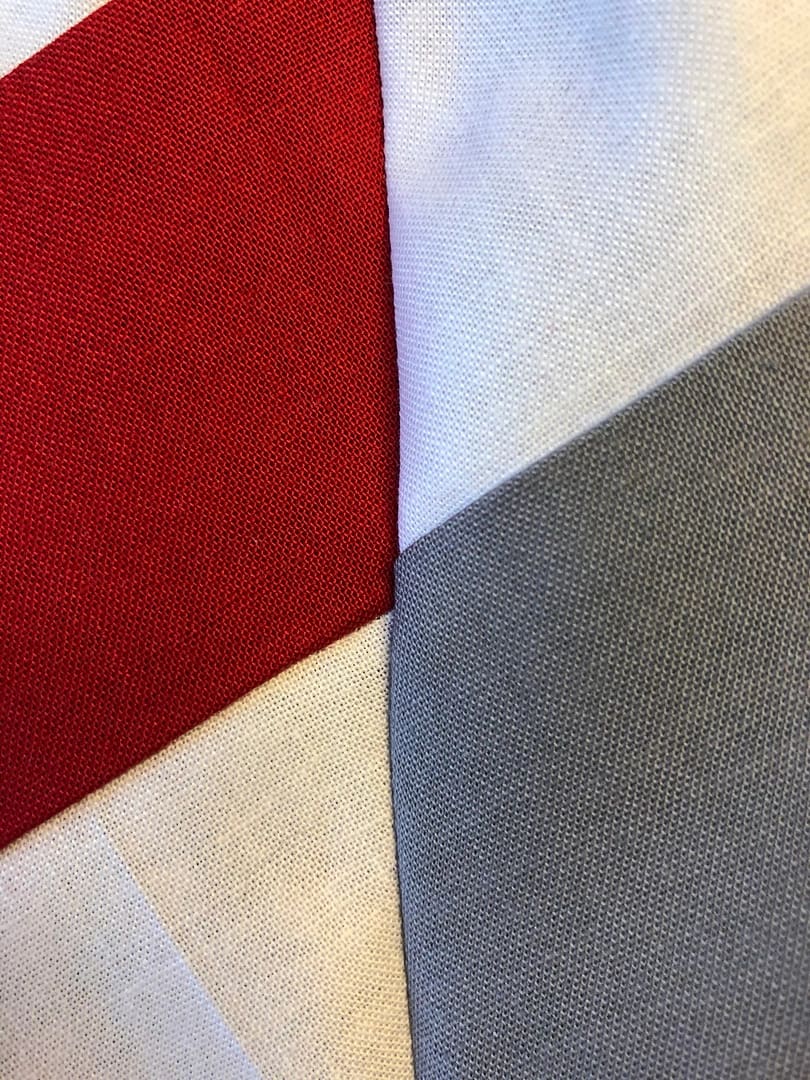
If you look carefully at the two pictures for the diamonds, you will note that the pinch example is too high on the left. Meanwhile, the rip and redo example is too high on the right side. That is another indication of the method that will work best for fixing points.
This method only works if the points are slightly off – less than 1/8-inch. If used on larger discrepancies, it will cause the piece to ripple, which will not look good in the end!
I hope this helps and I may try my hand at a video to explain this a bit better.
Happy quilting
Laureen