 A sweet, simple, fat-quarter-friendly holiday project.
✨ Intro
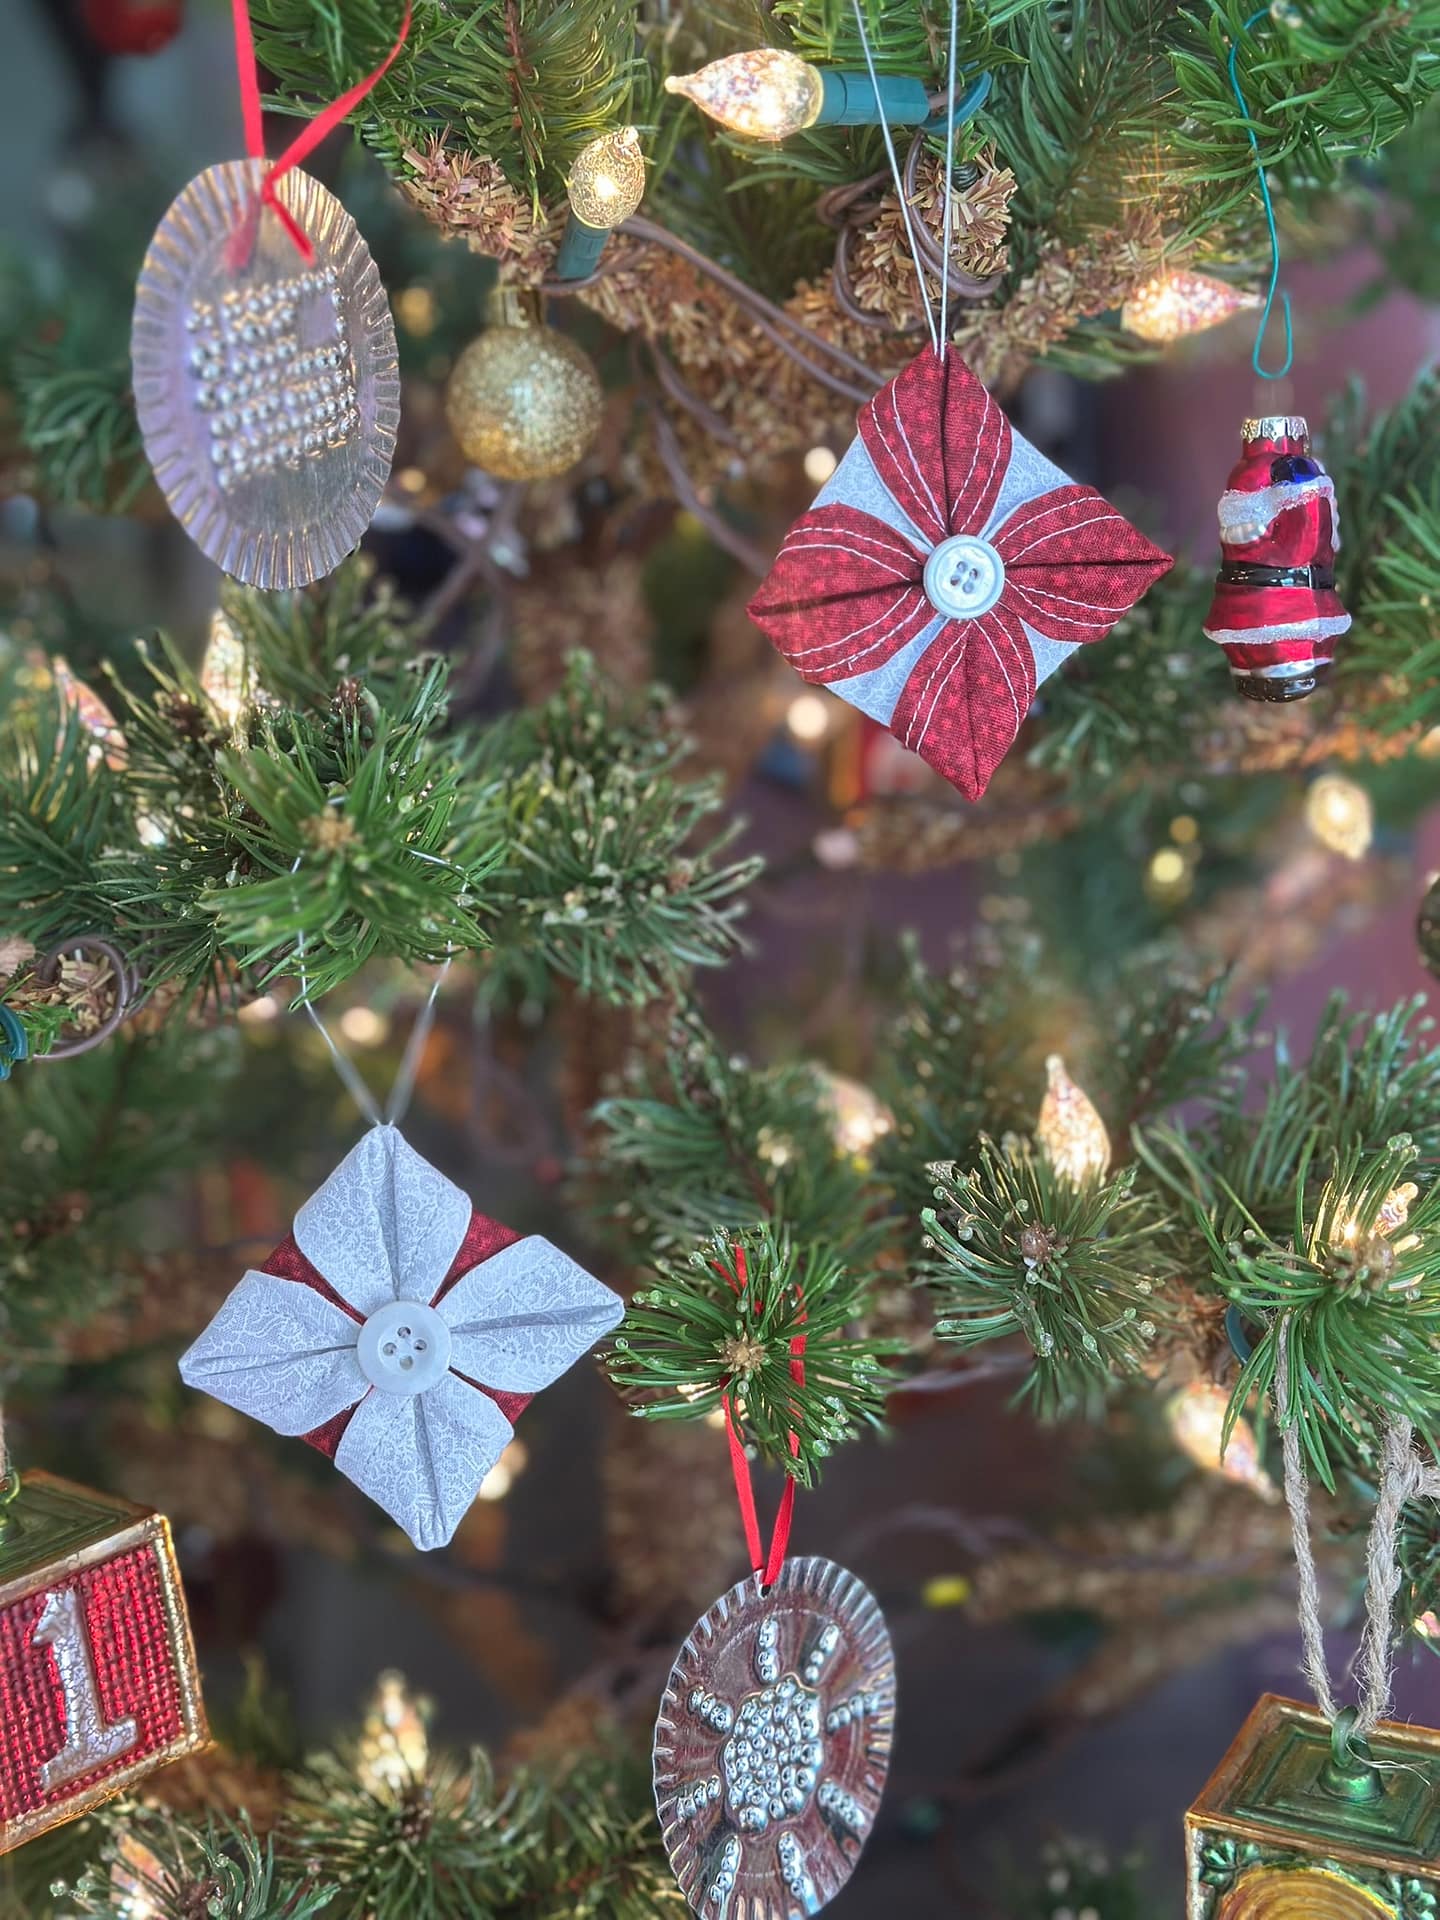
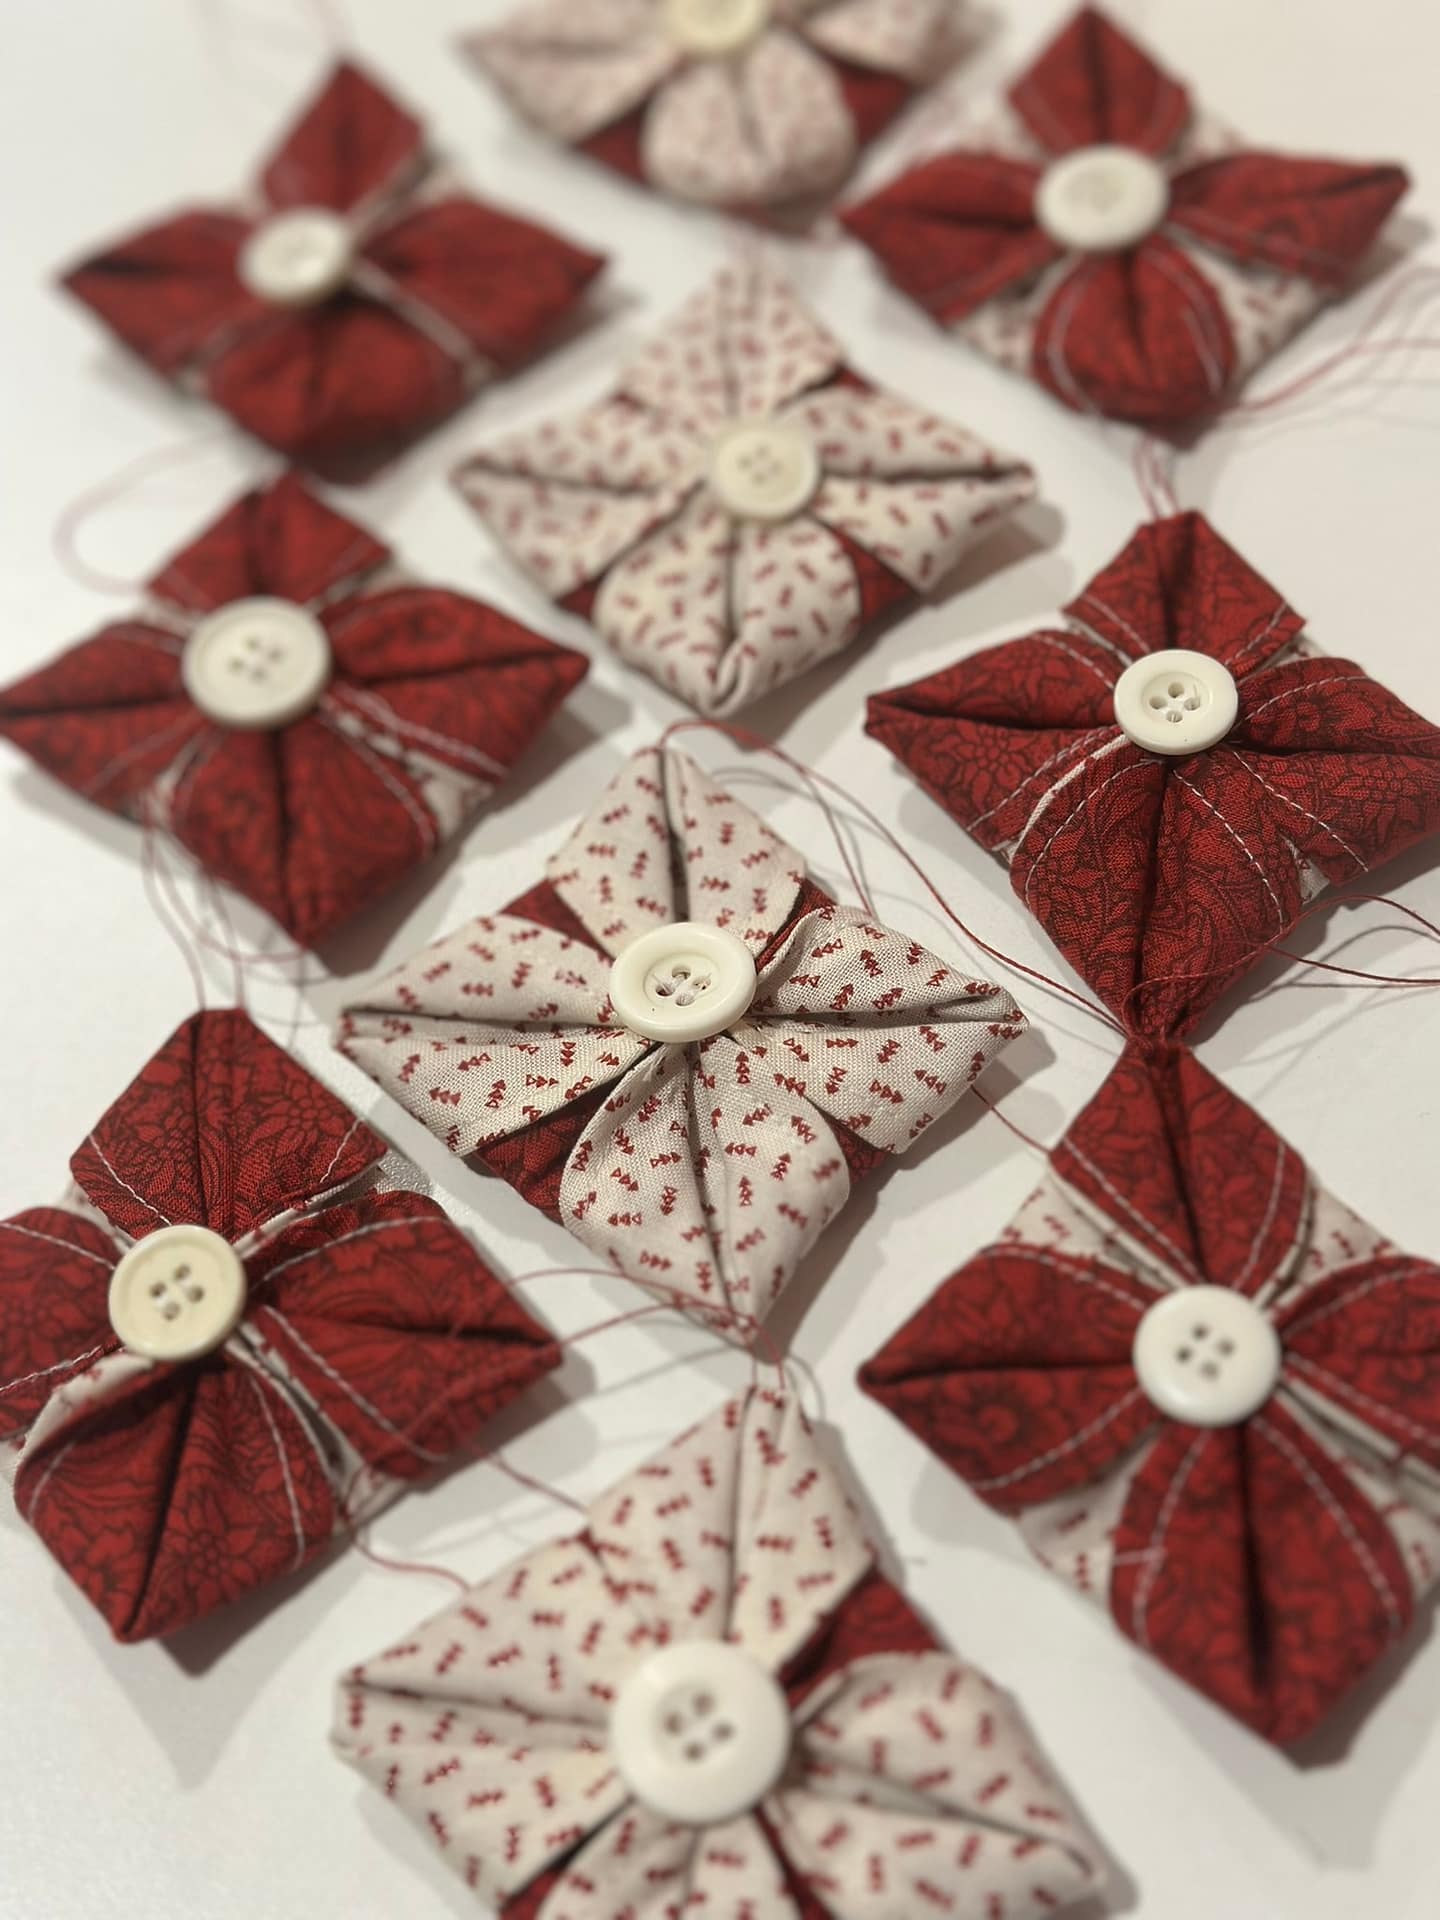
If you’ve got two fat quarters and a little time, you can make a sweet batch of folded fabric ornaments. Each ornament takes about 15–20 minutes once you’re in the groove, and they’re perfect for decorating your tree, adding to gift bags, or giving as little handmade extras.
Heads up, friends — this post contains a few affiliate links. If you pick up a tool or notion through one of them, I may earn a small commission (at no extra cost to you). It helps me keep creating free tutorials like this, so thank you!
✂️ Supplies
-
Two coordinating or contrasting fat quarters
-
Circle template (I used the Creative Grids 5½”; 6½” also works)
No template? Trace a plate, bowl, or lid. -
28mm rotary cutter (smaller blades handle curves better)
-
Small or rotating cutting mat
-
Sewing machine
-
50 wt thread and hand-sewing needle
-
Iron + pressing mat
-
Clips, glue stick, or ¼” Steam-A-Seam (optional for closing the opening)
-
Point turner / “That Purple Thang” / fingernail
-
Darning needle and 12 wt Sulky Petite thread (for the hanger)
-
Buttons or beads for the center
🧵 Step-by-Step Instructions
1. Choose Your Fabrics
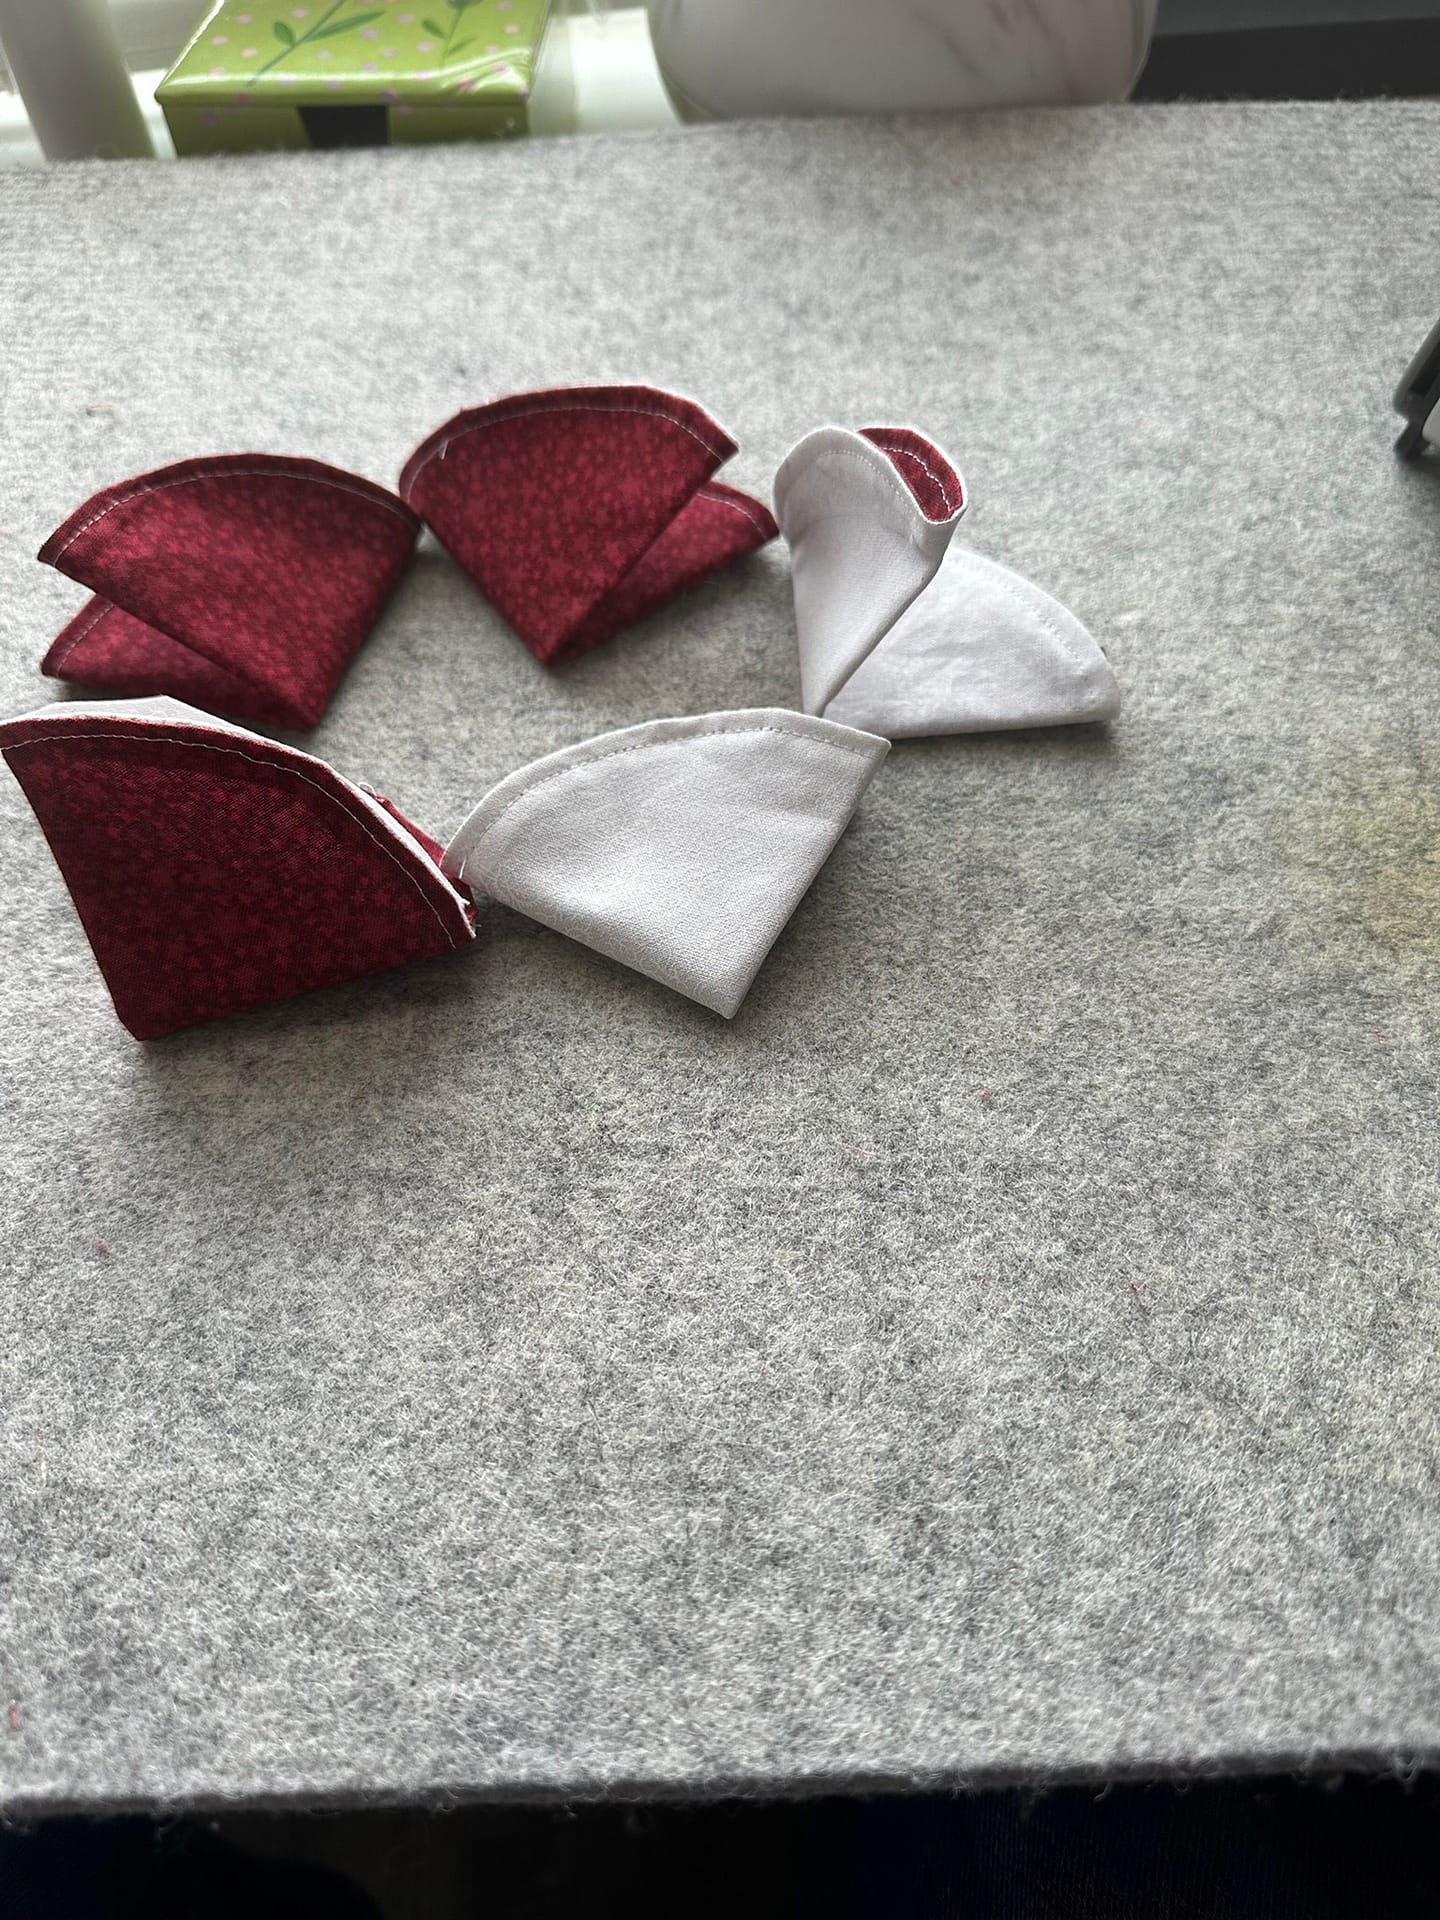
Pick two fabrics that play well together.
Tip: When you shape the ornament, the inside fabric becomes the color of the little corner “petals.” Using half of each color gives a beautiful mix.
 2. Cut Your Circles
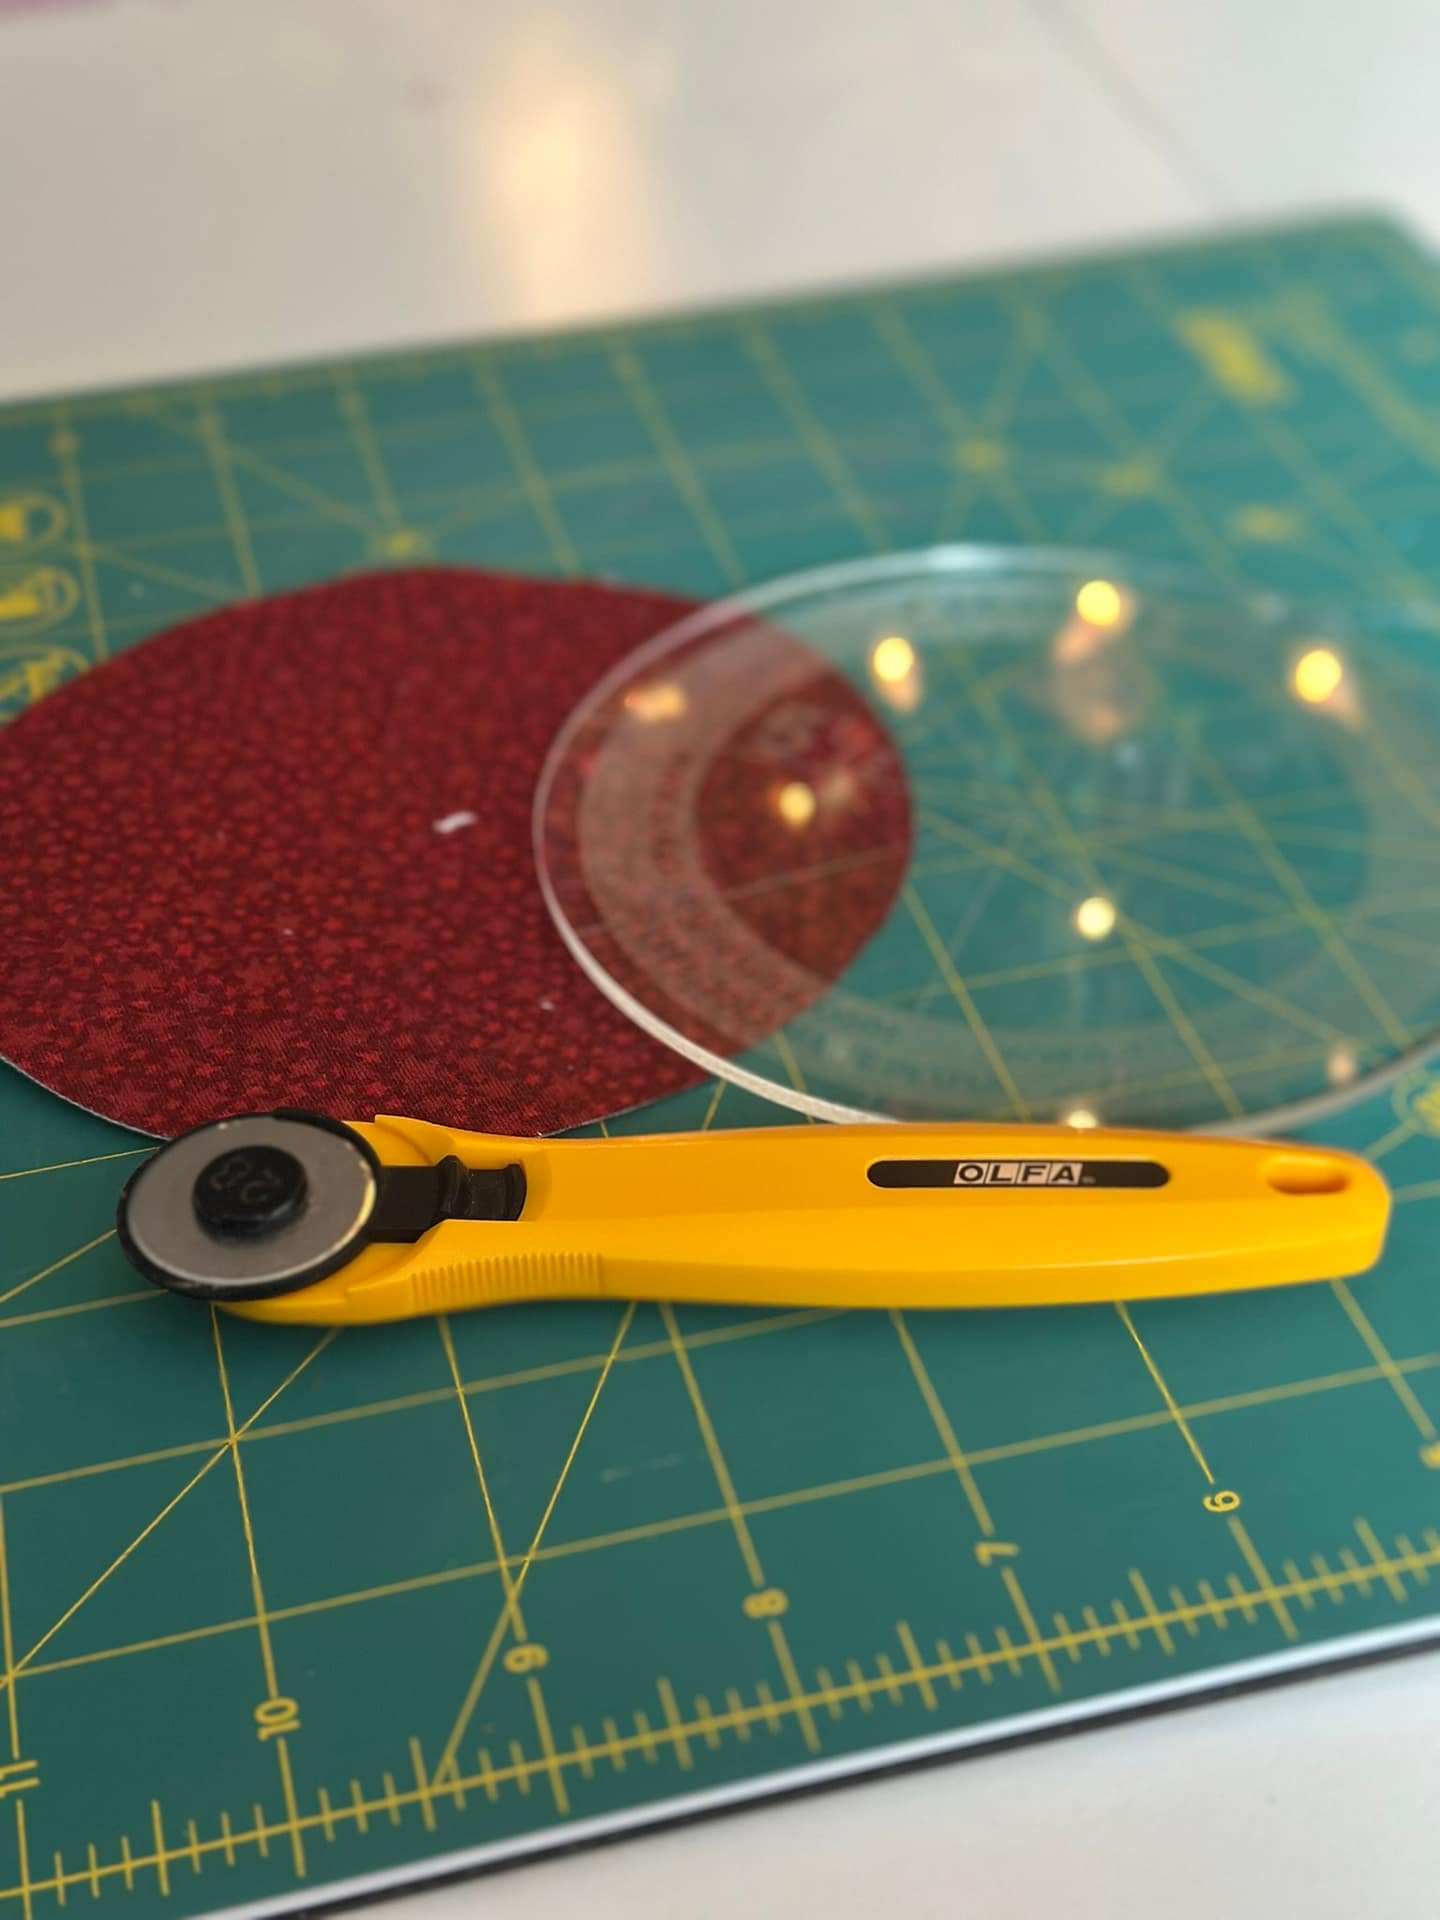
Use your circle template or a household round object and cut a pair circles from each fabric. I like to cut two at a time by layering the fabric.
A rotating mat makes following the curve much easier.
 3. Sew the Circles Together
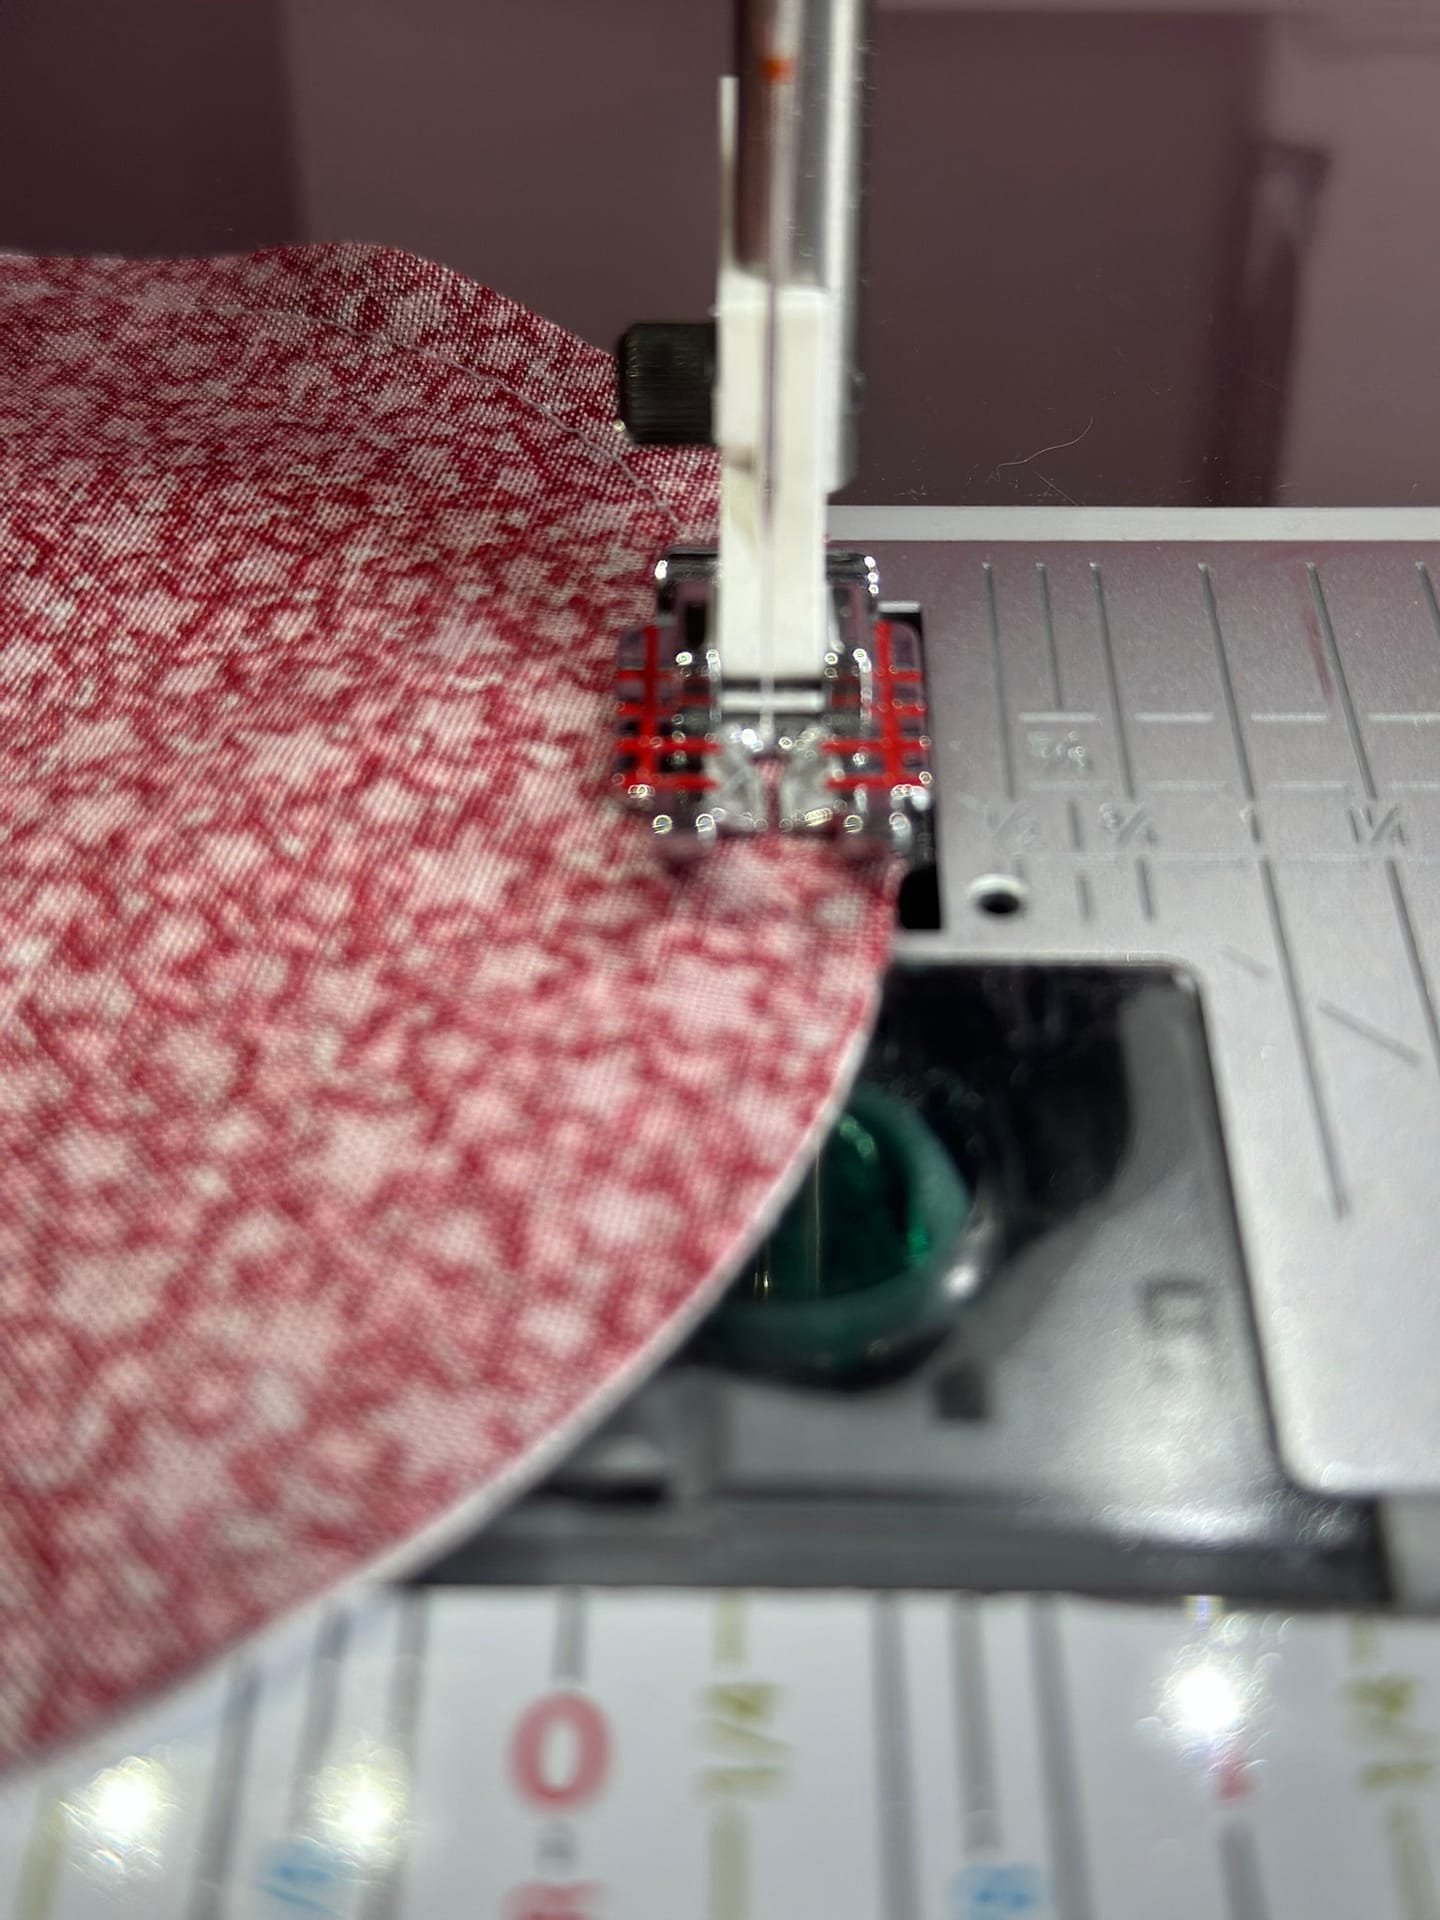
Place two circles right sides together and sew a ¼” seam most of the way around, backstitching at the beginning and end to secure your stitches.
Leave a 1–2″ opening for turning.
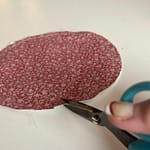 4. Clip the Curves
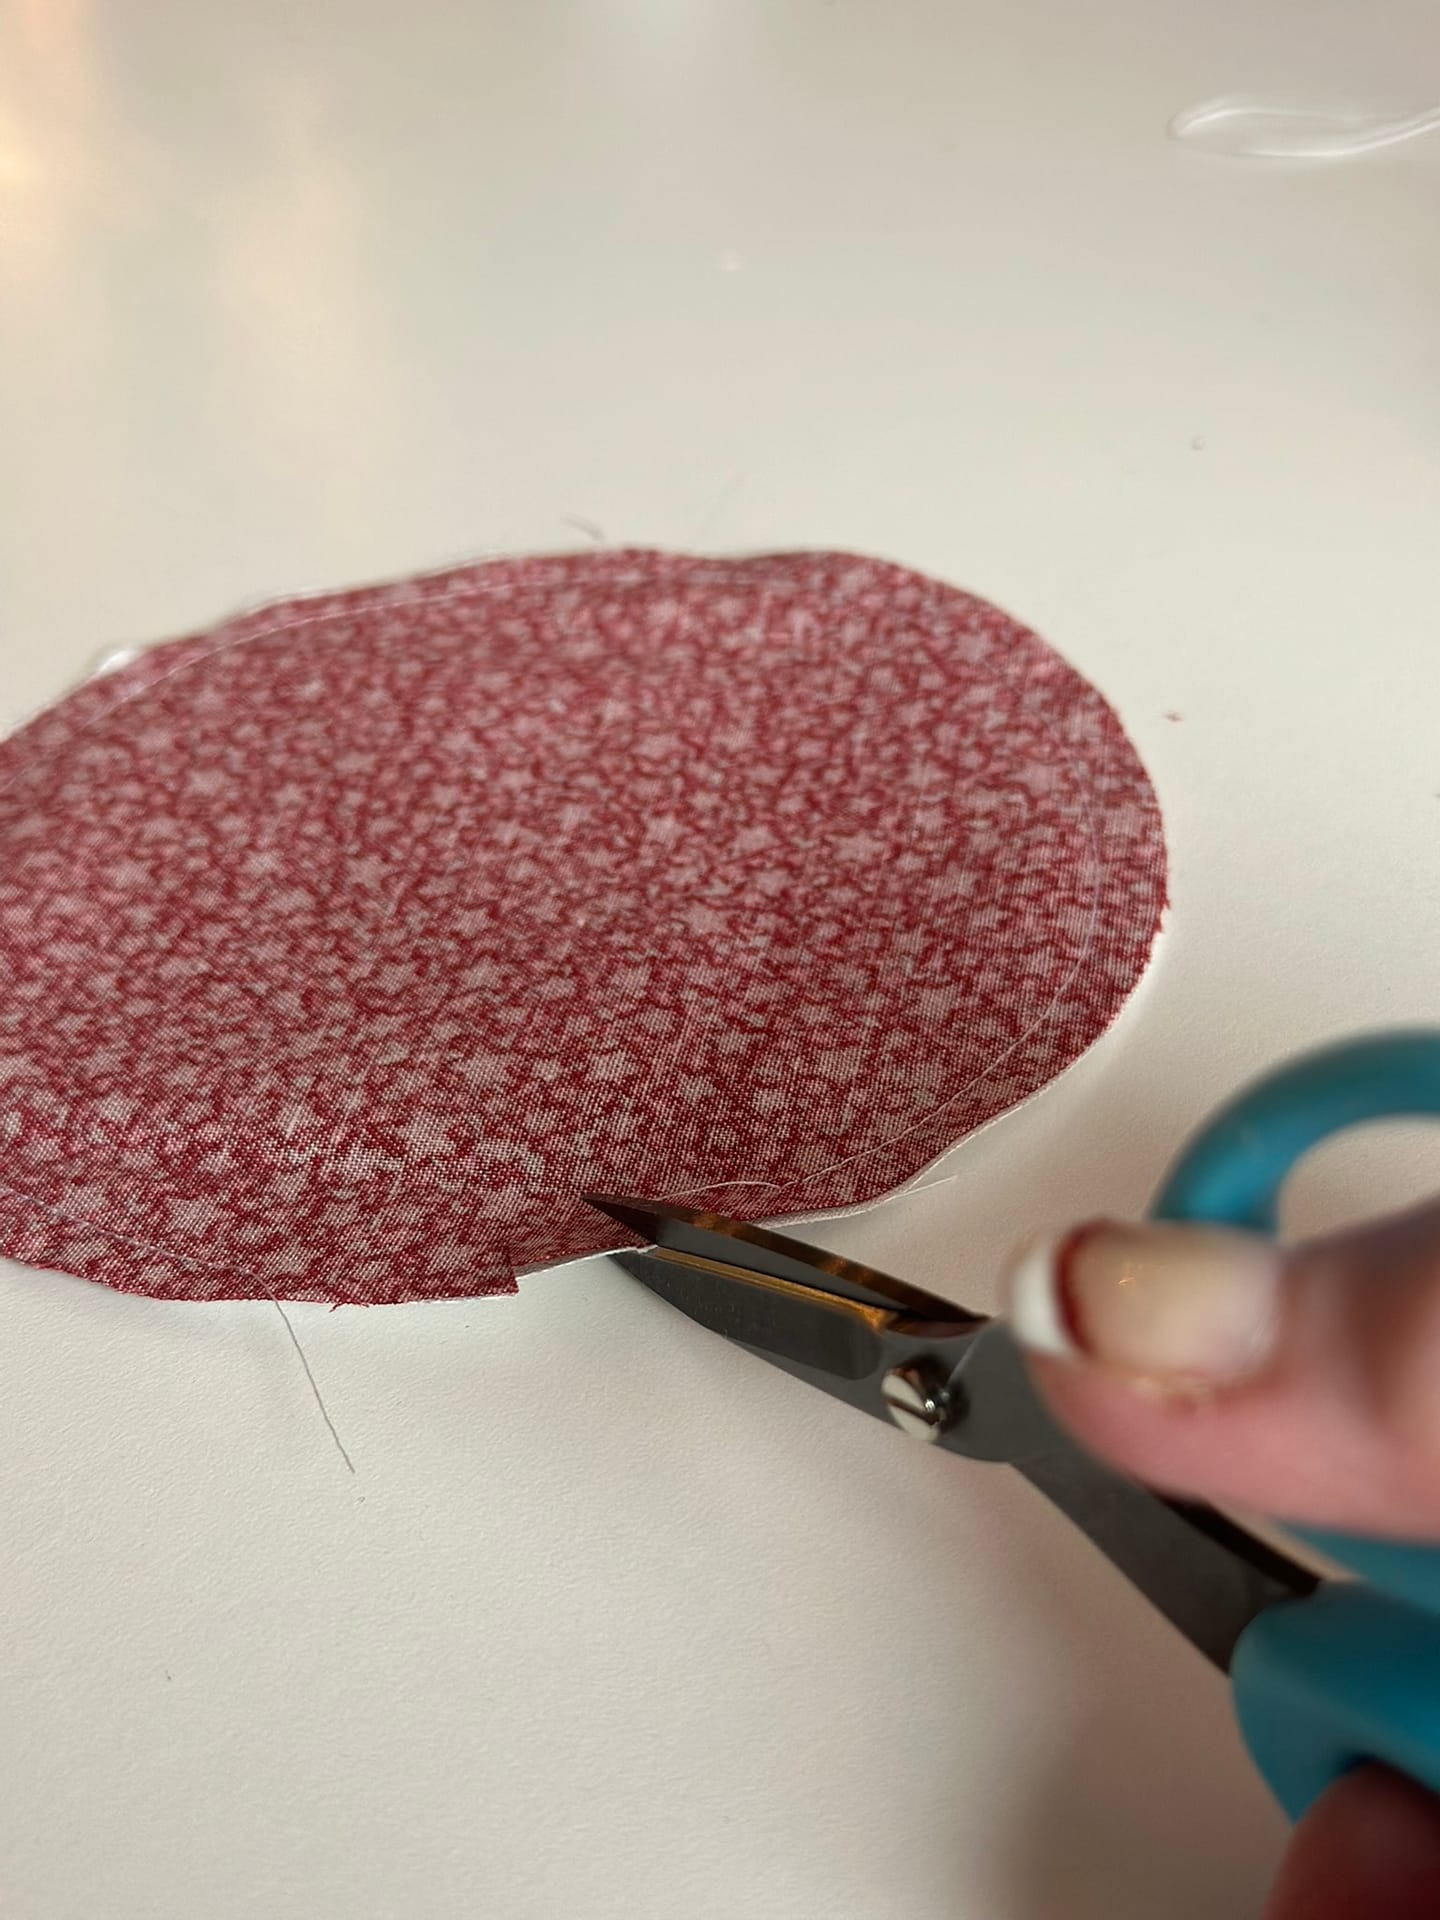
Clip into the seam allowance every ½”, taking care not to cut through the stitching.
 5. Turn & Shape
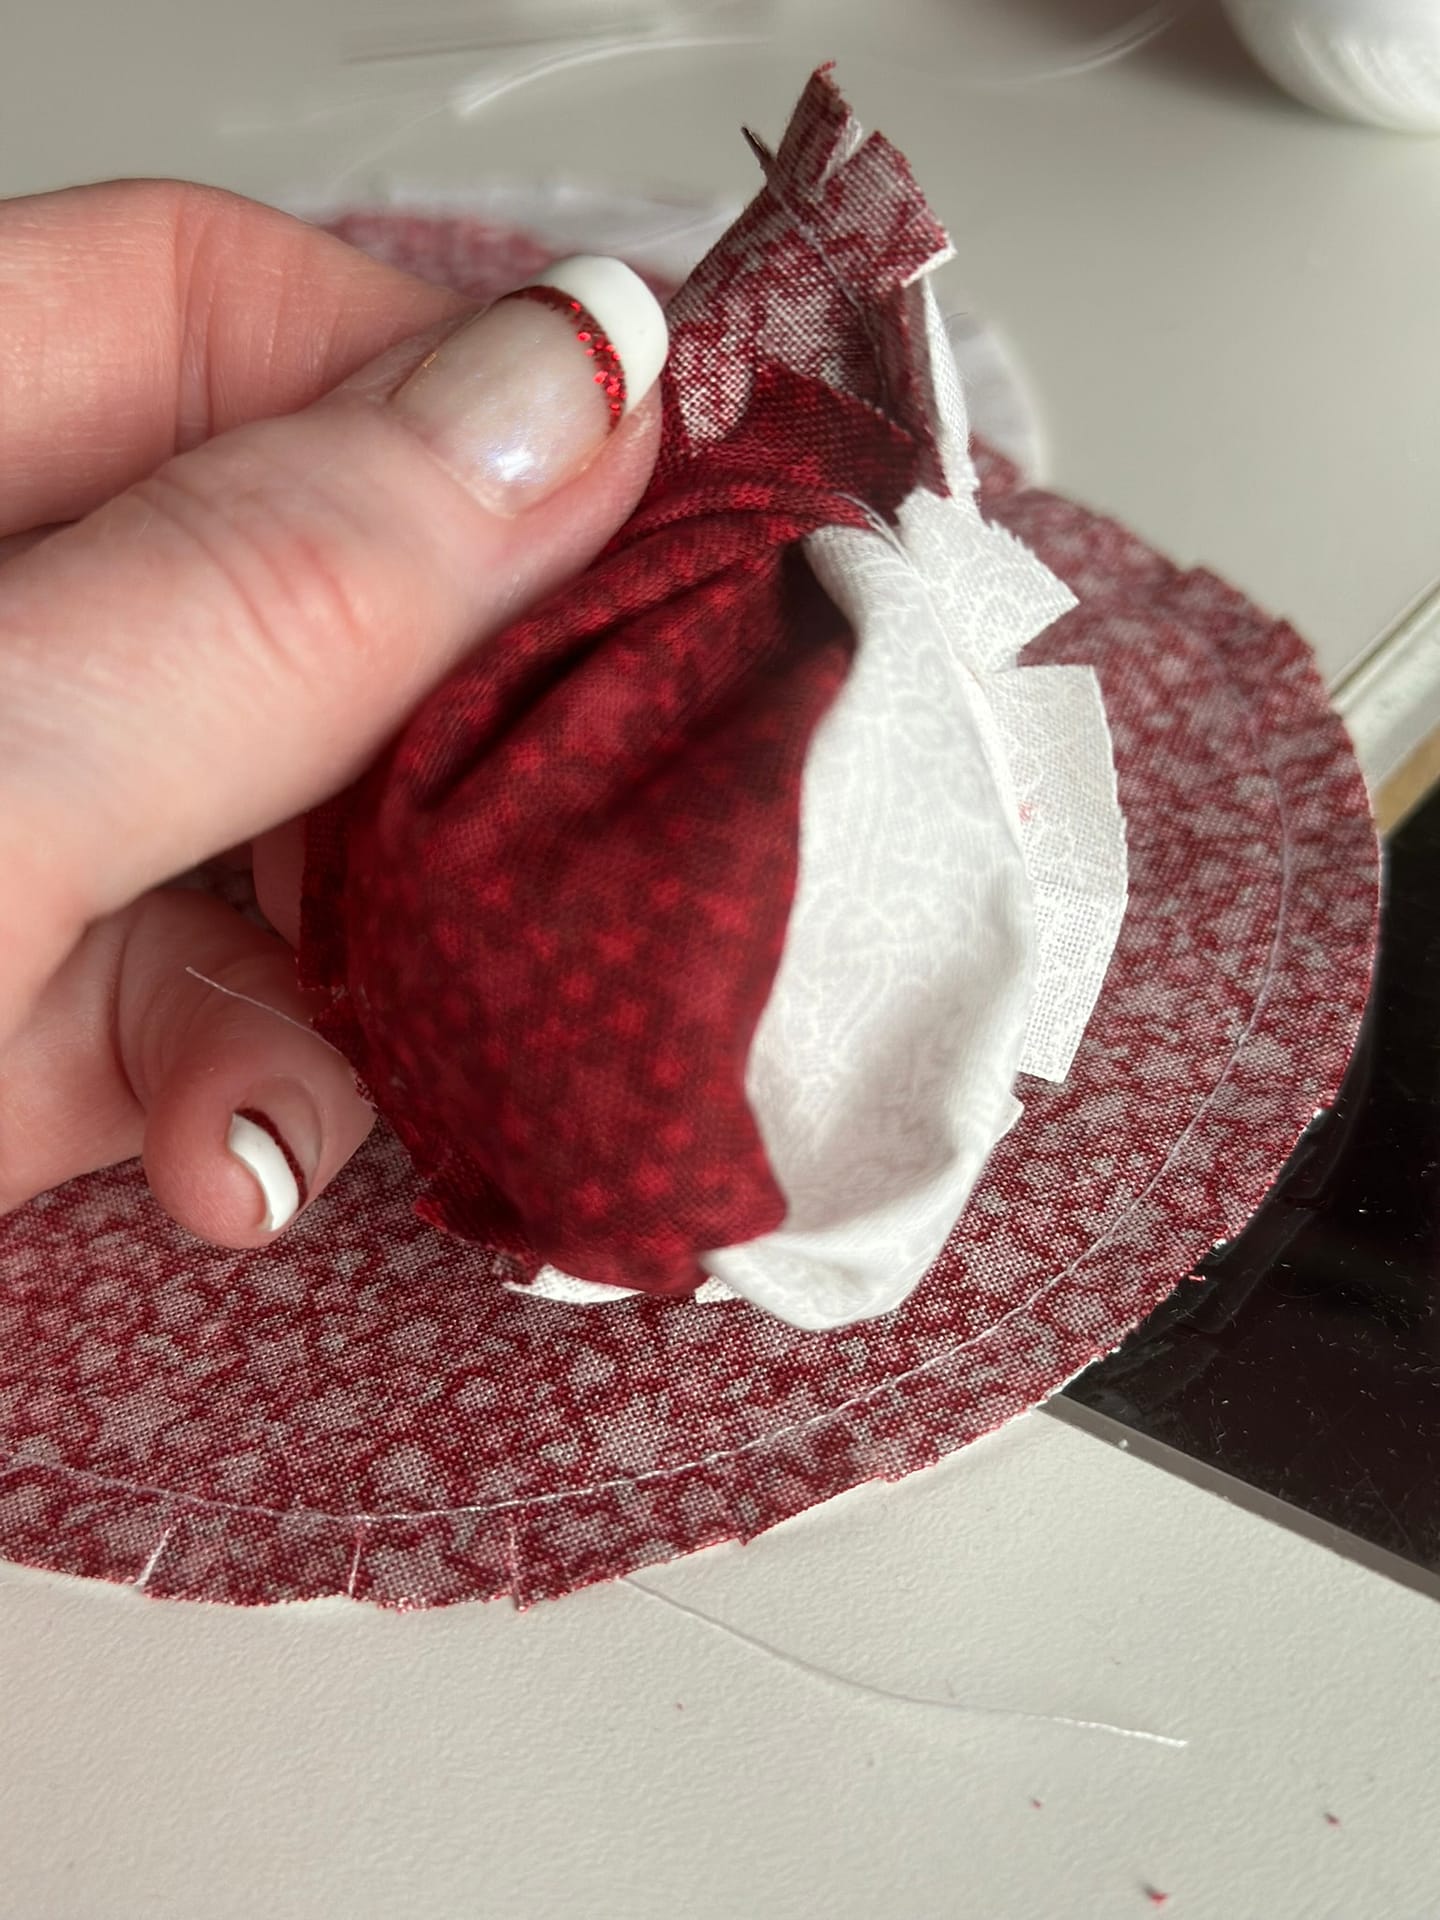
Turn the circle right-side out.
Use a point turner (or your fingernail) to gently push the edges outward so the circle becomes smooth and round.
 6. Press & Close the Opening
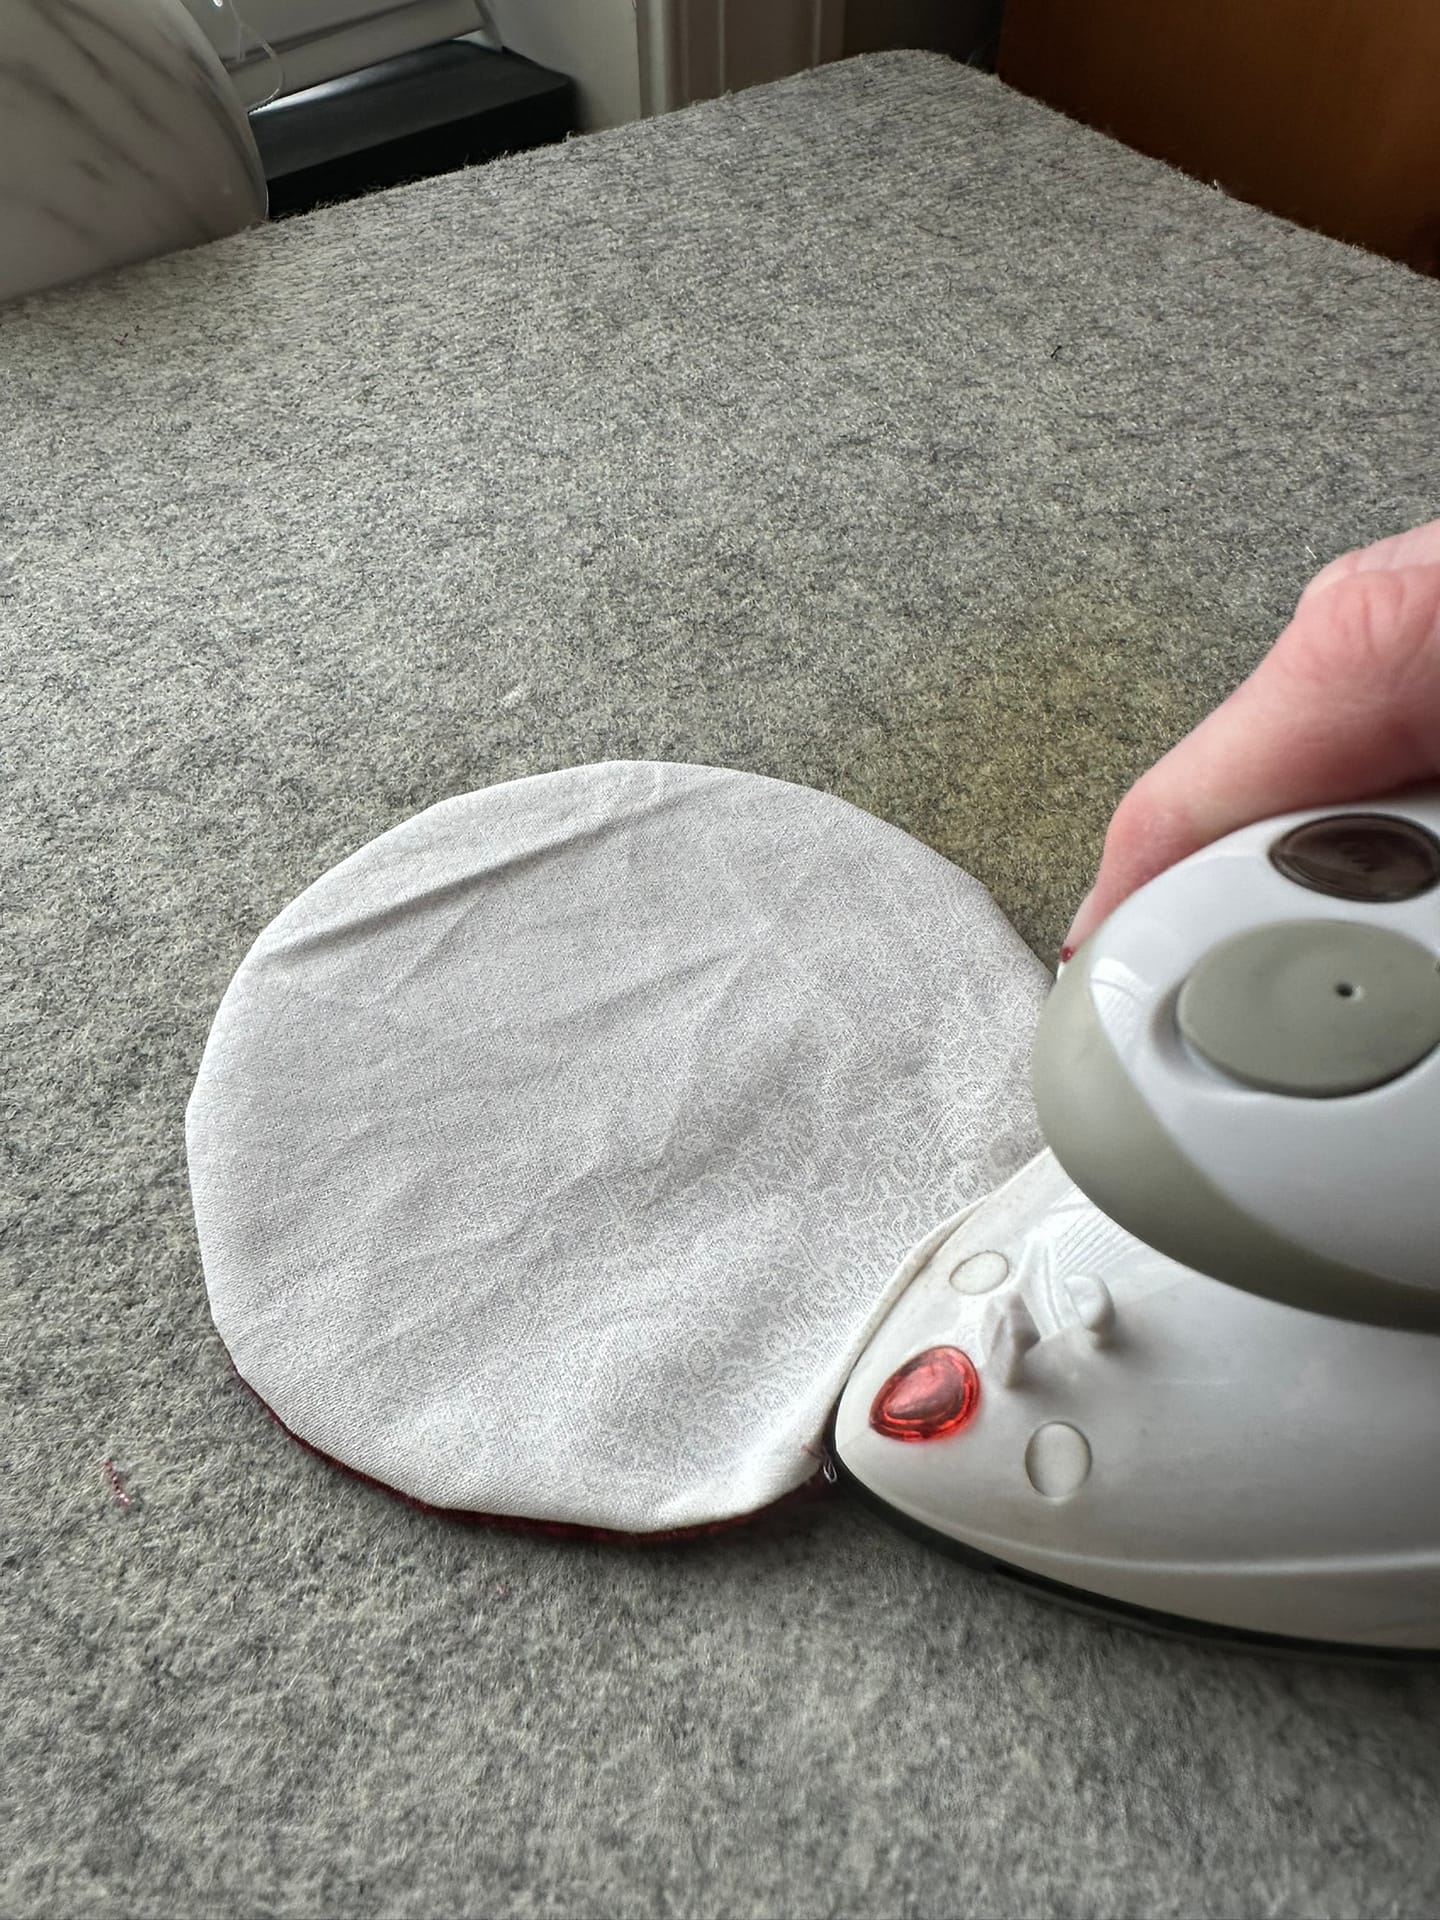
Press the seam allowance at the opening inward.
If the edges don’t behave, use:
-
A dab of glue
-
A clip
-
¼” Steam-A-Seam tape
…to help keep things tidy.
Topstitch ⅛” from the edge around the entire circle to close the opening and give a crisp finish.
Use a contrasting or thicker thread if you’d like a decorative edge.
 7. Mark the Four Points
Fold the circle in half and press lightly to mark two opposite points.
Open it, fold in the other direction, and press again to mark the remaining two points.
You now have four clearly marked points around the edge of the circle. These will guide the shaping.
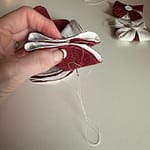
 8. Stitch Opposite Points Together
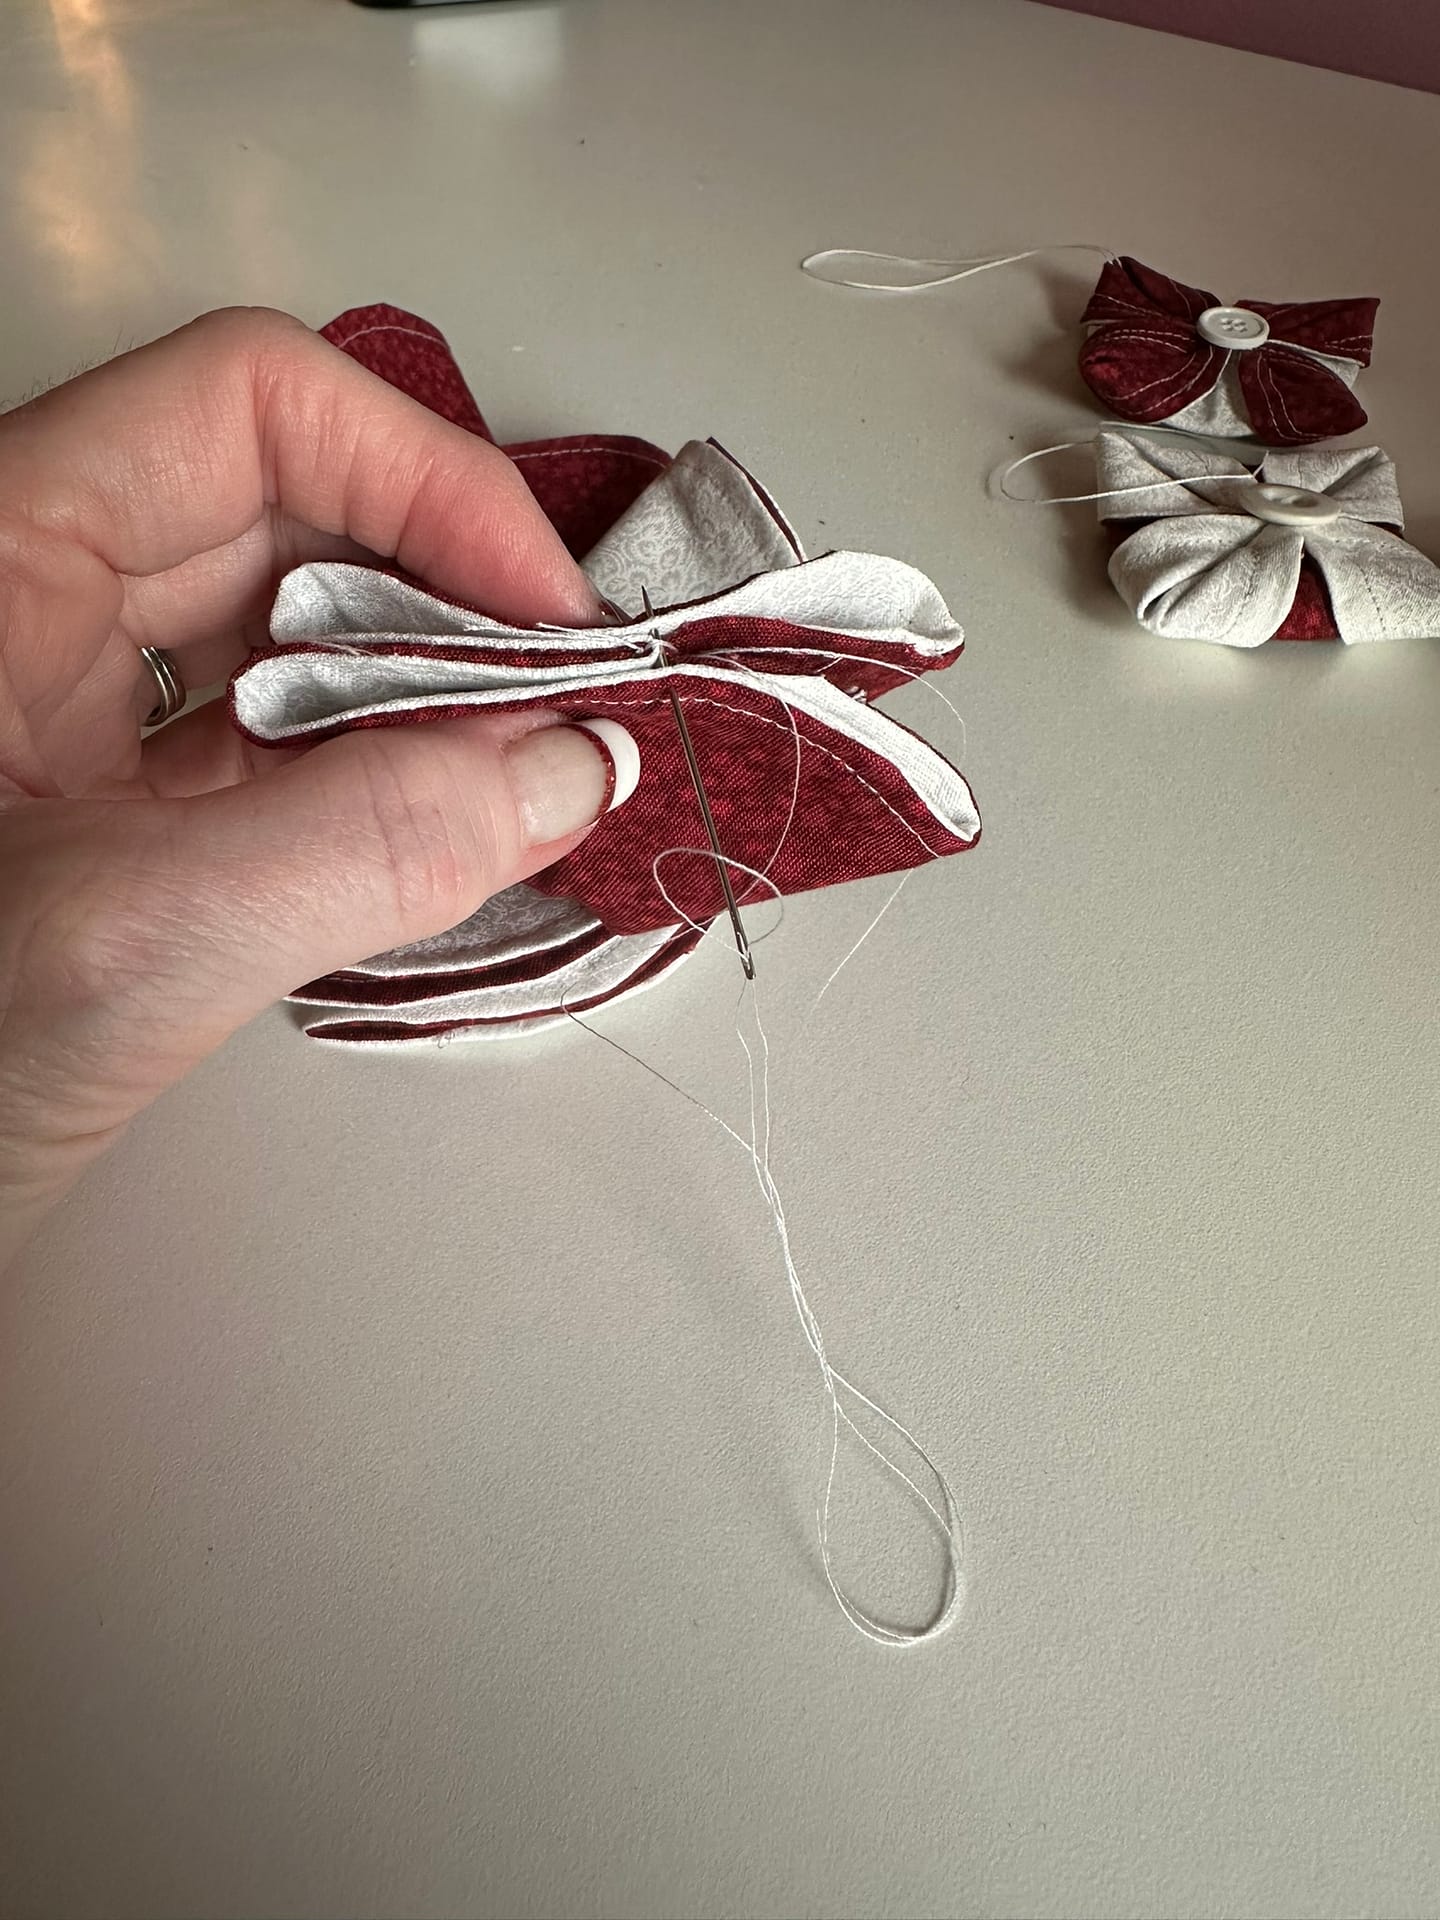
Refold the circle like a taco along one pressed line, matching two opposite points.
Take a few securing stitches at the top point to hold those layers together.
(Remember: the fabric on the inside of this fold becomes the corner “petals.”)
Next, pull the other two marked points into the center so they meet the first secured point.
Tack those points to the original pair.
You now have a small fabric “fortune teller” shape — perfectly prepped for the final shaping.
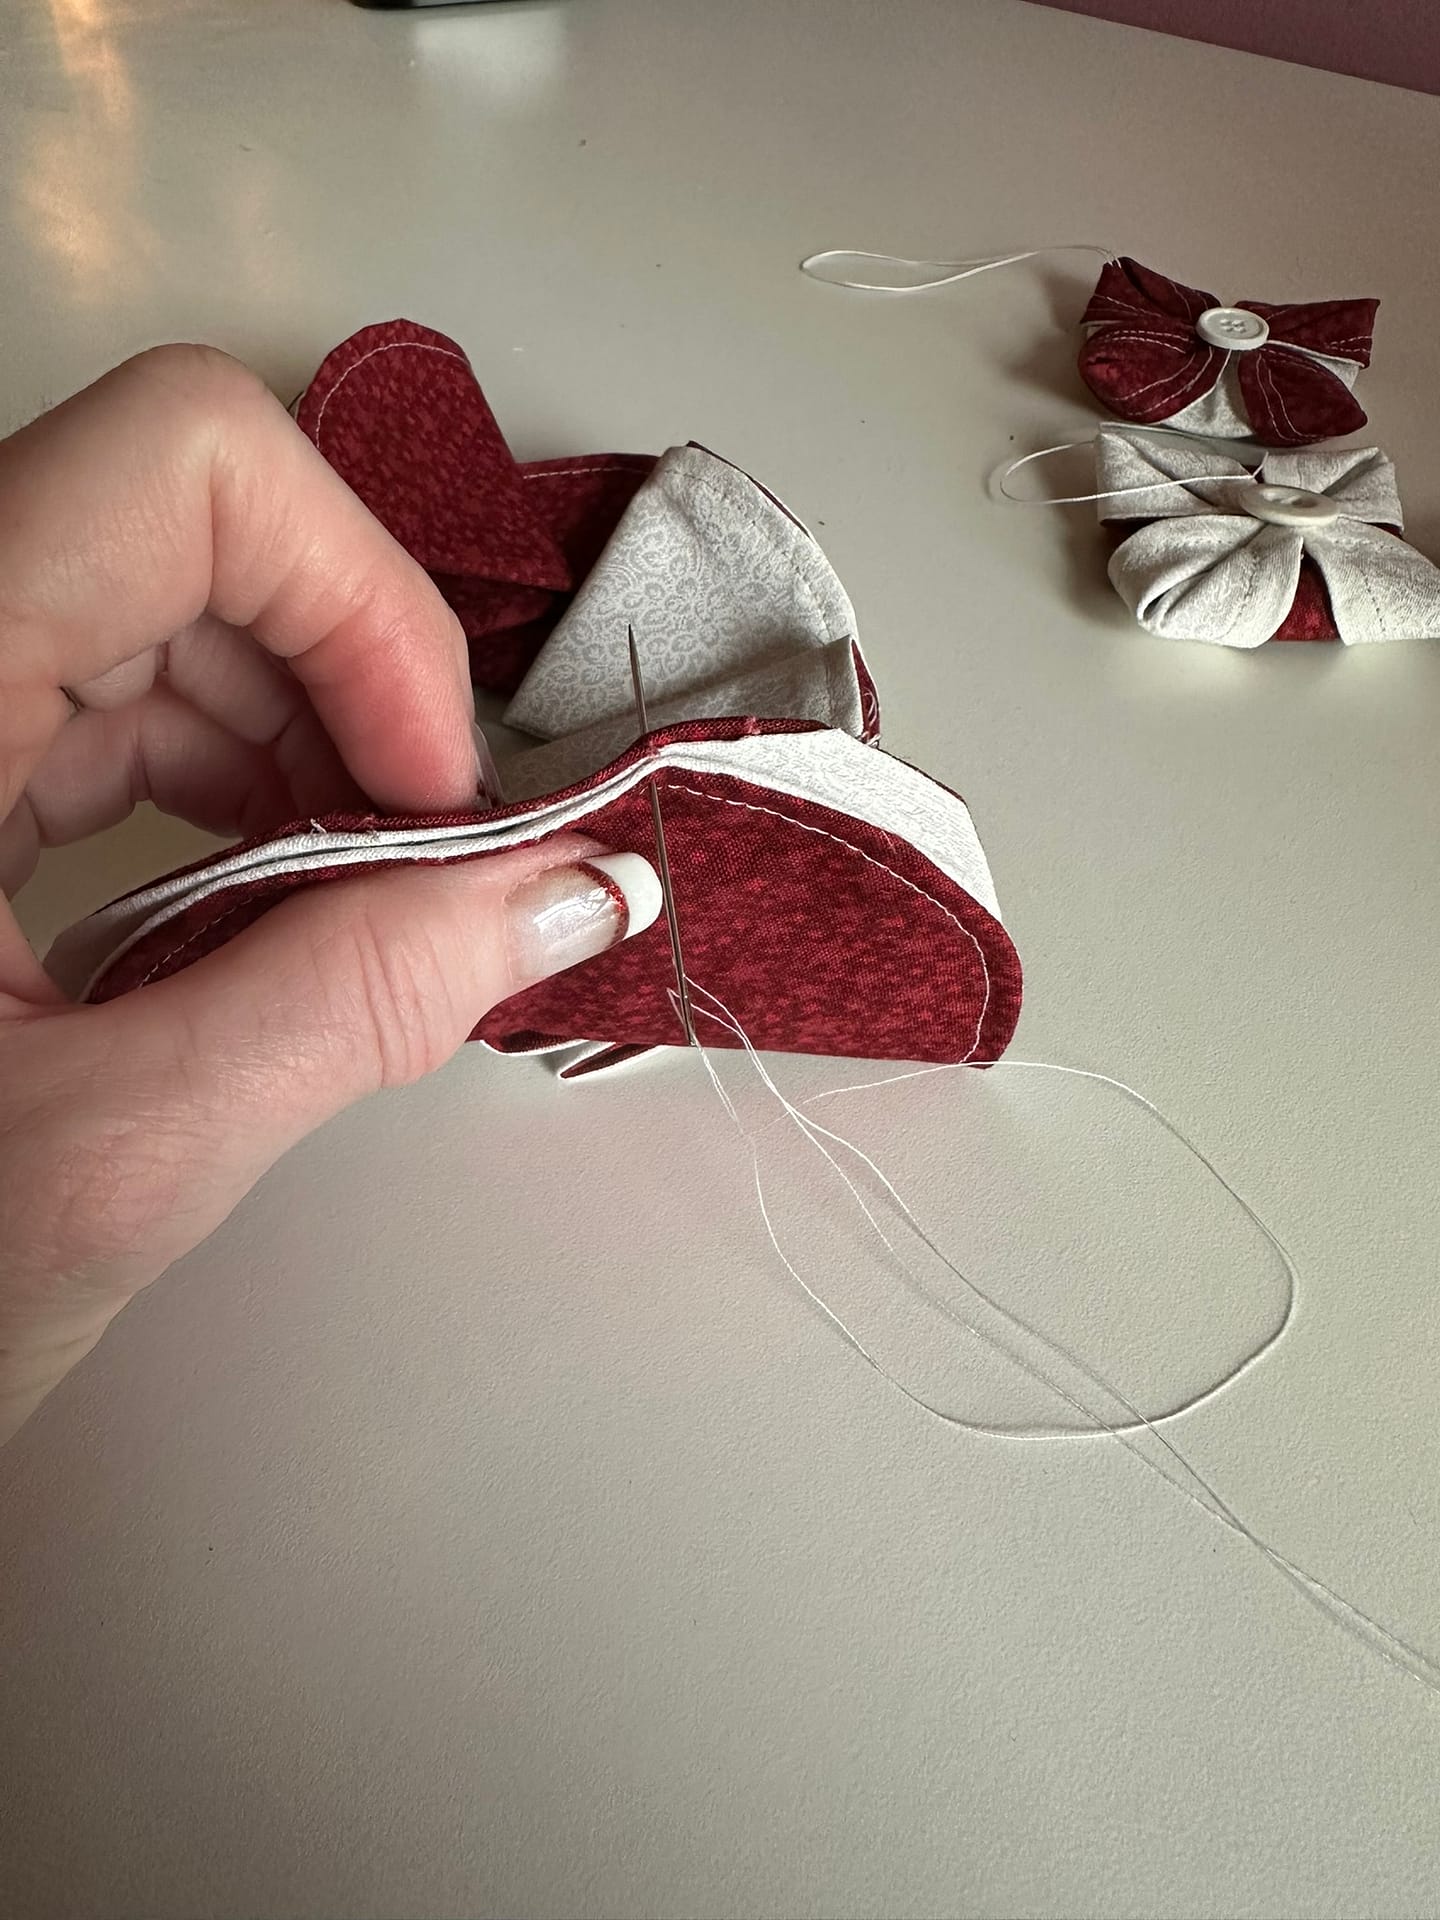
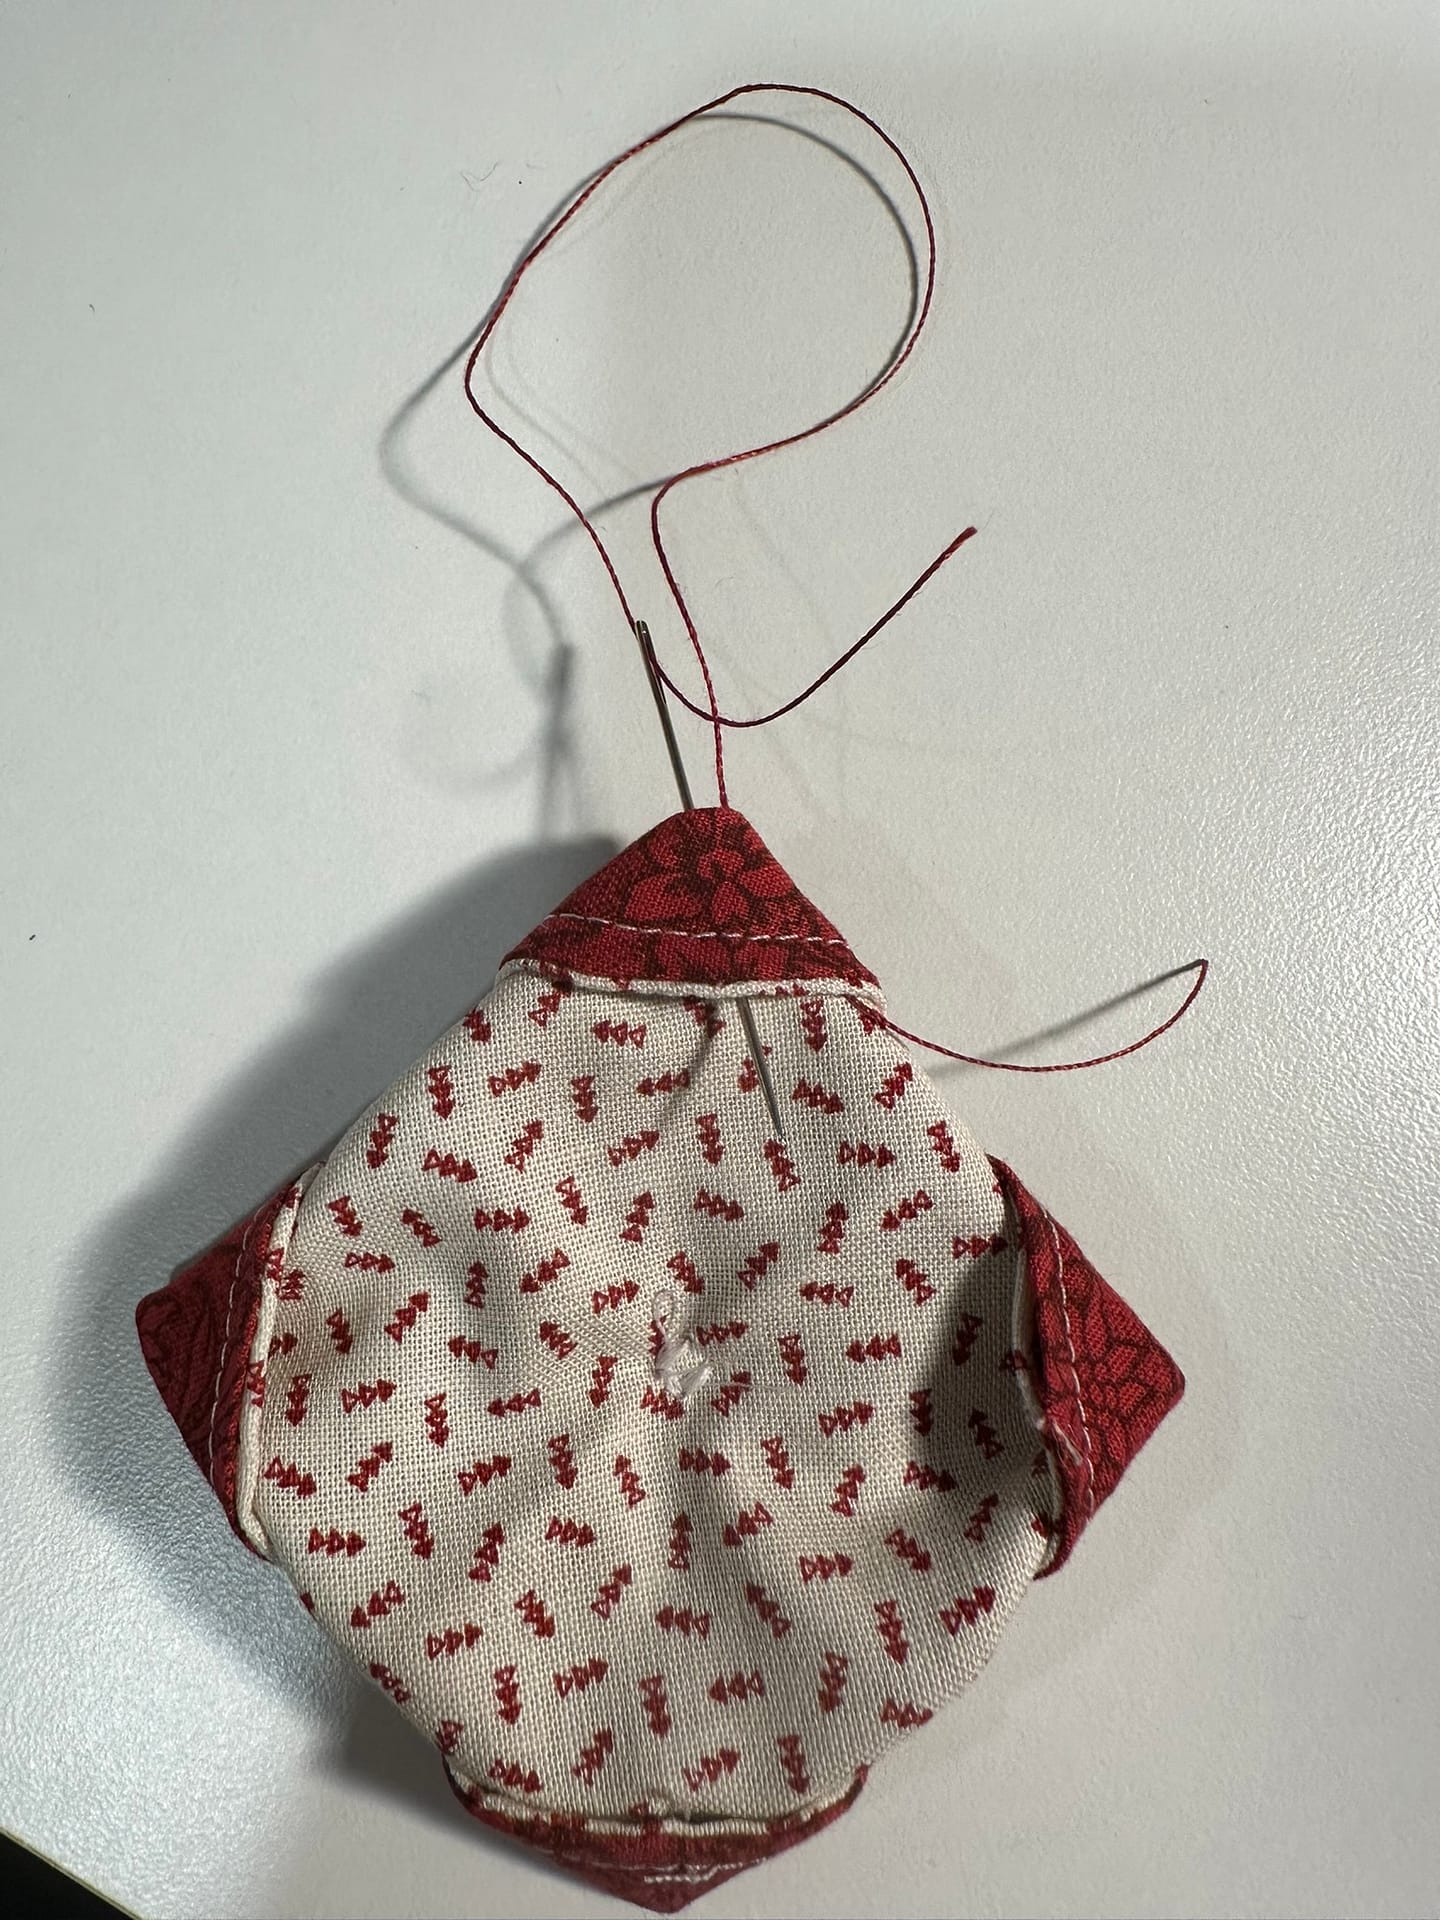
 9. Fold the Petals Back
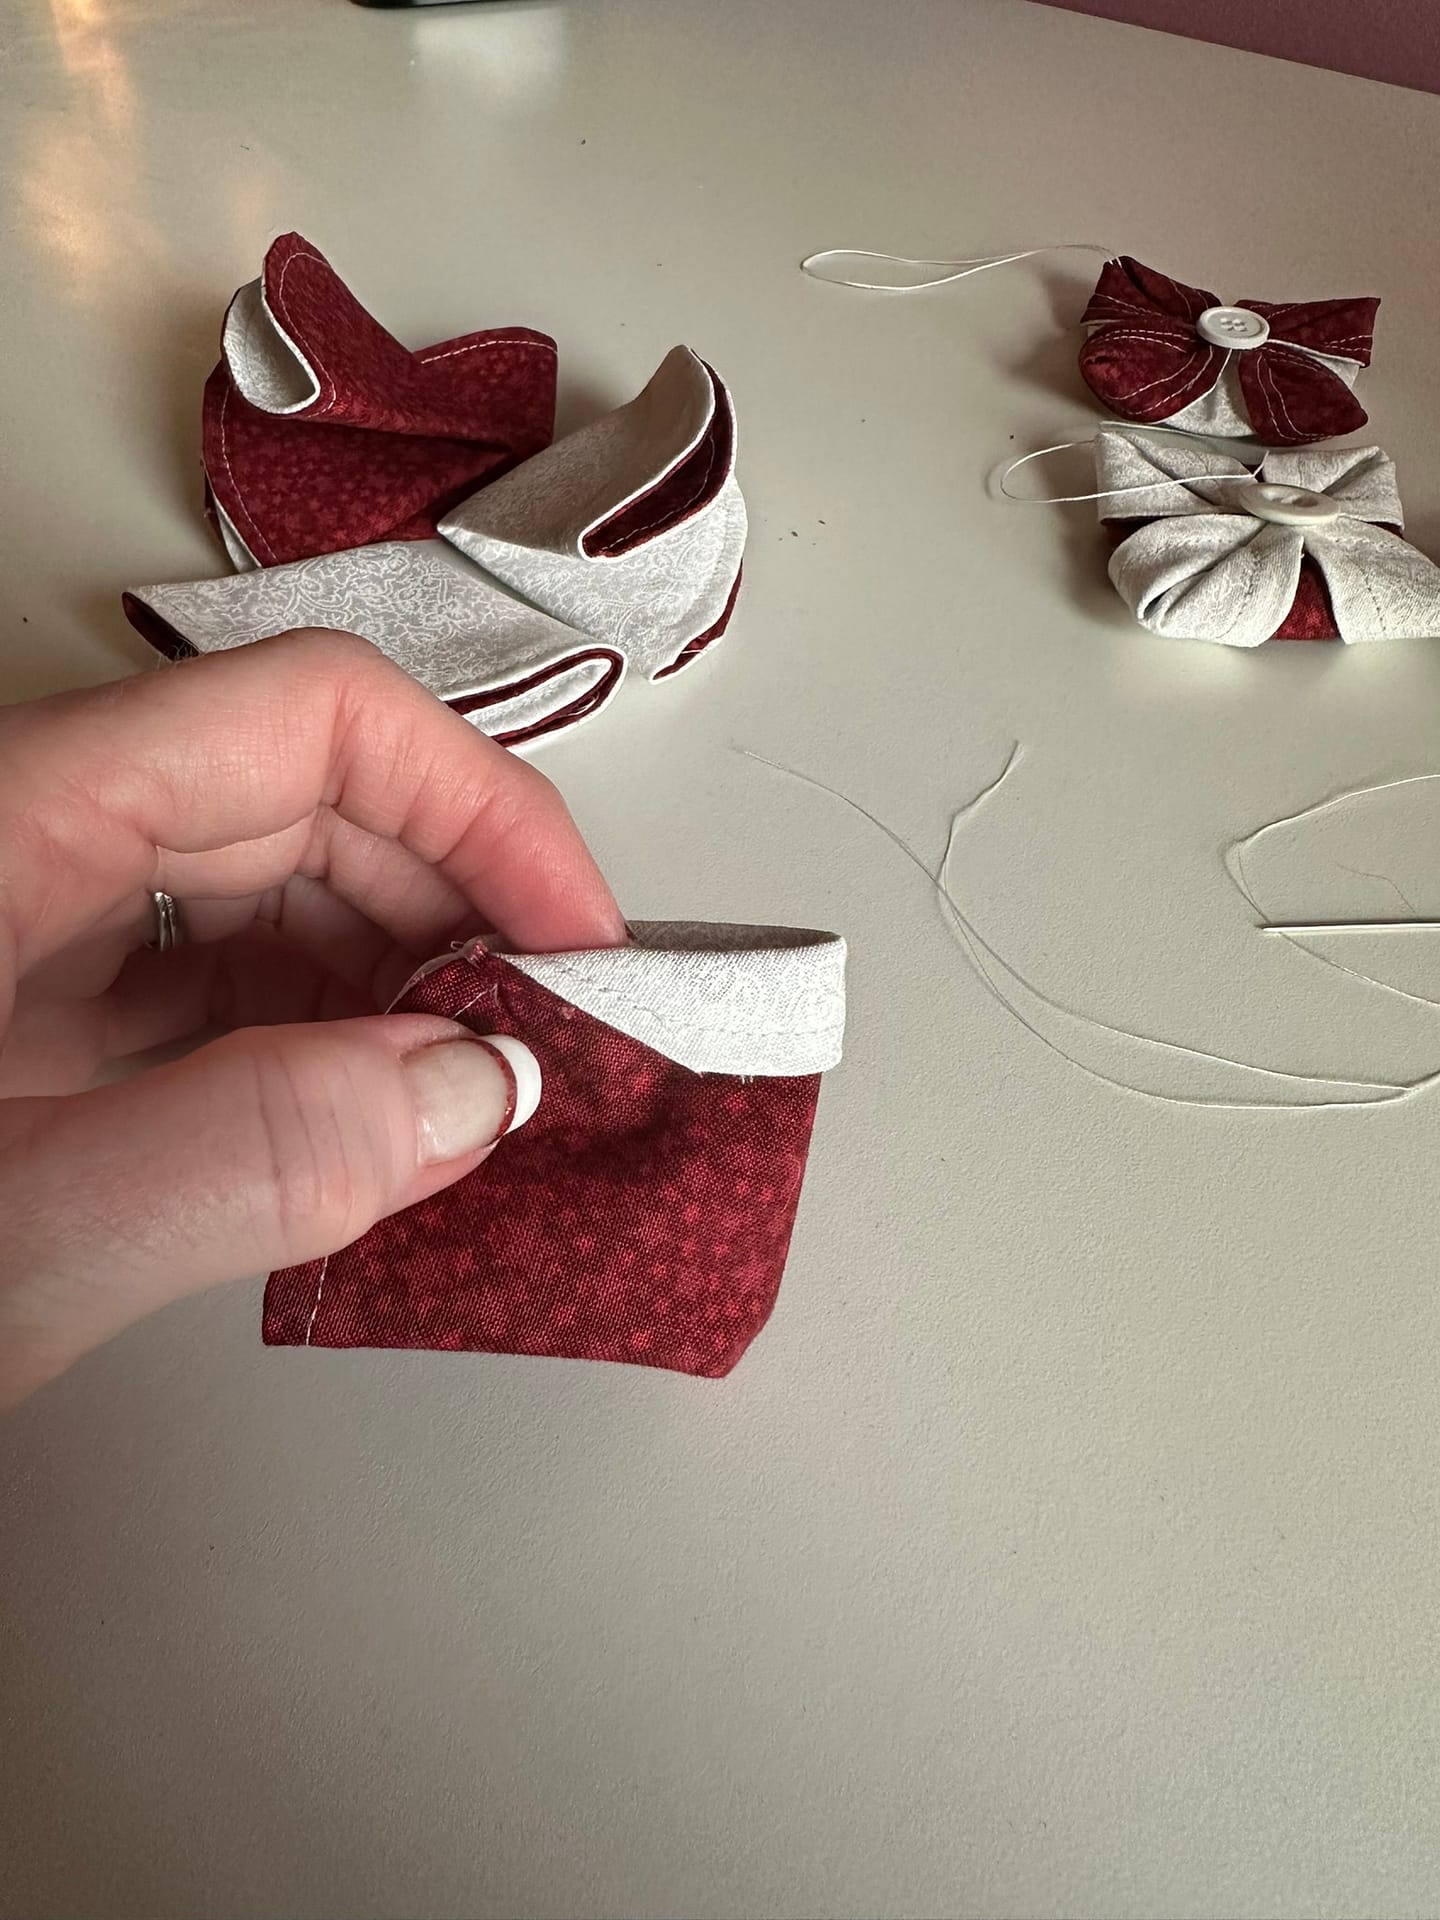
Fold the tip of each petal toward the back.
As each petal folds under, the front of the ornament naturally forms a clean square shape.
Adjust the petals until the front looks smooth and balanced.
(A few wrinkles on the back? Completely fine. No one sees them.)
 10. Add a Center Button
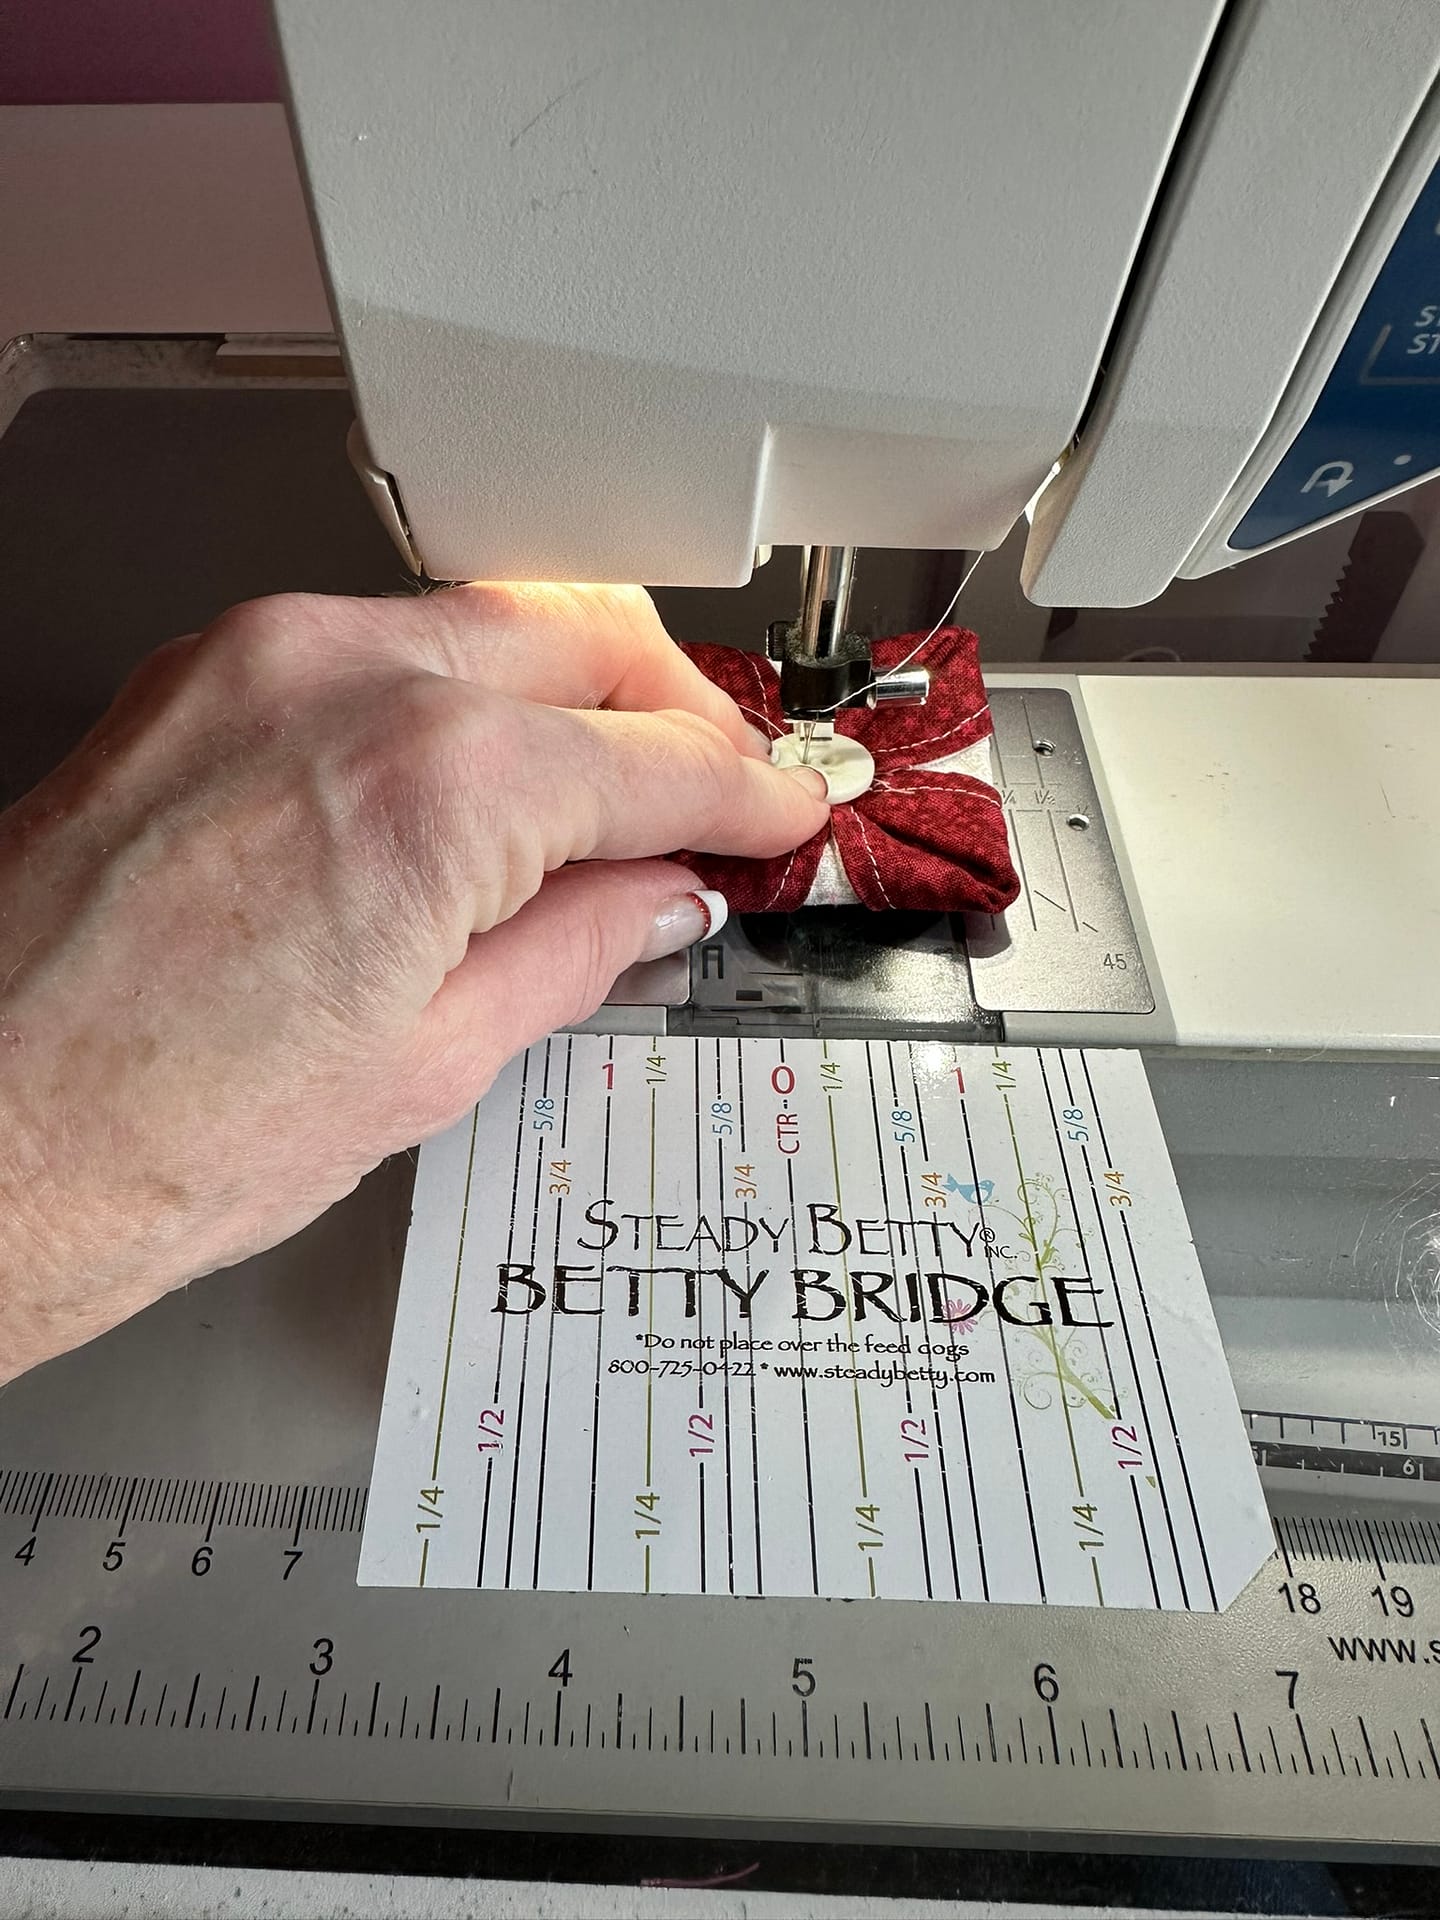
Choose a button from your collection and sew it into the center.
You can hand-sew it or stitch it by machine — just make sure your stitch width matches the spacing of the buttonholes so you don’t crack a button. Machine sewing makes this step much faster.
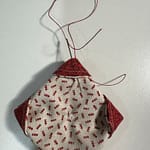 11. Add the Hanger
Thread 8 inches of 12 wt Sulky Petite onto a darning needle.
Bring the needle up through the top of one folded point, then back down just a little away from where you entered.
Knot the thread to form a sturdy hanging loop.
The Sulky Petite is the perfect weight — strong, smooth, and pretty enough to show.
 🎄 Ways to Use These Ornaments
-
Hang on your Christmas tree
-
Tie onto gifts or wine bottles
-
Add to wreaths
-
Make sets as hostess gifts
-
Pair with tea bags or small treats for friends or coworkers
-
Display a basket-full for cheerful holiday décor
Want to see it is action? Here is a quick reel!
Happy Quilting!

This is fun! Thank you
I am so glad you are enjoying this!!!
Thankyou for your free pattern. Am looking forward to making them as Christmas parcel decorations
That is a fantastic idea! I am doing the same with mine. They make great charms for gift bags too.
Ooo I am having our small quilt group holiday meeting tonight. I think I will make the circles for everyone and we can finish them at our meeting!
That will be so much fun. Sharing with the group will make it even better!