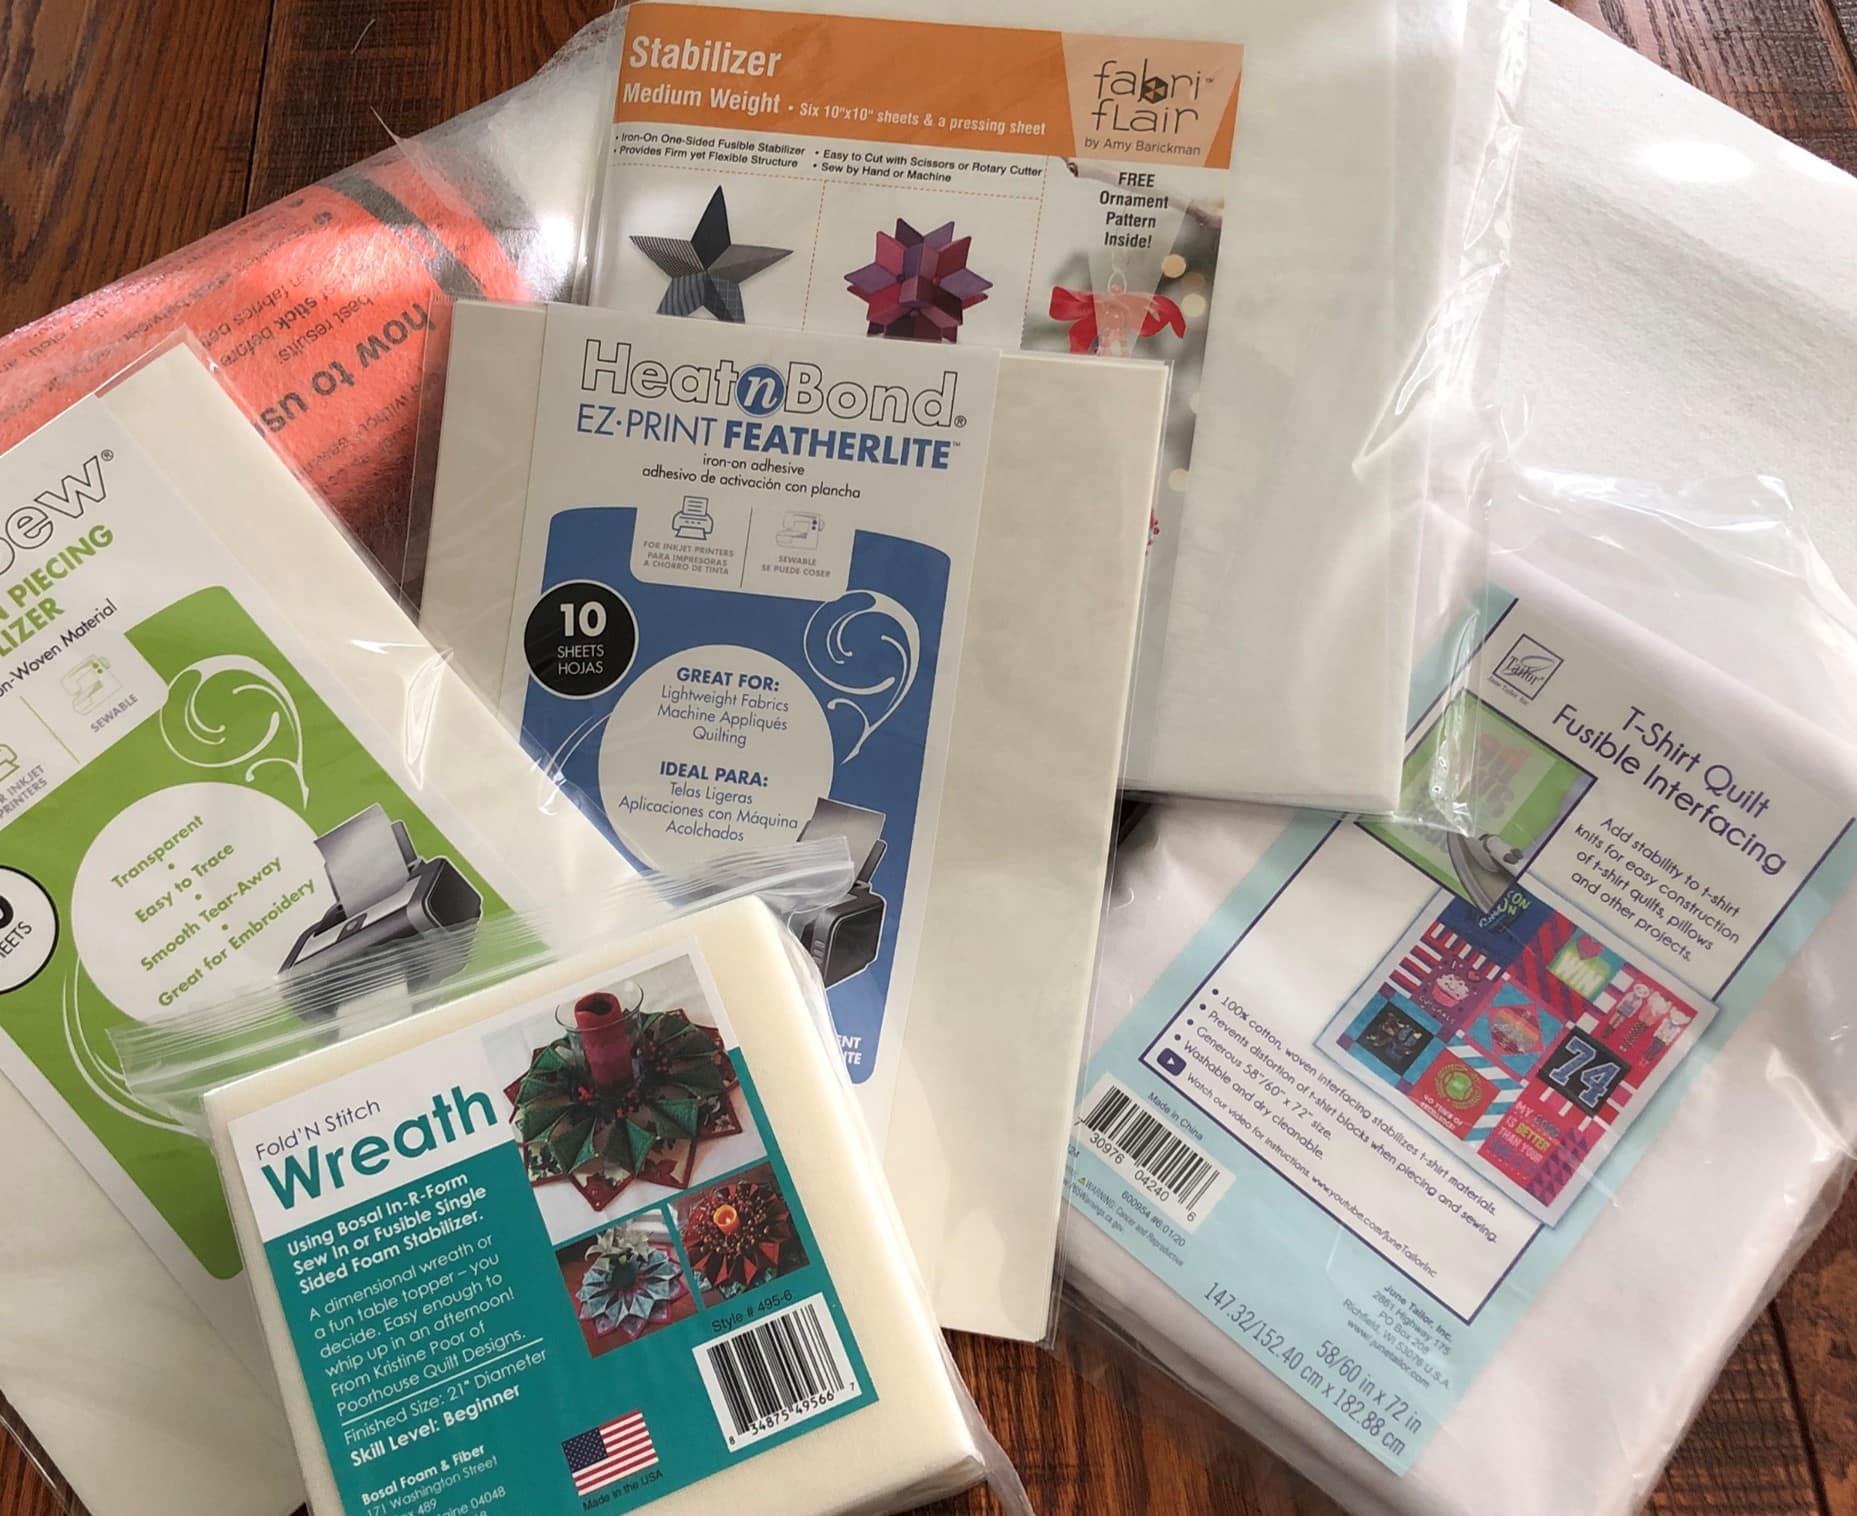
Appliqué is one of my favorite ways to add fun details to a quilt, but let’s be honest—getting fabric shapes onto a quilt without frustration is a skill in itself. Thankfully, fusible web makes the process so much easier. Let’s face it, I don’t have the patience for needle-turn or finished-edge applique…. But which fusible method works best?
In a previous blog, I shared why I love freezer paper for appliqué templates. So, you might be wondering—why don’t I just use this technique all the time? Well, paper-backed fusible web great for quick, no-fuss projects, but freezer paper + fusible web gives me more control.
Let’s dive into both fusible methods so you can pick your favorite!
Method #1: Paper-Backed Fusible Web (Fast and Easy, but Watch Your Iron!)
This is the tried-and-true method that many quilters use. It’s fast, it’s convenient, and it eliminates the need for pins—but it does require a little care when ironing.
How It Works:
- Print or trace your design onto the paper side of the fusible web. If printing, don’t forget to mirror the image! You’re working from the back of the appliqué, so flipping it is a must. This is super important, especially if you are making letters. You don’t want to need a mirror to read the finished quilt!
- Fuse the paper-backed web to the fabric. Place the fusible side down (against the wrong side of the fabric).
- Use a hot, dry iron to fuse. But be careful! Too much heat or time can make the fusible web melt into a useless, gummy mess.
- Whatever you do, don’t put the shiny side up! (Unless you want to spend the next 10 minutes scraping fusible goo off your iron… ask me how I know. 😬)
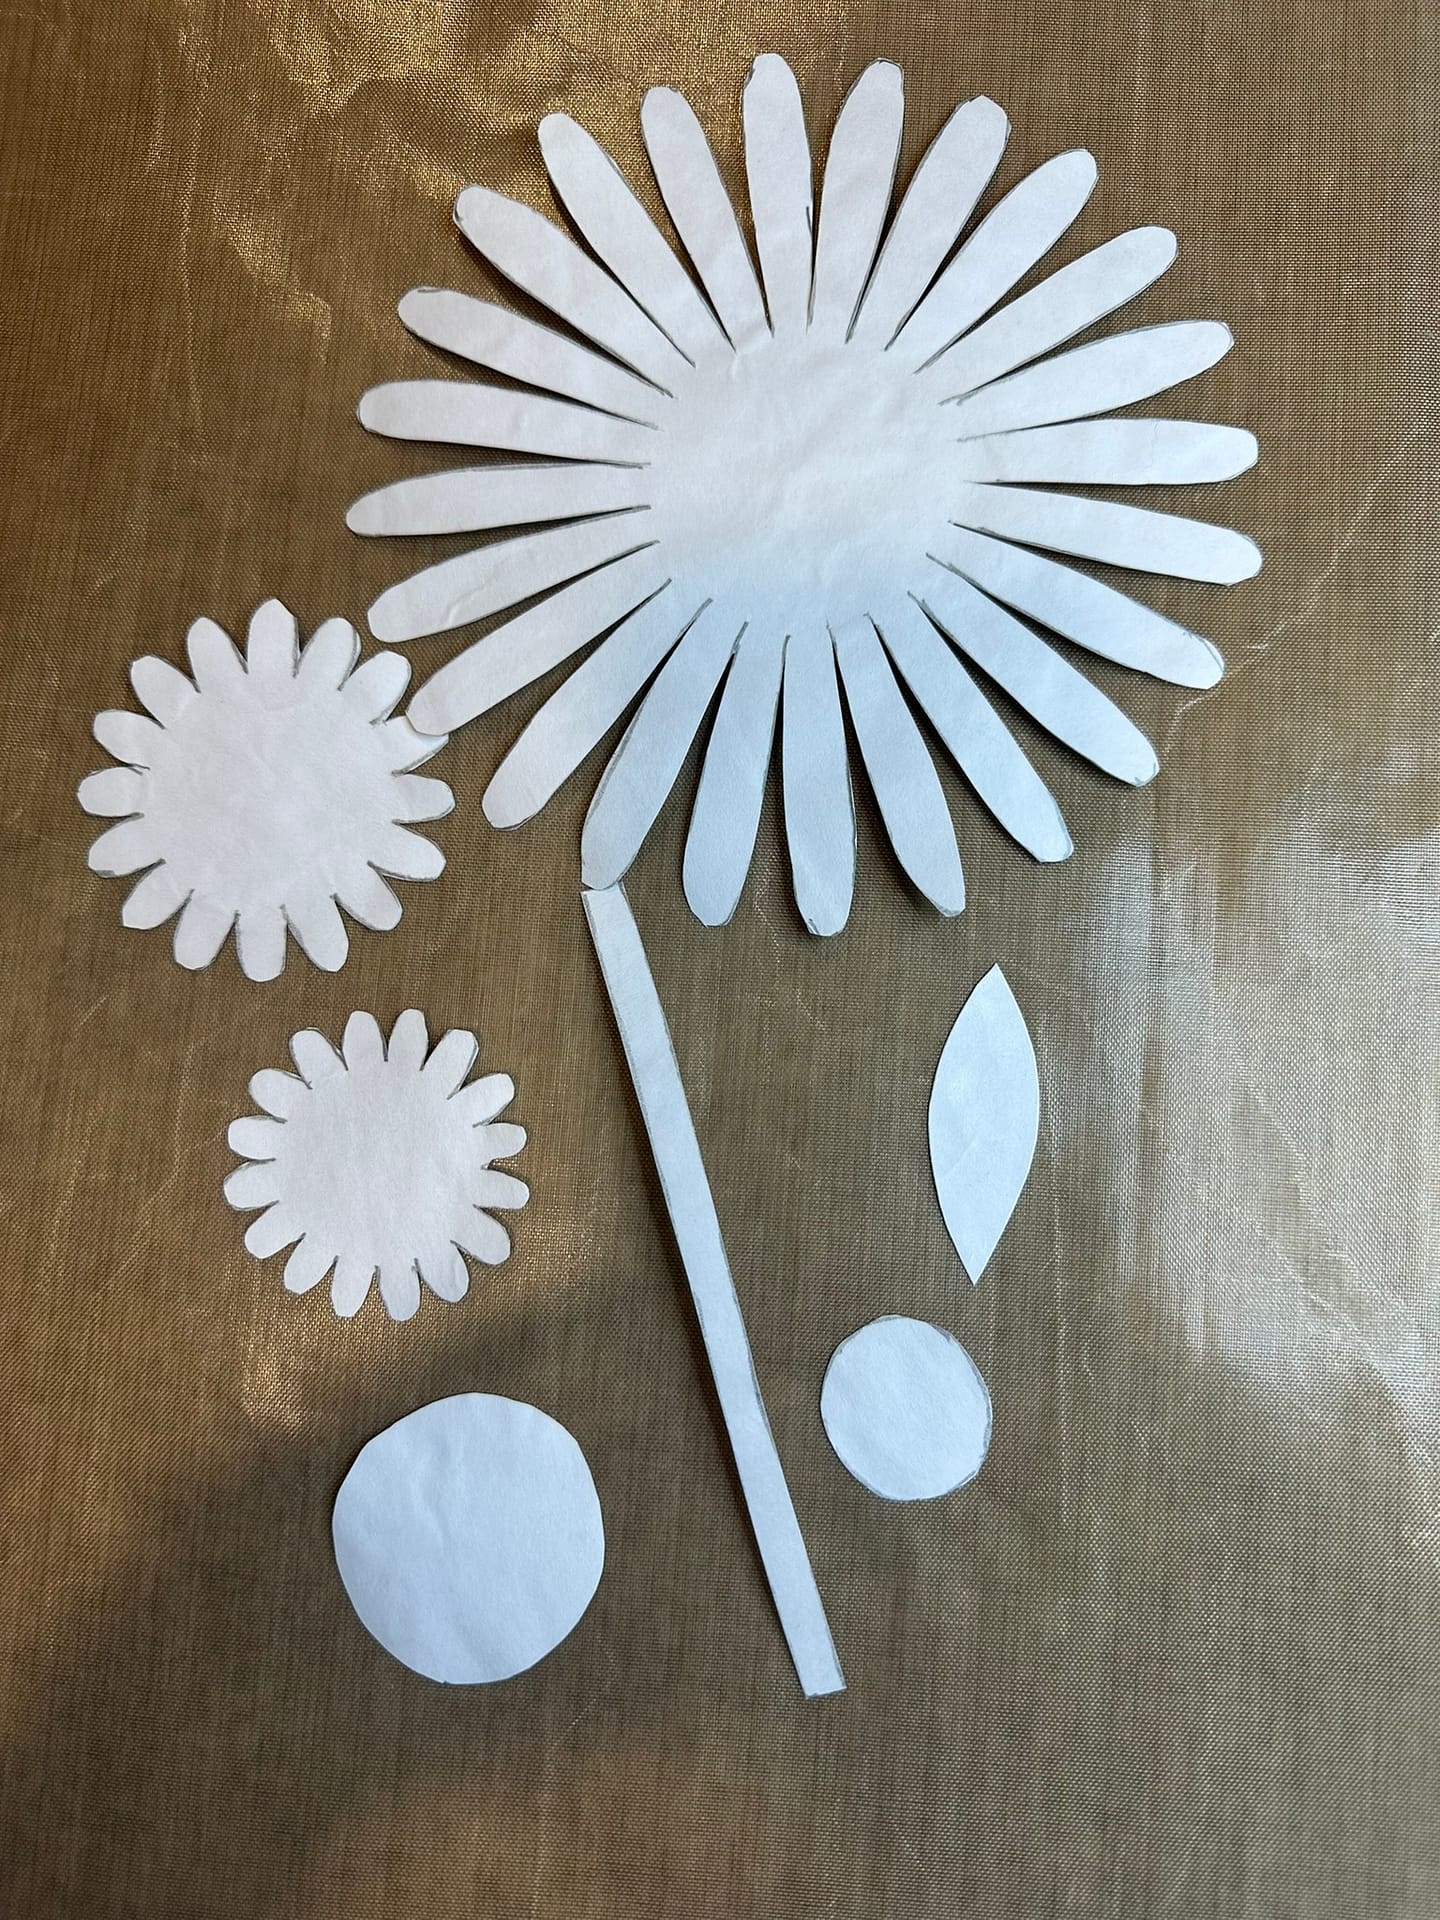
- Cut out your appliqué shape, then peel off the paper backing. Now it’s ready to be fused onto your project!
Pros:
✅ Super quick—no extra tracing or prep
✅ Print-friendly—just make sure to invert the design before printing
Cons:
❌ Heat-sensitive—press too long, and poof, your fusible disappears
❌ One-time-use templates—once you peel the paper, it’s gone
❌ A little wasteful—each shape needs a new piece of fusible web
Bonus Tip 1: Inkjet printers work best for printing on fusible web. Laser printers get too hot and can mess up the fusible coating!
Method #2: Freezer Paper + Fusible Web (More Steps, But More Control!)
This method swaps the paper backing of traditional fusible web for freezer paper templates—which means less waste and more flexibility.
How It Works:
- Print or trace your design onto freezer paper (dull side up). No need to mirror the image—yay!
- Prep the fusible web. Lay it on a non-stick surface (like a Goddess Sheet. silicone sheet or parchment paper).
- Fuse the fabric to the fusible web. Place the fabric right side up on top of the fusible web and press with a hot, dry iron.
- Fuse the freezer paper template to the fabric. Place the shiny side of the freezer paper against the right side of the fabric and lightly press with a hot, dry iron.
- Cut out your appliqué shape, then peel off the freezer paper. (The best part? You can reuse the template multiple times!)
Pros:
✅ Reusable templates! I can get about 20 uses out of each freezer paper shape before it loses its stick.
✅ Not as fussy with heat. The fusible web in this method is more forgiving than the paper-backed kind.
✅ No need to mirror the image. Perfect if you don’t have a way to flip your designs before printing.
✅ Less waste! You’re reusing templates instead of tossing paper backing after each shape.
Cons:
❌ Takes a little extra time upfront
❌ If you don’t have printable freezer paper, you’ll need to trace your design
Bonus Tip: Just like with fusible web, inkjet printers work best for printing on freezer paper. Laser printers run too hot and can ruin the coating.
Which One Do I Use the Most?
I love the freezer paper method. Here’s why:
✔ Reusable templates—less printing, less waste, and fewer “oops” moments.
✔ I don’t have to stress about my iron. I’ve melted (read: ruined) way too many sheets of paper-backed fusible web by not paying attention. 🤦♀️
✔ It’s just more versatile. It takes a bit longer, but I like the flexibility.
That said, paper-backed fusible web is a fantastic option if you want quick and easy appliqué. (I use it when I have a small project I need to get done quickly). Just remember—invert the image before printing!
No matter which method you choose, always use a non-stick surface to protect your iron and ironing board from sticky fusible messes. (Unless you like the smell of burning glue… I sure don’t!)
That being said, I have ended up with fusible on my iron…. When I do, I wait until the iron cools. Then, I use a damp Magic Eraser to easily scrub it off. This is a less stinky way of removing it.
So, what’s your go-to appliqué method? Drop a comment and let me know!
Happy Quilting! 😊

Thank you for the very good explanation. It’s helpful.
You are welcome!