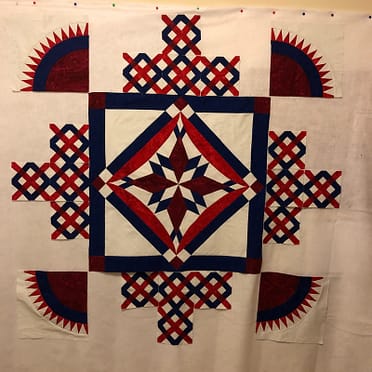
For quite a while, I have relied on my flannel design wall during my quilt construction. It helps keep the pieces in order and enables me to see progress.
Unfortunately, the only way for me to hang it was with tacks in the wall, over a doorway. It was the only open wall space I had that was big enough. Unfortunately, this also meant that anyone walking by, particularly the cat, would knock blocks of the wall…
Thankfully, my eldest son is great a building and fixing things. I guess that is a must for someone who builds props and sets for a living. He volunteered to help me build a frame for the flannel so that it would be more stable. Yeah!!
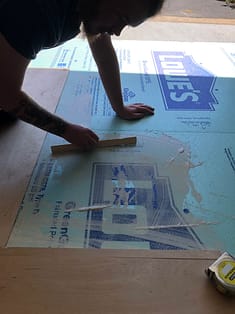
We started with pieces of Lauan – a thin plywood – and some insulation foam cut to the size of my design wall (60″ x 60″). Using a bottle of wood glue, we stuck the foam to the plywood. Then, we needed to stabilize the plywood so that the foam wouldn’t bend and break at the seams. For this, we used five 1 x 2-inch boards, which were placed perpendicular to the Lauan. Not only did the the 1 x 2-inch boards provide support, but later they proved to be great handles for moving it! These boards were both glued and screwed into the plywood/foam panel – kind of belt and suspenders. Once all of the glue was set, we tacked the flannel to the foam. To cover the edges of the foam, Lauan, and flannel, we installed wood corner molding, which was mitered at the corners. The molding was screwed to the panels from the underside so that we did not see the screw heads. The molding also acted like a clamp, holding the flannel in place.
Now, I have a portable design wall that is light-weight and holds my blocks without dropping them at the slightest breeze. I am so happy!
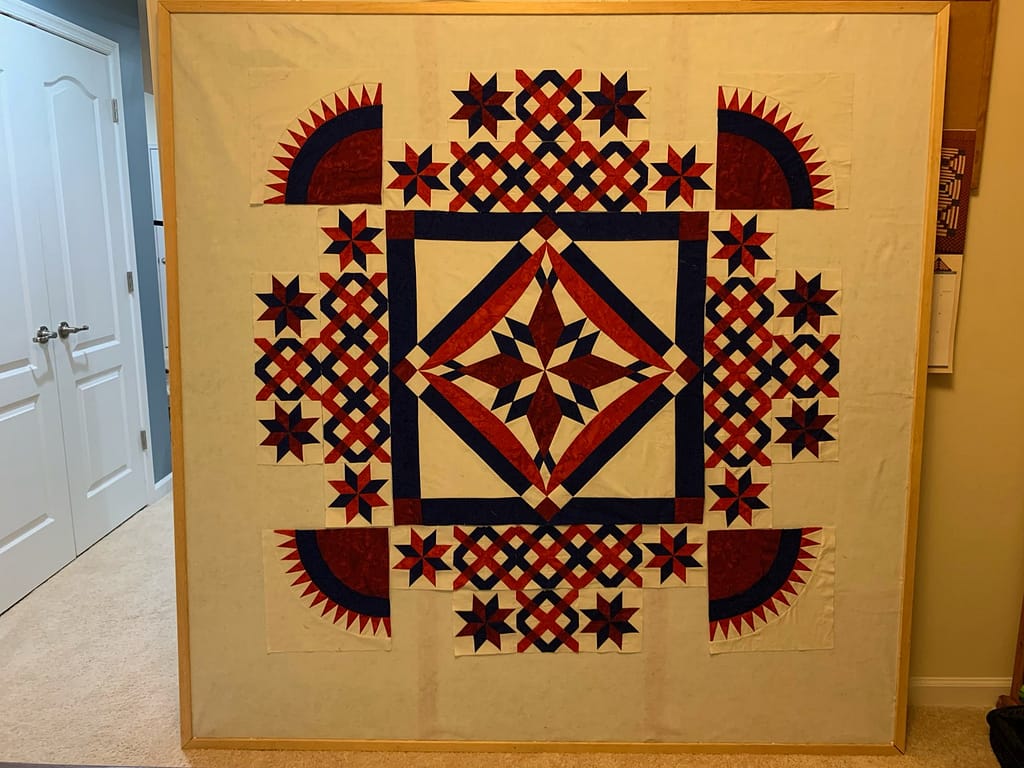
If anyone would like more detailed specifications for the sturdy but light-weight and portable design wall, please let me know. My son is drafting the the specifications.
Happy Quilting!
Laureen
Beautiful!
Thank you! My son is a huge help.