The last article in our series for Studio Spa Treatment is to develop a Wellness Plan. Even with all our cleaning and prepping, it is our stash that often gets in the way. What do we do with fabric that we know we won’t ever use. How about the ruler sets we thought we might use. but never really did. Or the kits we never got around to, but no longer peak our interest? Then, there are the scraps of projects past…. When will you finsh that stack of unfinished objects (UFOs)? This is where a Wellness Plan comes in.
Step 1 – Get rid of what you don’t need.
Take a critical look at my stash, which includes everything from precuts to yardage. What of that will I actually ever use? If I won’t use. it is time to donate it. For example, I bought a bunch of fabric for a design that I initially thought was really fun. As time went by, the project lost its luster, without ever making it to the cutting table. The fabric really doesn’t go with anything else in my stash…. So what to do? My guild has a great project where they make quilts and pillowcases for donations. I talked to the coordinator and they would love this fabric for pillowcases. One afternoon, I will cut the fabric into 27″, 9″ and 3″ x width of fabric strips. Then, I will deliver them for someone else to sew.
Another option is to donate the fabric to a guild or charity. If you do so, please be polite and make sure the fabric is in good condition. If it has sat in bags, bins or a basement for a long time, it may be a bit on the smelly side. Take a few extra minutes and wash it for them. They will be more likely to use it.
I also have a few kits from when I first started quilting. I couldn’t seem to pass up a good sale, which means I have hit SABLE (Stash Accumulation Beyond Life Expectancy). These kits are perfect to donate for guilds for auction events. Better that someone put the kit to a good use!
Look carefully at your tools. Do you have duplicate rulers (I do)? Do you have templates or rulers you know you will never use? If the answer is yes and they are in good condition help them find a new home. Guild auctions, swap tables, or welcome kits are all good options. Maybe find a charity that is equipping people with tools to learn new life skills. That is another good outlet.
Examine your thread. I have some thread that must be 30 years old. I know, because I have not bought that brand in 30 years. Give it a few good tugs to see if it is starting to deteriorate. If it is, pitch it!
Step 2 – Get it done.
Make a plan to finish at least one UFO in a reasonable time frame. Start with the easiest ones first! It is much easier to build momentum when you are successful. Also, be reasonable. Don’t set goals you can’t or won’t meet. That is a sure fire way to kill your momentum. When you finish the first one, pick the next one.
I have three on my list right now. Deadlines really help me, even if they are self-imposed. I set deadlines for me to finish these for a trunk show. Now, that is motivation.
Finishing UFOs is much like dieting or exercising. You need to allow yourself some cheat time. You know the one day you can relax or eat what you really crave. This minimizes frustration. Tackling UFOs is much the same. You may need to slip in a project you really want in order to motivate you to finish the others.
Maybe quilting for others is your motivation. If so, Rose Palmer from Quiltripper has a list of 45 charities that need quilts. She also provides a list of local organizations that may be accepting quilts.
Step 3 – Tame your scraps.
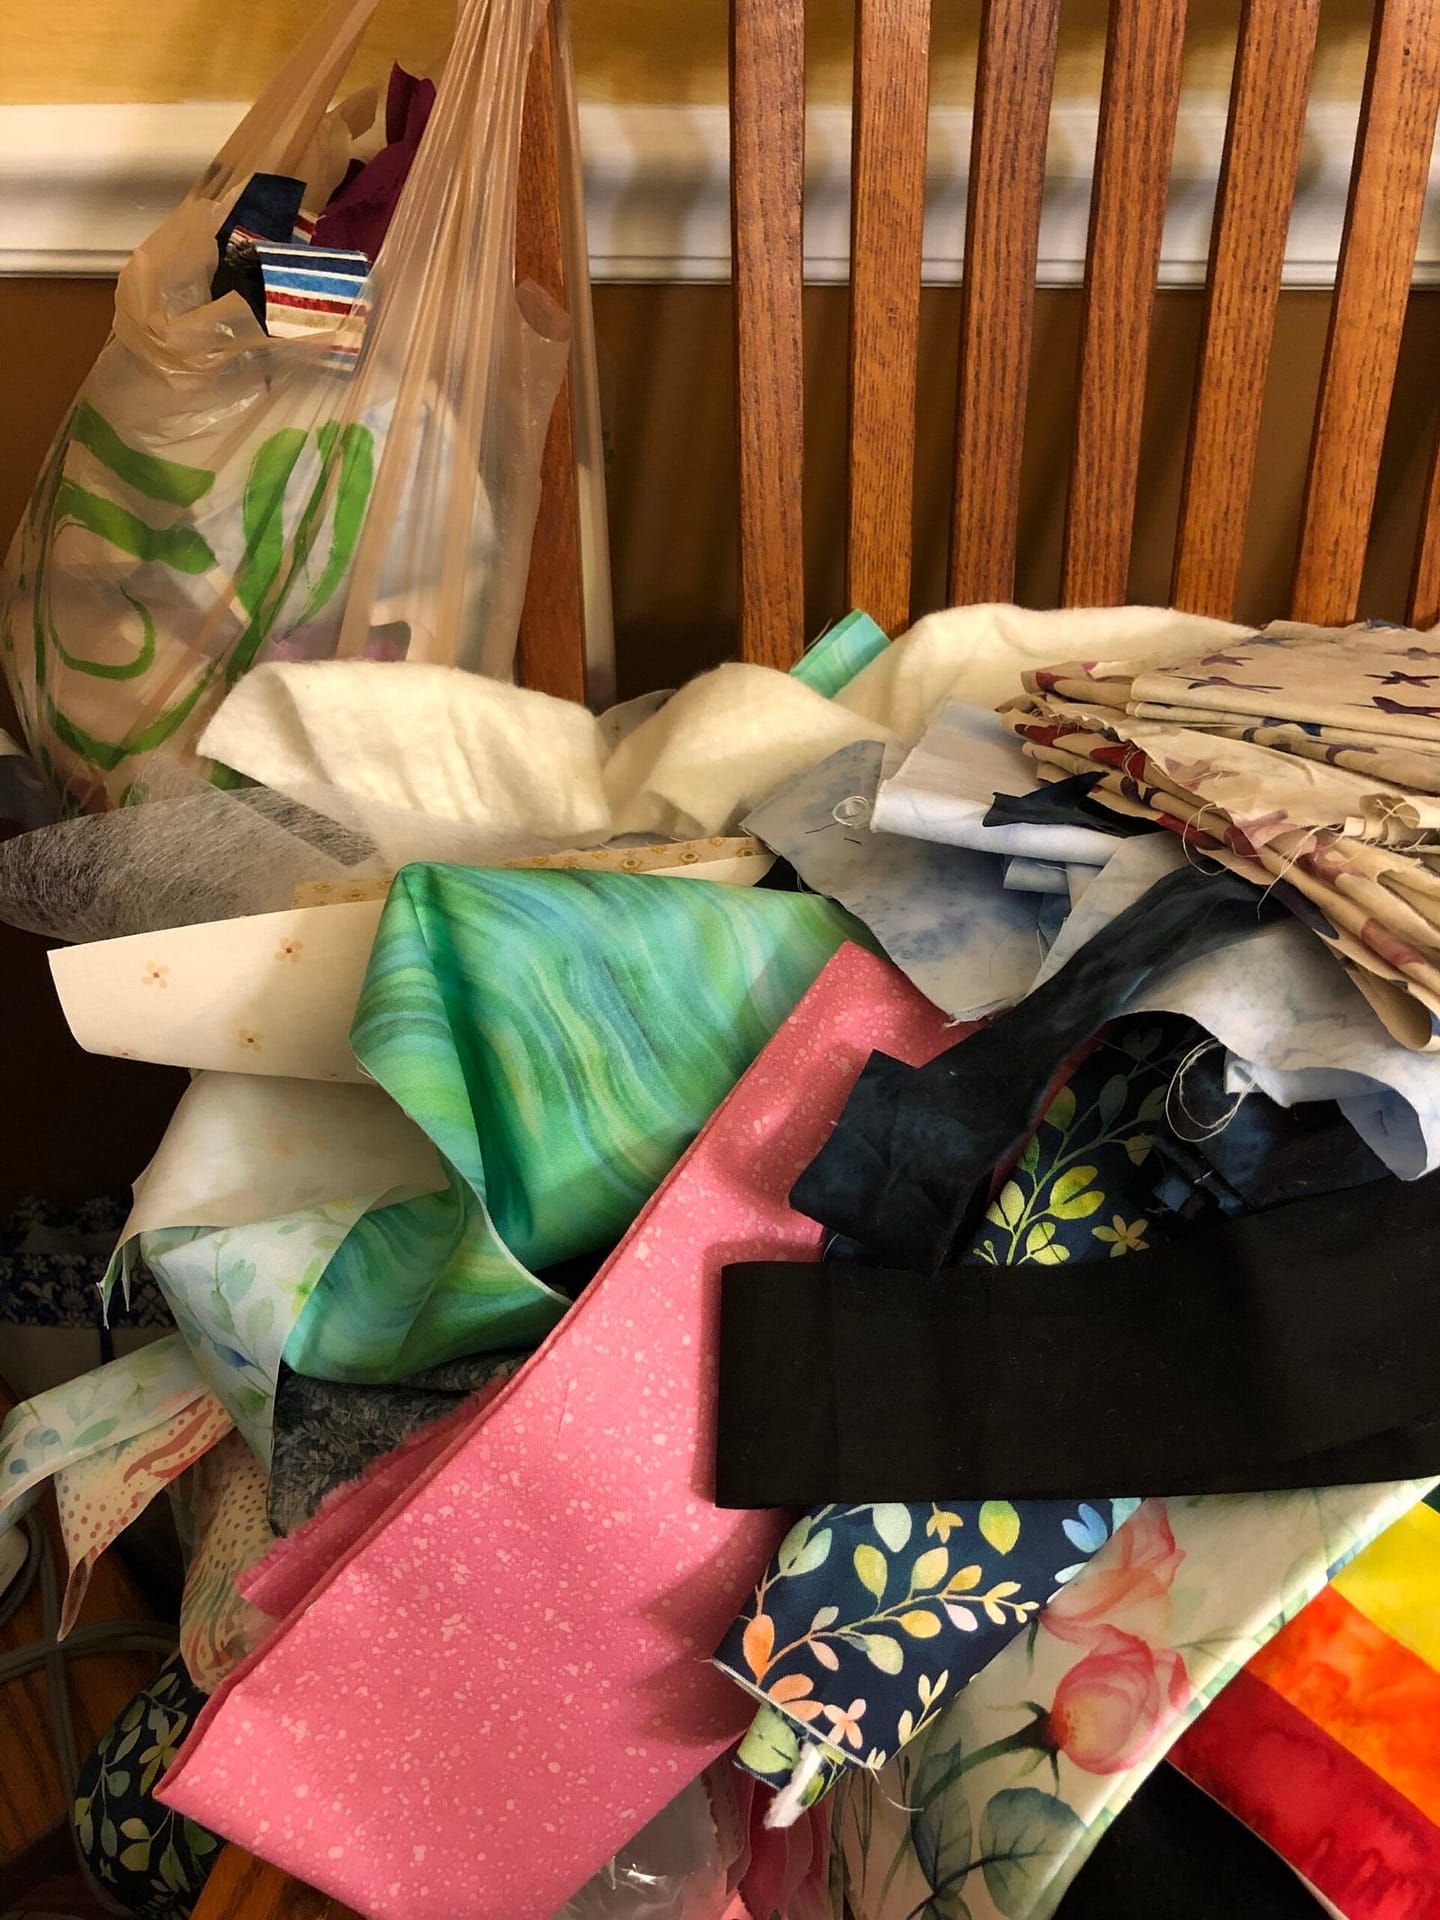
Over the course of a few months, my projects have created a storm of scraps. Some of those are usable in larger project. Those are neatly folded and back on the shelves. In addition, I also have the bag full of smaller scraps… It is time to pick a project for these small pieces. Some good options are a postage stamp quilt, a scrappy applique quilt, a crazy quilt, a mosaic tile quilt, or a temperature quilt. This will help me repurpose these smaller scraps quickly and recover some room. The first step will be to sort these fabrics by color. That may help me make some design decisions. Then, I can start cutting into the right dimensions. These smaller projects are mean to be completed in a day or a few minutes each day – kind of like an exercise regimen.
This simple plan may help you get it a little closer having a manageable studio. For some reason, I can spend more time in my studio when it isn’t a disaster zone. I guess that is a little bit of zen.
If you missed our previous article, Tool Deep Clean, check it out here.
Happy Quilting!
Laureen