

Some folks call it a buttonhole stitch, but here’s how I see it:
Think of the blanket stitch as a little “L” shape repeated along your edge.
-
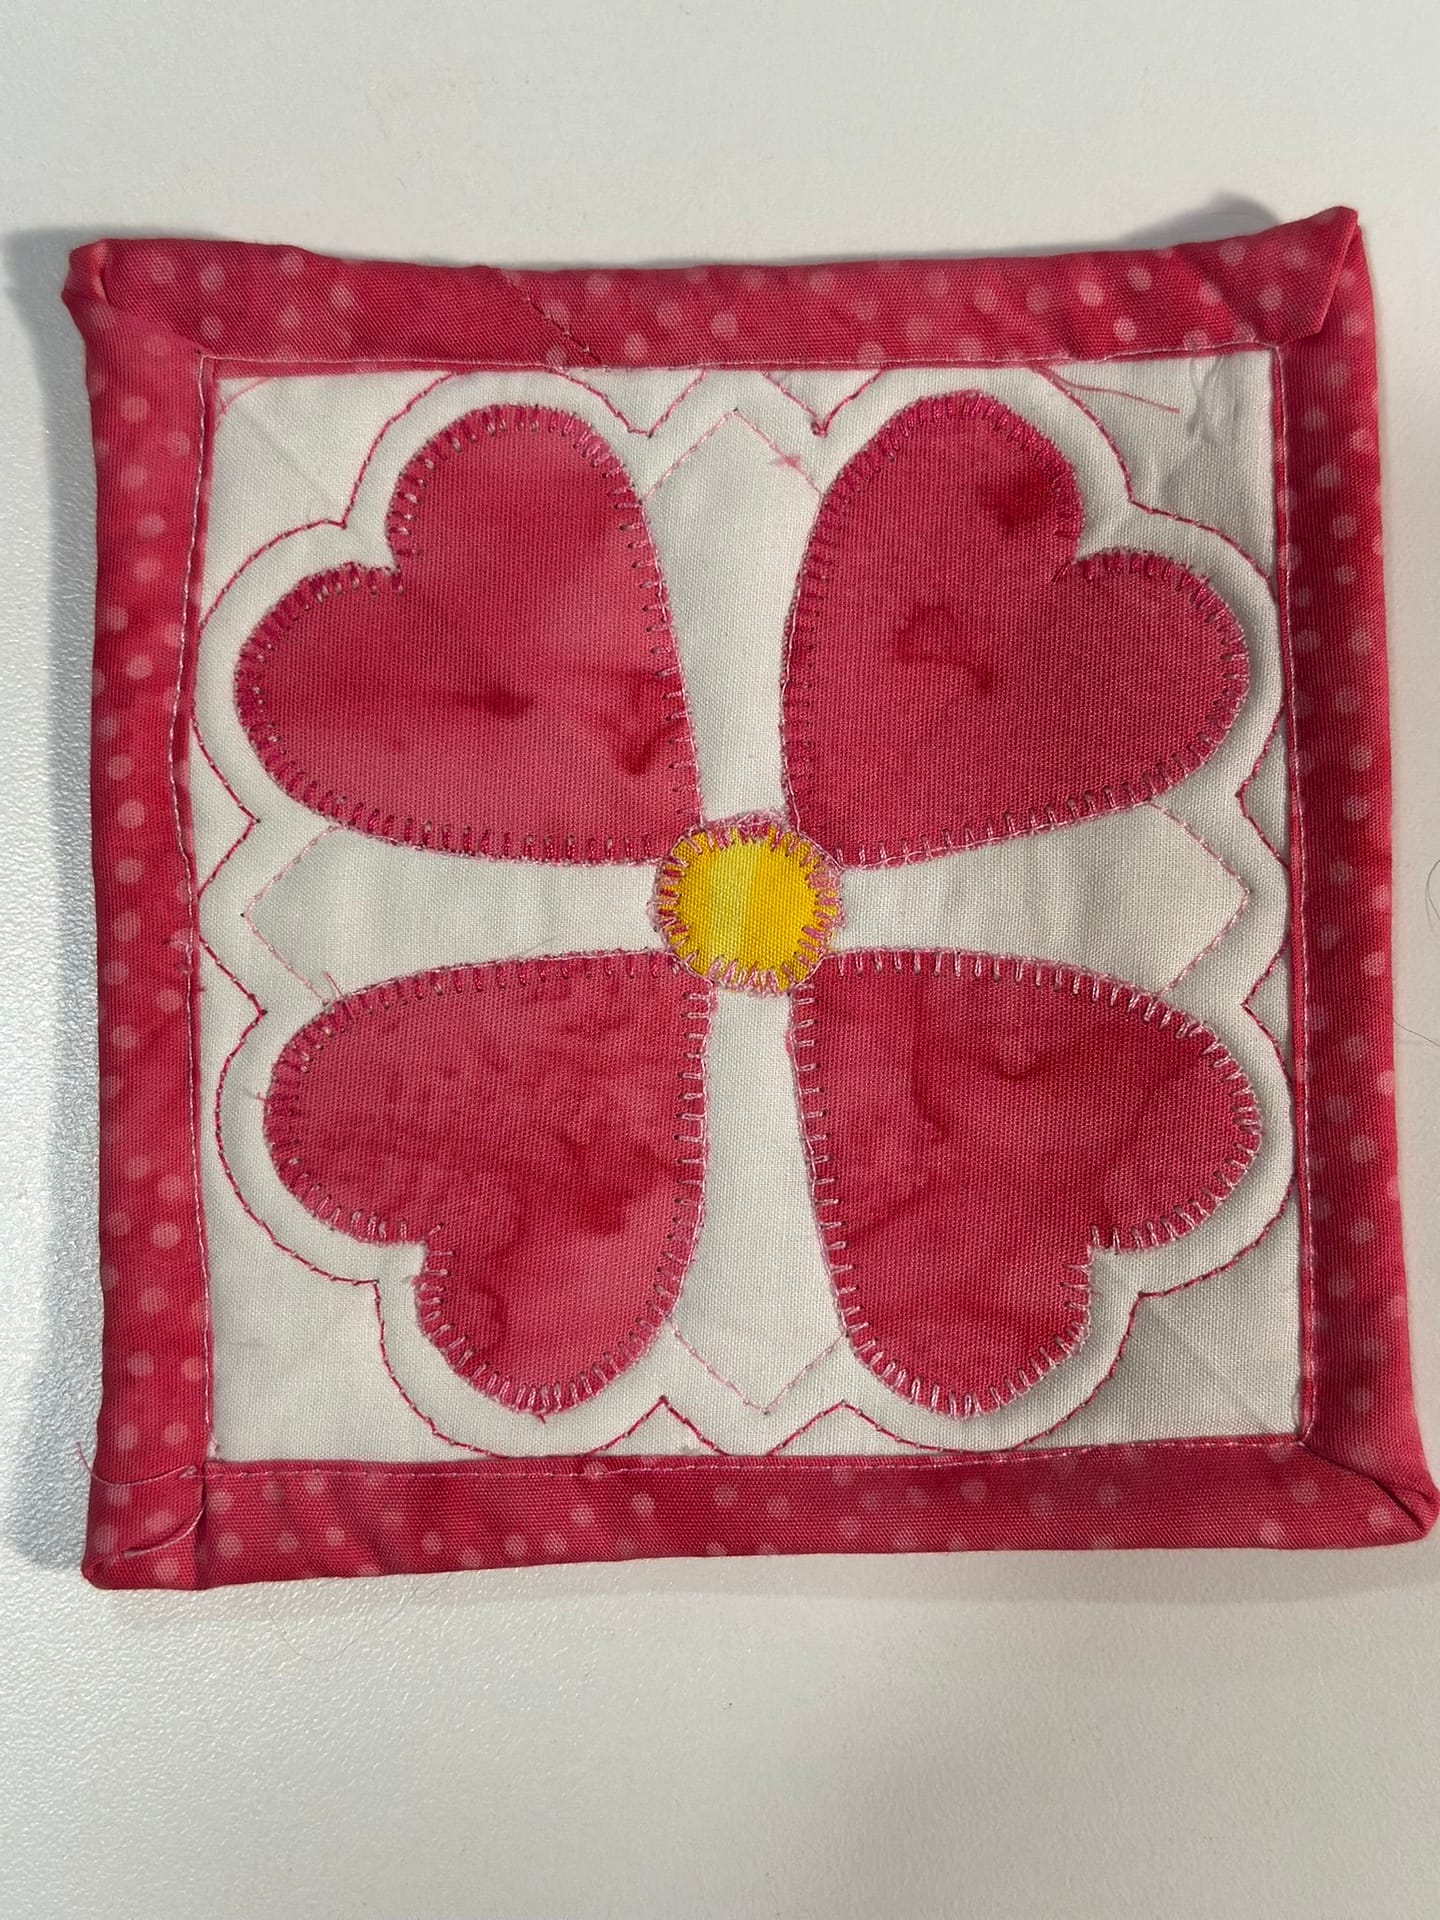
The backbone runs parallel to the appliqué edge.
-
The bite reaches in toward the center of your appliqué shape.
Let the bite hop perpendicular into the appliqué just far enough to catch fibers. Narrower bites look tidier but may fray more, while deeper bites are more secure.
(In the picture to the right, the backbone is along the white of the background and the bite is in the pink of the hearts)
So… where does the backbone go?
This is the number one question I hear. My opinion:
On the background fabric, as close to the appliqué edge as you can get.
If you’re off by a smidge? Call it creative license. Unless this is a show piece, no one’s going to get out a ruler to check. And if they do… maybe think twice before making them a quilt again. Or tell them to make their own. 😉
Choosing Thread Color
Here’s where it gets fun — or overwhelming, depending on your personality.
Invisible finish:
-
Invisible thread, or
-
Match top and bobbin thread to the appliqué
(Better to err a hair onto the appliqué than too far away.)
Bold & graphic:
-
Contrasting thread, like coloring book outlines
(Great for children’s quilts or lettering.)
Other creative options:
-
Variegated for busy batiks (can actually disappear into the print).
-
Darker thread for subtle shadowing.
-
Lighter thread to create highlights.
And no — your top thread and bobbin thread do not have to match.
Different colors can give you surprise texture on the back.
Thread Weight Matters
Most people skip this, but it changes the look entirely.
-
Lightweight (60–100 wt): More “invisible” stitches.
-
Medium (50 wt): My usual — defines without overpowering.
-
Heavy (30 wt): Bold, graphic, show-stopper stitches.
Whatever you choose, match your needle size to your thread.
Stitch Size: Width + Length
Your choices here depend on fabric type and appliqué size.
Fabric type:
-
Quilting cotton (looser weave): Width 2.0–2.5 mm for a secure bite.
-
Batiks (tighter weave): Width 1.0–2.0 mm is often enough.
Remember: Narrower bites are tidy but less secure, so if you go super narrow, you’ll need to be very accurate to avoid fraying.
Appliqué size:
-
Small pieces: Length 1.0–2.0 mm (more stitches = secure edges).
-
Large pieces: Length 2.0–3.0 mm.
I’ll sometimes go longer/wider if I plan to weave beads or threads through my blanket stitches — but that’s another post.
Needles
I’m a no-muss, no-fuss quilter, so I usually use a universal needle.
But if you want precision:
-
Microtex for sharp, clean piercings.
-
Topstitch for thicker threads.
My Go-To Settings
Once you experiment, you’ll probably land on a “house default.”
Mine is:
-
Medium weight thread
-
Width 2.0 mm
-
Length 2.0 mm
-
Universal needle
These change for special projects, but it’s a great everyday starting point.
Technique Tips
-
Pull your bobbin thread to the top before starting — no nests or tangles.
-
Go slow, especially on curves.
-
Needle down, foot up to pivot around curves or points — keeps stitches consistent and fabric smooth.
-
Always test on a fused scrap + batting first. Every machine has its quirks.
Corners, Curves, and Clean Finishes
-
Inside corners: Stitch to the corner, bite straight in once, pivot, continue.
-
Outside corners/points: Bite once straight in to “button” the point, pivot, keep going.
-
Bury threads:
-
Standard appliqué → bury in the back of stitches.
-
Quilt-as-you-go → pop into the batting and trim.
-
- Here is a quick video of the technique!
Time Saver: Stitch + Quilt in One Pass
If you stitch through the full quilt sandwich, you’re securing the appliqué and quilting at the same time.
For extra quilting, fill blank spaces with echoes or small motifs after your blanket stitch pass.
Quick Checklist (Pin by Your Machine)

-
Backbone on background, bite into appliqué
-
Start center → out, big shapes first
-
Test width/length on scrap
-
Needle down to pivot; foot up to turn
-
Match bobbin (quiet back) or contrast (reversible look)
-
Bury threads for a tidy reverse
[Graphic placeholder: “Blanket Stitch Cheat Sheet” one-pager]
Got a question I didn’t hit? Drop it in the comments — if it stumps you, it’ll help someone else too. And if you want that printable Blanket Stitch Cheat Sheet, let me know and I’ll pop it into the post.